Imagine the sound of cold, marbleized fat hitting a preheated heavy-bottomed skillet. It is that rhythmic, aggressive sizzle that signals the start of something transformative. We are talking about the ultimate weeknight savior: easy korean ground beef recipes that deliver a high-octane punch of umami without the three-hour simmer. This is the intersection of high-speed efficiency and deep, fermented complexity.
You know that specific craving for something salty, sweet, and slightly funky? That is the siren call of Bulgogi-style beef. While traditional Bulgogi relies on paper-thin slices of ribeye, using ground beef is the ultimate "chef's hack" for maximizing surface area. More surface area means more Maillard reaction, which equals more of those crispy, caramelized bits that make your palate sing. We are going to deconstruct the chemistry of the marinade, master the art of the sear, and turn a humble pound of protein into a masterpiece that looks like it belongs in a sleek Seoul bistro. Grab your favorite apron; we are about to turn your kitchen into a laboratory of flavor.
The Gathers:
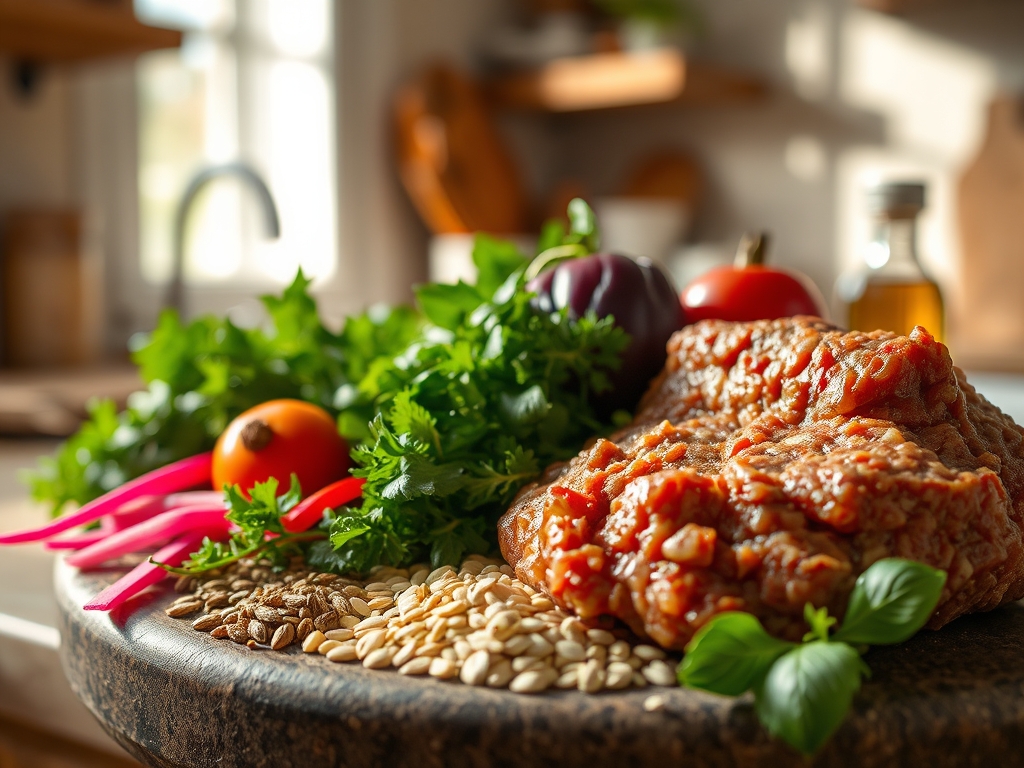
To achieve professional results, your mise-en-place must be precise. Start with one pound of high-quality ground beef. I recommend an 80/20 lean-to-fat ratio. The fat is not just for flavor; it is the medium for heat transfer that ensures your beef browns rather than steams. For the aromatics, gather fresh ginger and garlic. Use a microplane to grate these into a fine paste; this increases the volatile oil release, ensuring the flavor is infused into every crevice of the meat.
Your liquid gold consists of low-sodium soy sauce, toasted sesame oil, and brown sugar. The soy sauce provides the salinity and amino acids necessary for a deep savory profile, while the toasted sesame oil offers a viscous, nutty finish. If you want a piquant kick, grab a jar of Gochujang (Korean chili paste). For smart substitutions, you can swap brown sugar for honey or pear puree to introduce natural enzymes that help tenderize the protein. If you are avoiding soy, liquid aminos or coconut aminos work beautifully, though you may need to adjust the salt levels with a pinch of kosher salt.
The Clock
Efficiency in the kitchen is about "Chef's Flow." This recipe demands a total of 20 minutes: 10 minutes for prep and 10 minutes for active cooking. The secret to this timeline is the sequence of operations. You should be grating your aromatics while the skillet is heating. Never add meat to a cold pan. By the time your beef is rendered and crispy, your sauce should be whisked and ready to deglaze the pan. This tight feedback loop prevents the garlic from burning while ensuring the sugars in the sauce have enough time to emulsify with the rendered beef fat.
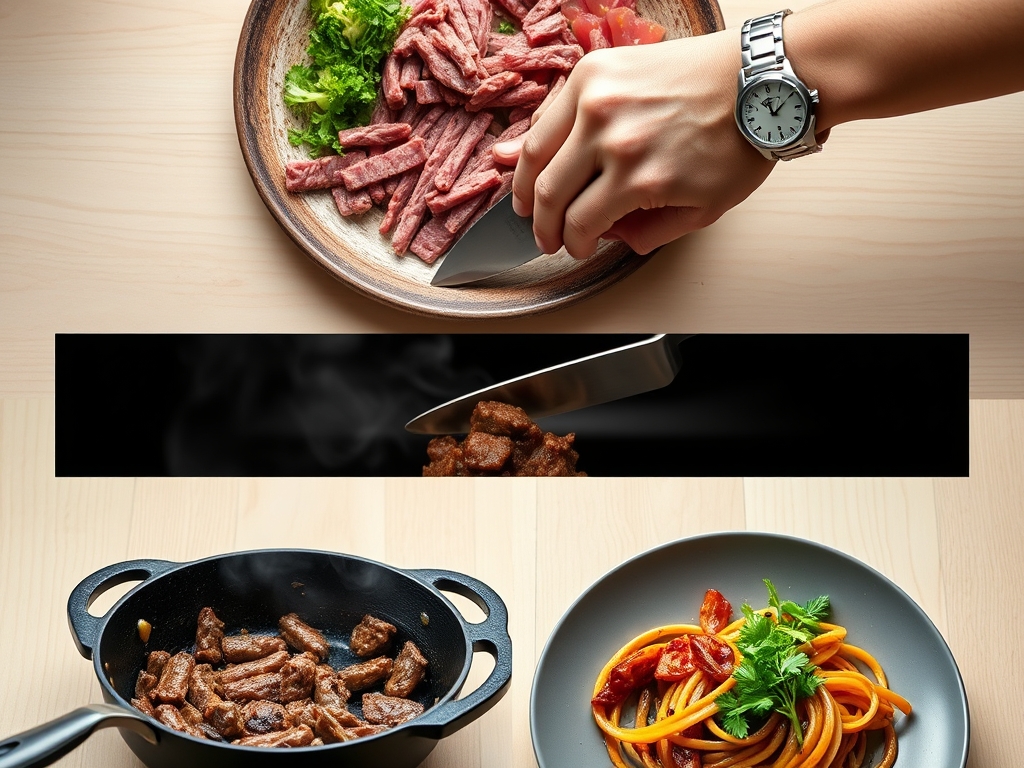
The Masterclass
1. The High-Heat Sear
Place your heavy-bottomed skillet over medium-high heat. Once the pan is shimmering, add the beef. Use a stiff wooden spoon or a meat masher to break the protein into small, uniform crumbles. Do not over-stir. Let the meat sit undisturbed for at least three minutes to develop a dark, crusty exterior.
Pro Tip: This stage is all about the Maillard reaction. By leaving the meat undisturbed, you allow the amino acids and reducing sugars to reorganize into hundreds of different flavor compounds. If you stir too often, you drop the surface temperature and the meat will merely boil in its own juices.
2. Aromatic Infusion
Once the beef is browned, push it to the perimeter of the pan, creating a "well" in the center. Add your microplaned ginger and garlic directly to the hot fat in the middle. Sauté for exactly 45 seconds until the scent is intoxicating but the garlic is still pale.
Pro Tip: This is known as blooming. Fat is a highly effective solvent for flavor. By toasting the aromatics in the rendered beef tallow before mixing them with the meat, you ensure the essential oils are evenly distributed throughout the entire dish.
3. The Deglaze and Emulsify
Pour in your mixture of soy sauce, sesame oil, and sugar. Use your spoon to scrape the bottom of the pan, lifting up the "fond" (the brown bits stuck to the skillet). Stir constantly as the liquid begins to bubble and thicken into a glossy lacquer.
Pro Tip: This step utilizes deglazing to capture concentrated flavor. As the sugar heats, it undergoes caramelization, while the soy sauce undergoes further browning. The result is a viscous sauce that clings to the beef through simple reduction and emulsification.
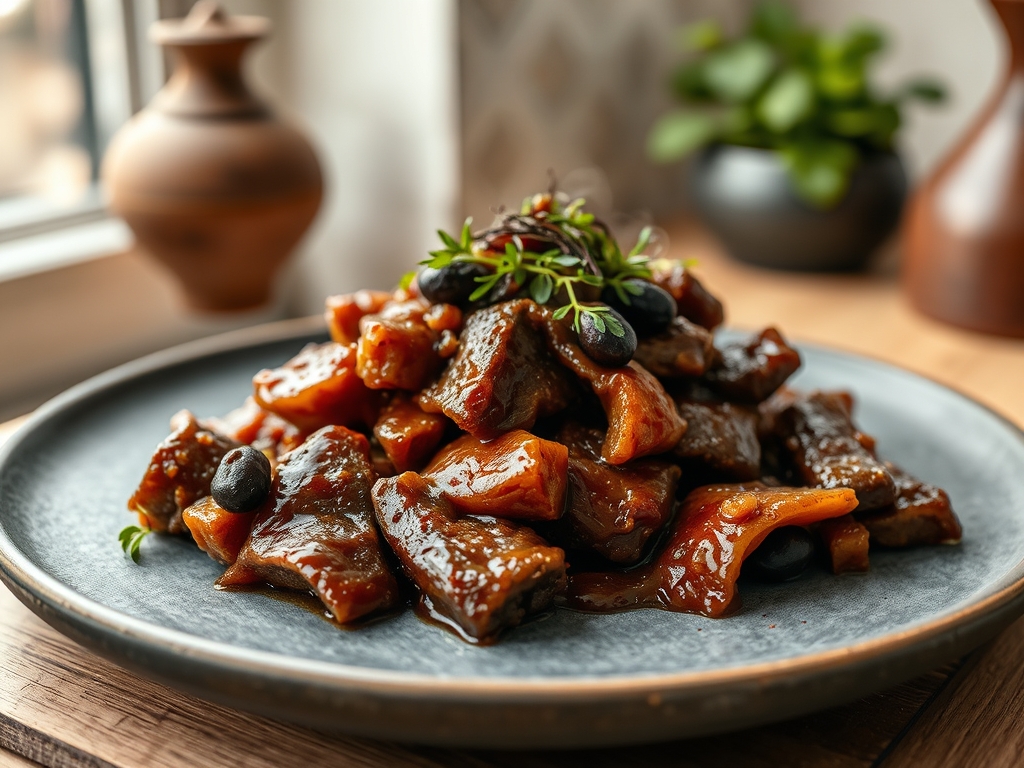
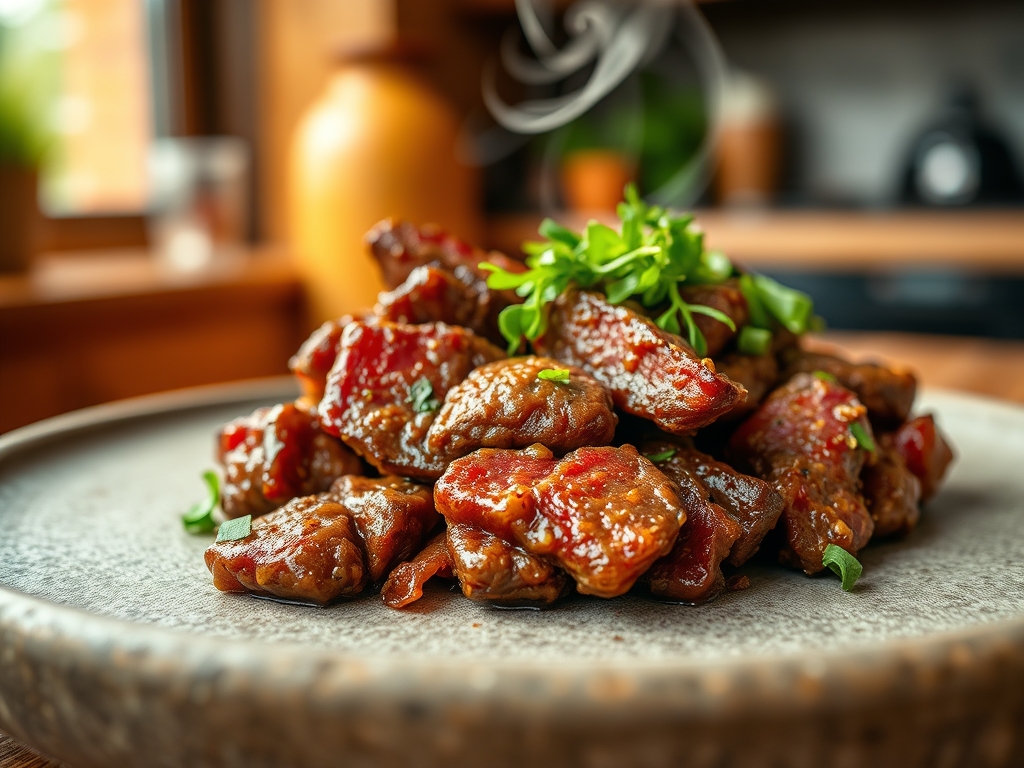
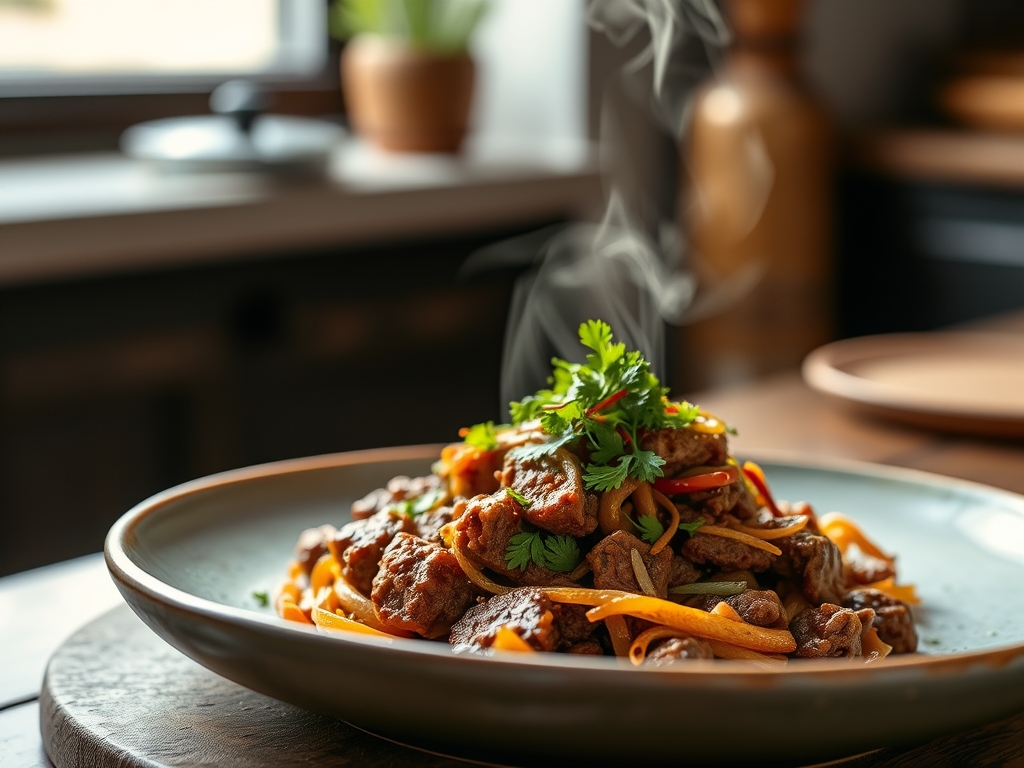
4. The Fresh Finish
Turn off the heat and toss in a handful of sliced green onions and toasted sesame seeds. The residual heat will soften the onions without turning them into mush. Use a bench scraper or tongs to transfer the beef to a serving bowl, leaving any excess pooled fat in the pan.
Pro Tip: Thermal carryover is real. The beef will continue to cook for several minutes after leaving the pan. By removing it just as the sauce thickens, you prevent the protein fibers from becoming tough and "rubbery" as they cool.
The Deep Dive
From a macro perspective, easy korean ground beef recipes are a protein powerhouse. A standard serving provides roughly 25g of protein and 15g of fat. To make this Keto-friendly, simply swap the brown sugar for a monk fruit sweetener and serve over cauliflower rice. For a vegan version, use crumbled extra-firm tofu or tempeh; just be sure to press the moisture out of the tofu first to allow for proper browning.
The Fix-It:
- Too Salty? Add a splash of rice vinegar or lime juice. The acid cuts through the sodium and balances the palate.
- Too Greasy? Tip the skillet and use a crumpled paper towel held by tongs to blot the excess fat before adding the sauce.
- Too Dry? Add two tablespoons of beef broth or water during the sauce reduction stage to create more "juice."
Meal Prep: When reheating, add a teaspoon of water before microwaving. This creates steam that re-hydrates the protein fibers, ensuring "day-one" quality and preventing the fats from separating and becoming grainy.
The Wrap-Up
There you have it: a masterclass in flavor engineering. These easy korean ground beef recipes are more than just a quick dinner; they are a lesson in how heat, fat, and fermentation work together to create something spectacular. Whether you are piling this beef over jasmine rice, tucking it into crisp butter lettuce cups, or tossing it with glass noodles, you now have the technical skills to make it perfect every single time. Now, go forth and sear with confidence!
The Kitchen Table
How do I make the beef extra crispy?
Spread the beef in a thin layer in a very hot cast-iron skillet. Do not crowd the pan and avoid stirring for the first four minutes. This allows the moisture to evaporate quickly, facilitating a hard, flavorful sear on the bottom.
Can I use ground turkey instead of beef?
Yes, but since turkey is leaner, add a tablespoon of neutral oil to the pan first. Turkey lacks the high fat content of beef, so you must manually provide the medium for heat transfer to prevent the meat from sticking.
What is the best way to store leftovers?
Store in an airtight glass container for up to four days. Glass is preferable to plastic because the oils and pigments in the soy sauce and chili paste can stain and linger in plastic containers over time.
Is Gochujang necessary for this recipe?
While not strictly necessary for a basic savory-sweet profile, Gochujang adds a unique fermented depth and mild heat. If you omit it, consider adding a pinch of red pepper flakes and an extra teaspoon of soy sauce for balance.