The scent of caramelizing starch is the universal siren song of comfort. When you master brown potato recipes, you are not just cooking; you are orchestrating a complex chemical symphony known as the Maillard reaction. This is the magical moment where amino acids and reducing sugars transform under high heat to create hundreds of different flavor compounds. It is the difference between a sad, pale tuber and a golden, shattered-glass crust that yields to a fluffy, cloud-like interior. We are moving beyond the basic fry to explore the structural integrity of the Russet and the waxy elegance of the Yukon Gold. Whether you are aiming for a deep mahogany sear or a delicate amber crunch, the secret lies in moisture control and surface area. By the time we are finished, your kitchen will smell like a five-star steakhouse, and you will possess the technical prowess to turn a humble root vegetable into the undisputed star of the dinner table.
The Gathers:
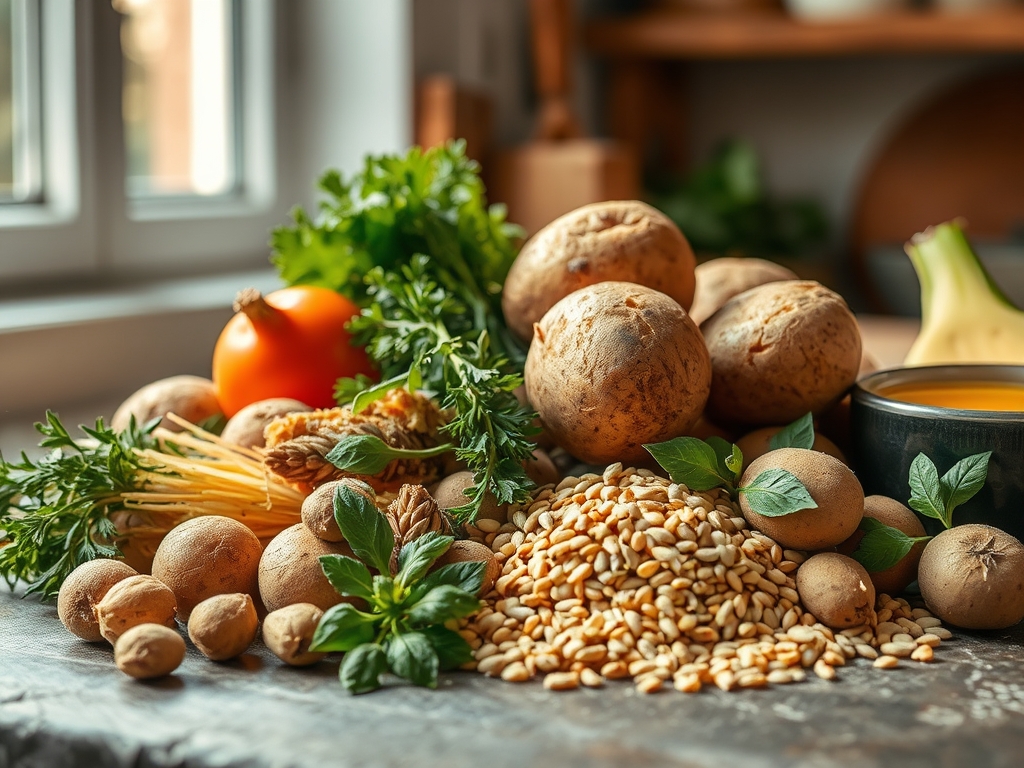
To execute these brown potato recipes with precision, your mise-en-place must be impeccable. Start with high-starch Russets for maximum fluff or Yukon Golds for a buttery, viscous mouthfeel. You will need a high-smoke-point fat like clarified butter (ghee) or rendered duck fat; these allow for intense heat without the acridity of burnt milk solids. Fresh aromatics are non-negotiable. Gather sprigs of woody rosemary and thyme, along with a bulb of garlic to be crushed with the flat of your knife. For the finishing touch, keep high-quality flaky sea salt and a bottle of aged sherry vinegar nearby to provide a piquant acidic lift.
Smart Substitutions: If you are avoiding animal fats, a refined avocado oil offers the same thermal stability as tallow. For a lower-glycemic twist, use firm Japanese sweet potatoes; their higher sugar content means they will caramelize faster, so watch your heat levels closely. If you lack fresh herbs, a pinch of dried savory or marjoram infused into the oil during the initial cold-start phase will mimic that earthy, garden-fresh depth.
The Clock
Efficiency in the kitchen is about "Chef's Flow," which is the art of overlapping tasks to minimize downtime. Expect a total active prep time of 20 minutes, with a cooking duration ranging from 35 to 50 minutes depending on your chosen method. The secret to the ultimate brown potato is the two-stage cook. First, a parboil to gelatinize the exterior starch; second, a high-heat roast or sear to dehydrate and crisp. While the potatoes simmer, use your bench scraper to clear your station and prep your aromatics. This ensures that by the time the potatoes are ready for the heavy-bottomed skillet, your workspace is clear and your focus is entirely on the temperature of the fat.
The Masterclass
1. The Precision Cut
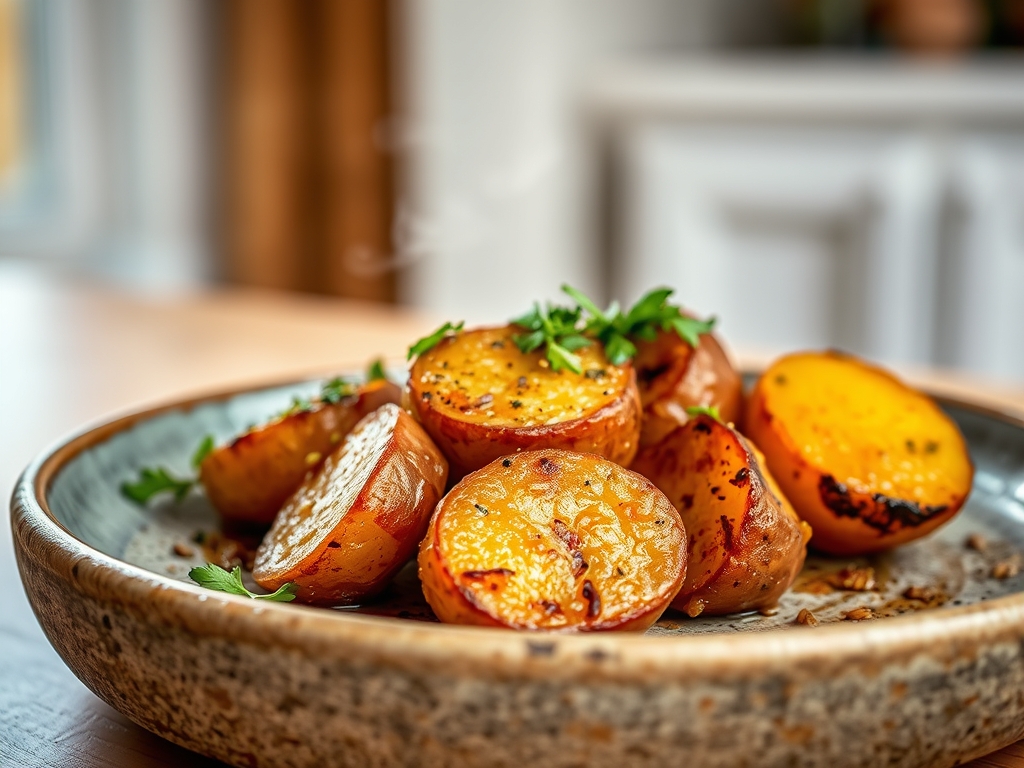
Uniformity is the foundation of even cooking. Use a sharp chef knife to cube your potatoes into one-inch morsels. Note the texture in the step-by-step photos below; sharp edges create more surface area for the Maillard reaction to take hold.
Pro Tip: This prevents enzymatic browning. By keeping the cut potatoes in a bowl of cold, salted water, you wash away excess surface starch and prevent the flesh from oxidizing and turning gray before it hits the heat.
2. The Alkaline Parboil
Add a half-teaspoon of baking soda to your boiling water. Simmer the potatoes until the edges are just tender but the centers remain firm.
Pro Tip: The baking soda breaks down the potato's pectin, creating a starchy slurry on the surface. When roasted, this "fuzz" dehydrates into an exceptionally thick and crunchy crust that stays crisp for hours.
3. The Rough Up
Drain the potatoes in a colander and let the steam escape for two minutes. Give them a vigorous shake to roughen the edges.
Pro Tip: This is called mechanical surface expansion. By creating a craggy, uneven exterior, you increase the surface area exposed to the hot fat, leading to more crunch per bite.
4. The Fat Infusion
Heat your heavy-bottomed skillet or roasting pan with your chosen fat until it shimmers. Toss the potatoes until every millimeter is coated in a viscous layer of oil.
Pro Tip: Fat acts as a heat transfer medium. Without a thorough coating, the potato will dehydrate and toughen rather than crisping and browning.
5. The Searing Silence
Place the potatoes in the pan and leave them alone. Resist the urge to stir for at least eight minutes.
Pro Tip: This allows for thermal conduction to build. Moving the potatoes too early drops the pan temperature and tears the developing crust, resulting in a greasy, stuck-on mess.
6. The Aromatic Baste
Once the potatoes are golden, add your crushed garlic and herbs. Tilt the pan and use a large spoon to infuse the hot fat over the potatoes.
Pro Tip: Adding aromatics at the end prevents them from carbonizing. The residual heat is enough to release their essential oils without turning them bitter.
7. The Deglaze
Just before pulling them from the heat, add a splash of vinegar or lemon juice to the pan.
Pro Tip: This provides a chemical contrast. The acid cuts through the richness of the fat and brightens the earthy notes of the potato, making the flavors "pop."
8. The Aeration Drain
Transfer the potatoes to a wire rack set over a baking sheet rather than a paper towel.
Pro Tip: Air circulation prevents steam from being trapped underneath the potato. If left on a flat surface, the bottom will become soggy due to re-absorption of moisture.
9. The Microplane Finish
Grate a small amount of parmesan or zest a lemon over the hot potatoes using a microplane.
Pro Tip: The fine particles melt instantly into the crannies of the crust, adding a layer of umami without altering the structural integrity of the crunch.
10. The Rest Period
Allow the potatoes to sit for three minutes before serving.
Pro Tip: This utilizes thermal carryover. The internal temperature continues to rise slightly, ensuring the fluffy interior is fully set while the exterior hardens into its final, brittle state.
The Deep Dive
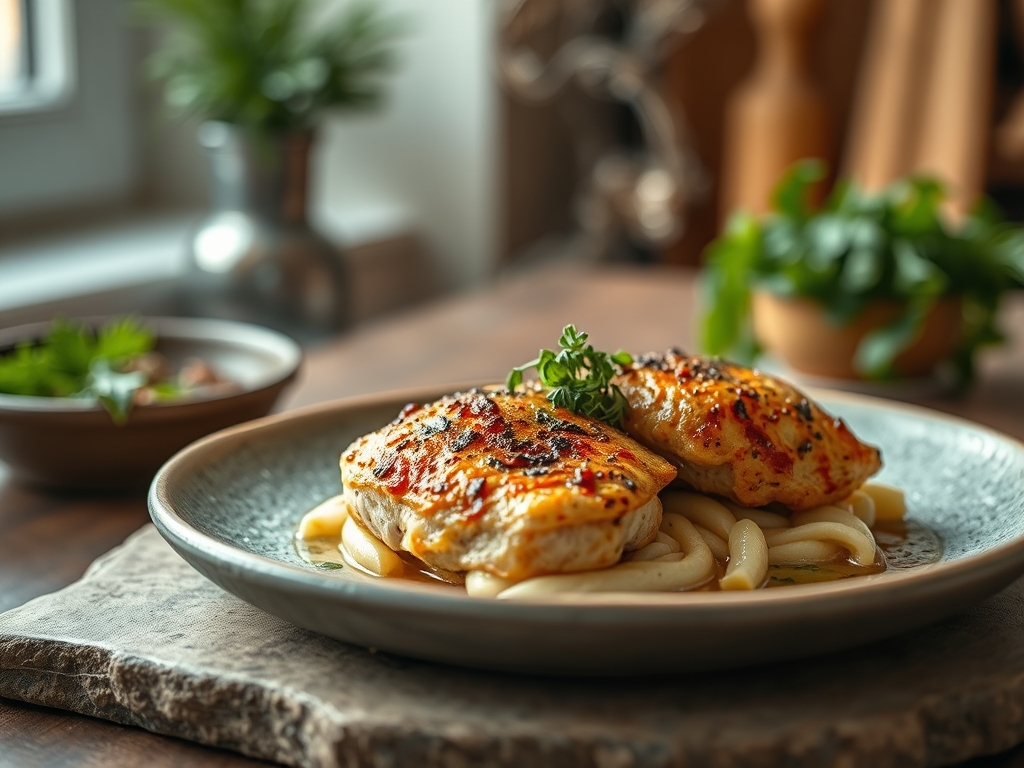
From a macro nutrition perspective, potatoes are a powerhouse of potassium and Vitamin C, especially when the skins are left intact. However, brown potato recipes are often higher in lipids. To balance this, pair them with a lean protein. For Dietary Swaps, keto followers can substitute cauliflower florets using the same roasting technique, though the cook time will be halved. For a vegan version, use a high-quality extra virgin olive oil infused with nutritional yeast for a cheesy, savory profile.
The Fix-It:
- Soggy Potatoes: Usually caused by overcrowding the pan. The moisture released creates steam. Fix: Roast in two batches or use a larger pan.
- Burnt Outside, Raw Inside: The heat was too high. Fix: Lower the flame and add a tablespoon of water to the pan, then cover for two minutes to steam the centers.
- Sticking to the Pan: You likely used a cold pan or didn't use enough fat. Fix: Heat the pan and fat together before adding the potatoes; wait for the "release" once the crust has formed.
Meal Prep: To achieve "day-one" quality when reheating, avoid the microwave. Use a toaster oven or air fryer at 375 degrees Fahrenheit for five minutes. This re-dehydrates the crust and restores the snap that is lost in the refrigerator.
The Wrap-Up
Mastering the art of the brown potato is a culinary rite of passage. It requires patience, an understanding of heat transfer, and a willingness to embrace the science of the sear. By focusing on surface area and moisture control, you transform a simple starch into a textured masterpiece. Now, grab your tongs and your heavy-bottomed skillet; it is time to turn those tubers into gold.
The Kitchen Table
Why are my roasted potatoes never crunchy?
You likely skipped the parboil or overcrowded the pan. Parboiling creates a starchy surface layer that crisps up, while overcrowding traps steam. Ensure each potato has space for air to circulate and moisture to evaporate effectively.
Can I use any oil for browning potatoes?
No, use oils with high smoke points like avocado, grapeseed, or clarified butter. Low smoke point oils, like extra virgin olive oil, will break down and turn bitter at the high temperatures required for a perfect golden crust.
Is it better to peel potatoes for browning?
Peeling allows for a more uniform, "glass-like" crunch because it exposes the starch directly to the fat. However, keeping the skins on adds a rustic texture and earthy flavor. For the ultimate brown potato, peeling is usually preferred.
How do I stop potatoes from sticking to the skillet?
Ensure your skillet is preheated before adding fat, and the fat is shimmering before adding potatoes. Most importantly, do not move them until a crust forms; the potato will naturally "release" from the pan once caramelized.
What is the best potato for browning?
Russets are the gold standard for a fluffy interior and thick crust due to their high starch content. Yukon Golds are a close second, offering a creamier, more buttery texture with a thinner, delicate crunch.