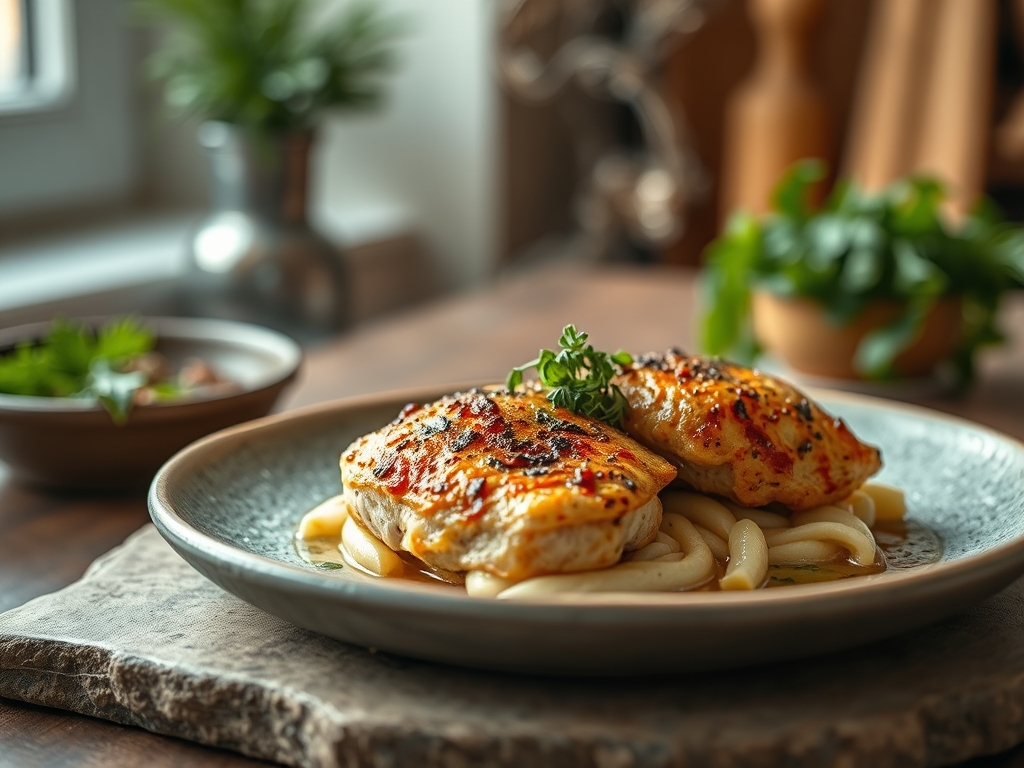
Imagine the sharp, piquant aroma of crushed cloves hitting a hot, heavy-bottomed skillet. It is that specific, Pavlovian moment where the kitchen transforms from a room into a sanctuary. When you are hunting for garlic chicken recipes easy enough for a Tuesday but sophisticated enough for a dinner party, you are really looking for the perfect marriage of sulfurous aromatics and Maillard-driven protein.
The secret to a truly transformative garlic chicken dish is not just the volume of cloves used; it is the method by which you release their essential oils. Garlic contains a precursor called alliin and an enzyme called alliinase. When you crush, mince, or grate the clove, these two meet to create allicin, the compound responsible for that glorious, pungent punch. Today, we are moving beyond basic sautéing to explore six flavor hacks that will elevate your poultry game from bland to brilliant.
The Gathers:
To execute these garlic chicken recipes easy and efficiently, your mise-en-place must be precise. Start with high-quality poultry; organic thighs offer more intramuscular fat which helps render a more succulent result, though breasts work if you monitor the internal temperature.
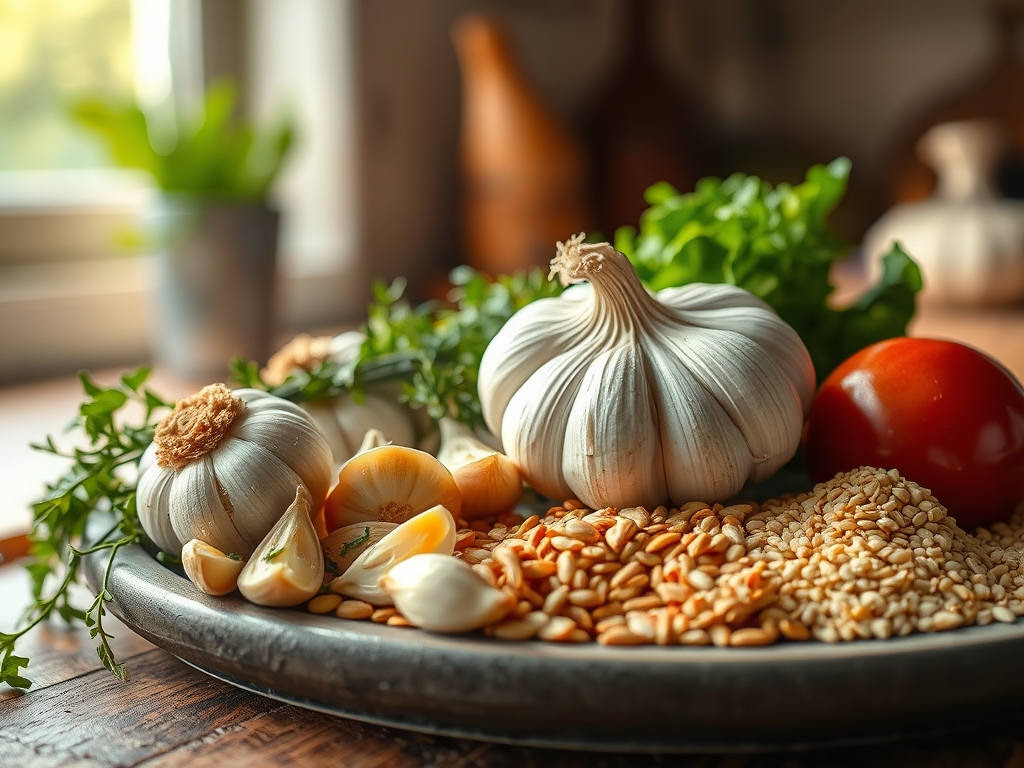
Your aromatics are the stars. You will need at least three heads of fresh garlic. Avoid the pre-peeled jars; the volatile compounds dissipate quickly once the skin is removed. Look for heavy, firm bulbs with no green sprouts. You will also need a high-smoke-point lipid like avocado oil or clarified butter (ghee) to ensure you can achieve a deep sear without burning the delicate garlic solids.
Smart Substitutions:
If you find yourself out of fresh bulbs, do not reach for the garlic salt. Instead, use garlic confit if you have it in the fridge for a mellow, jammy depth. For a citrusy twist, swap the traditional lemon juice for verjuice or a splash of dry sherry to deglaze the pan. If you are avoiding dairy, a spoonful of white miso paste provides the same viscous mouthfeel and umami punch as finishing the sauce with cold butter.
The Clock:
Efficiency in the kitchen is all about "Chef's Flow." This is the practice of overlapping tasks so no time is wasted. Total active prep time for these hacks is roughly 15 minutes, with a cook time of 12 to 18 minutes depending on the thickness of your protein.
Start by tempering your chicken; take it out of the refrigerator 20 minutes before cooking. Cold meat hitting a hot pan causes the muscle fibers to seize, resulting in a tough texture. While the meat reaches room temperature, use your bench scraper to organize your minced garlic and herbs. The goal is to have every ingredient measured and ready before the heat is turned on, as garlic can turn from golden to bitter in a matter of seconds.
1. The Microplane Infusion
Instead of roughly chopping your garlic, use a microplane to create a fine paste. This increases the surface area significantly, allowing the allicin to develop fully. Massage this paste directly into the chicken skin with a bit of coarse salt.
Pro Tip: This technique utilizes enzymatic catalysis. By breaking down the cell walls so thoroughly, you create a more intense flavor profile that permeates the meat faster than sliced garlic ever could.
2. The Cold-Start Sauté
Place your sliced garlic and oil in a cold heavy-bottomed skillet before turning on the flame. Gradually raising the temperature allows the garlic to infuse the oil without scorching the exterior of the cloves.
Pro Tip: This prevents the "bitter bite." Gradually heating the lipid allows for a more even distribution of flavor molecules, ensuring the oil itself becomes a garlic-flavored medium for the chicken.
3. The Deglaze and Emulsify
After searing your chicken, the bottom of your pan will be covered in fond (those delicious brown bits). Pour in a splash of dry white wine or chicken stock and scrape the pan vigorously.
Pro Tip: This is the science of deglazing. The liquid dissolves the caramelized proteins and sugars, which you then whisk with cold butter to create a stable emulsification that coats the chicken in a velvety sauce.
4. The Garlic Confit Finish
For a mellow, sweet flavor, fold in whole cloves of garlic confit during the last three minutes of cooking. These cloves have been slow-cooked in oil until they are soft enough to spread like butter.
Pro Tip: This adds a layer of caramelized complexity. The long, slow heat treatment converts the harsh sulfur compounds into sweet, nutty sugars through a process similar to slow-roasting.
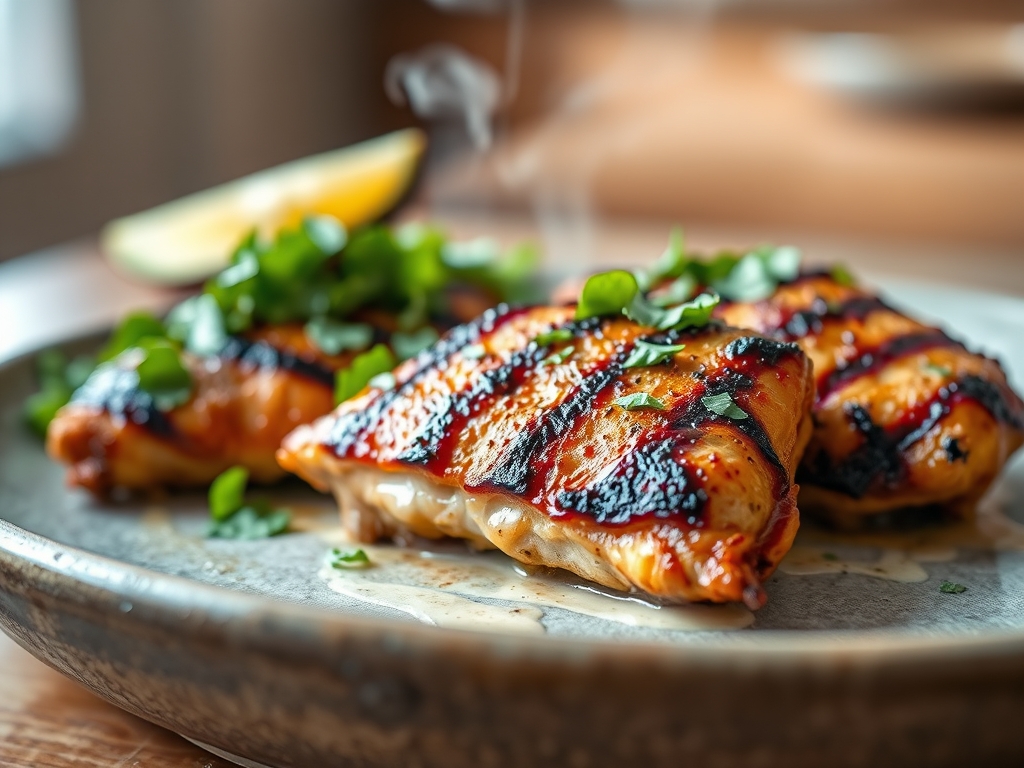
5. The Toasted Garlic Crunch
In a separate small pan, fry thinly sliced garlic "chips" in a neutral oil until they are golden brown. Drain them on a paper towel and sprinkle them over the finished dish.
Pro Tip: This introduces a textural contrast known as the Maillard reaction. The crispy texture provides a sensory counterpoint to the tender chicken, making the dish feel more professional.
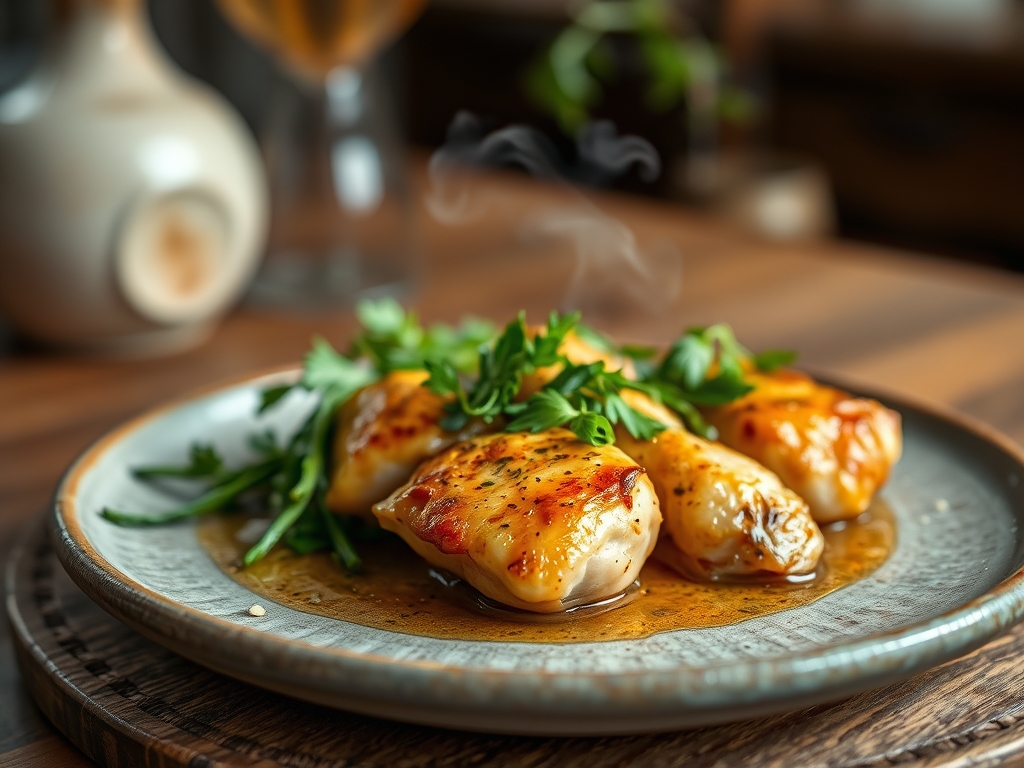
6. The Herb and Garlic Compound Butter
Finish your chicken by dropping a knob of garlic-herb compound butter onto the meat while it rests. Use a saucier to collect the melting juices and spoon them back over the top.
Pro Tip: Thermal carryover continues to cook the chicken even after it leaves the pan. Adding the fat during this stage ensures the moisture is locked in as the muscle fibers relax and reabsorb the juices.
The Deep Dive:
From a macro perspective, garlic chicken is a powerhouse. A standard serving provides approximately 35g of protein and is naturally low in carbohydrates. To keep it Keto-friendly, stick to butter and olive oil. For a Vegan alternative, use the same garlic techniques on thick slices of cauliflower or firm tofu. If you are Gluten-Free, ensure your deglazing liquid is a pure stock or wine rather than a flour-thickened gravy.
The Fix-It:
- Burnt Garlic: If your garlic turns dark brown or black, wipe the pan and start over. Bitterness cannot be masked.
- Dry Chicken: Use a digital scale or meat thermometer. Pull the chicken at 160 degrees Fahrenheit; carryover cooking will bring it to the safe 165 mark.
- Broken Sauce: If your sauce separates, add a teaspoon of warm water and whisk vigorously to re-establish the emulsification.
Meal Prep Science:
To maintain "day-one" quality, reheat your chicken gently. Use a low power setting on the microwave or a covered pan on the stove with a splash of water. This creates steam, preventing the proteins from becoming rubbery through over-exposure to high heat.
The Wrap-Up:
Mastering garlic chicken recipes easy enough for daily life is all about respecting the chemistry of the clove. By manipulating the size of your garlic cuts and controlling your thermal application, you can create a restaurant-quality meal with pantry staples. Grab your tongs, fire up the range, and let the aromatics do the heavy lifting. Your kitchen is about to smell incredible!
The Kitchen Table:
How do I prevent garlic from burning in the pan?
Add garlic during the last two minutes of searing, or use the cold-start method. This ensures the garlic softens and releases oils without reaching the high temperatures that cause carbonization and a bitter flavor profile.
Can I use jarred minced garlic for these recipes?
While convenient, jarred garlic is preserved in citric acid, which alters the pH and mutes the natural sulfurous punch. For the best results, use fresh cloves and a microplane to achieve a superior, pungent aromatic base.
What is the best way to peel garlic quickly?
Place the clove on a cutting board and press down firmly with the flat side of a chef knife. The pressure breaks the skin's seal, allowing it to slip off easily without damaging the integrity of the clove.
Why does my garlic chicken sometimes taste bitter?
Bitterness usually stems from over-browning the garlic or failing to remove the "germ" (the green sprout inside old cloves). Always sauté until golden, never brown, and discard any green centers before mincing your aromatics.