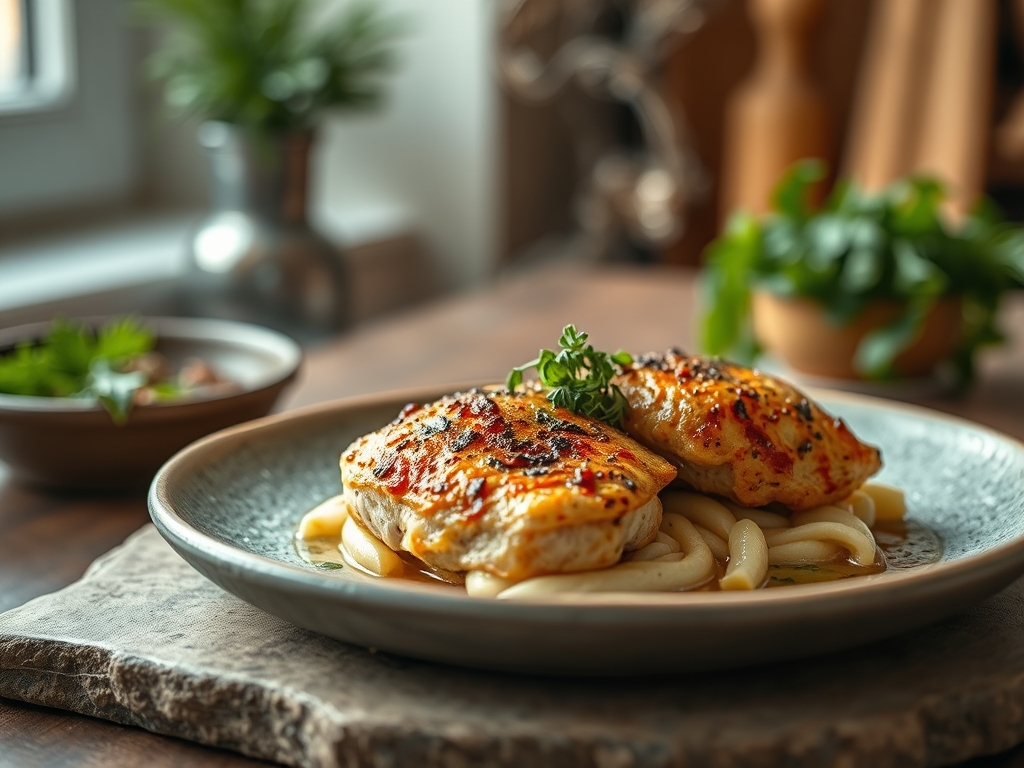
The scent of woodsmoke clinging to your flannel is the ultimate appetizer. When the sun dips below the pines and the cast iron begins to hiss; that is the moment you realize campfire chicken recipes are the pinnacle of outdoor luxury. Forget the dry, charred bird of your childhood scouting trips. We are engineering flavor profiles that rival a high-end bistro while sitting on a fallen log.
The secret lies in the physics of the flame. Cooking over an open fire is not just about heat; it is about managing radiant energy and aromatic smoke infusion. Whether you are searing a thigh to achieve a glassy, lacquered skin or simmering a breast in a piquant sauce, you are conducting a symphony of thermal reactions. We are aiming for that perfect intersection of rugged utility and culinary precision.
By the time the stars are out, you will have mastered the art of heat zones and fat rendering. These six recipes are designed to be foolproof yet sophisticated, ensuring your outdoor kitchen becomes the envy of the entire campground. Grab your favorite heavy-bottomed skillet and let's get to work on the most succulent poultry you have ever tasted in the wild.
The Gathers:
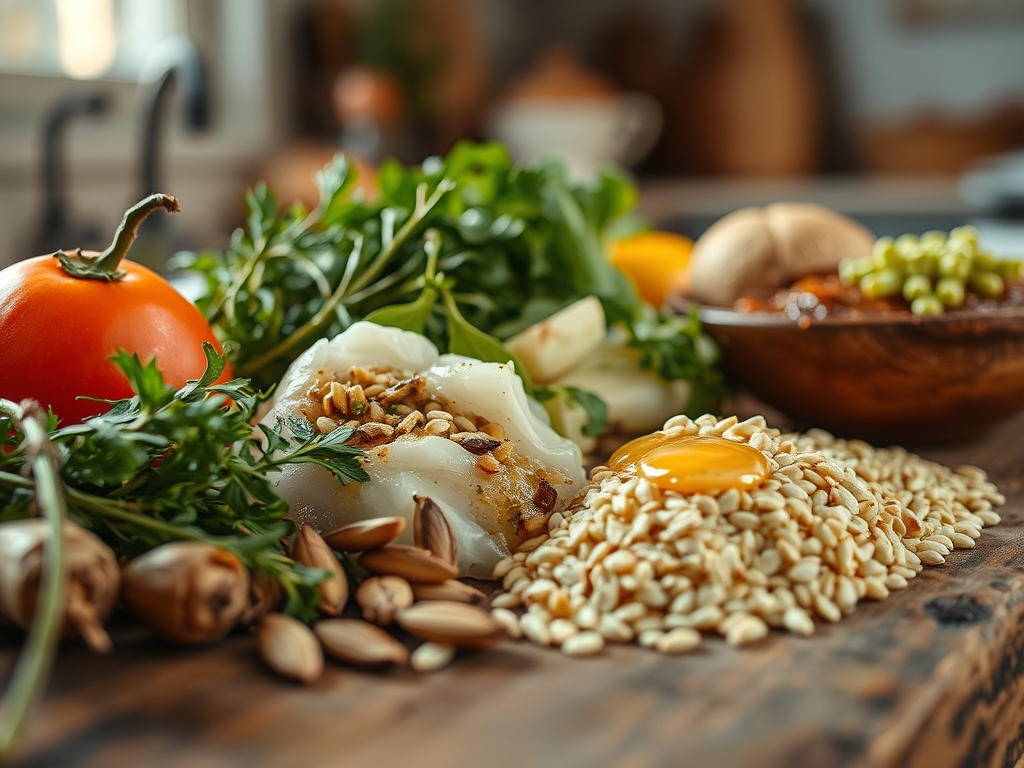
To execute these campfire chicken recipes with surgical precision, your mise-en-place must be impeccable. We start with high-quality protein; ideally organic thighs or breasts that have been patted dry to remove surface moisture. Moisture is the enemy of the Maillard reaction, the chemical process where amino acids and reducing sugars create that savory, brown crust we crave.
You will need a selection of viscous fats. Ghee or avocado oil are superior choices because they possess high smoke points, meaning they won't break down into bitter compounds over the unpredictable heat of a campfire. For aromatics, bring fresh garlic cloves and sprigs of rosemary; the volatile oils in these herbs will infuse the fat as it renders. Use a microplane to zest citrus directly over the meat for a bright, acidic finish that cuts through the richness of the smoke.
Smart Substitutions:
If you forgot the butter, a high-quality olive oil works, though you will lose the milk solids that help with browning. No fresh garlic? A pinch of granulated garlic provides a similar savory base without the risk of burning. For those avoiding poultry, firm blocks of halloumi or thick-cut cauliflower steaks react beautifully to these same spice rubs and heat applications.
The Clock
Efficiency in the woods is about the Chef's Flow. This is the rhythmic orchestration of prep work to ensure nothing sits in the "danger zone" of temperature for too long. Total prep time for these recipes averages 20 minutes, while cook times range from 15 to 30 minutes depending on your coal bed intensity.
The flow begins with the fire. You cannot cook over active flames; you must wait for the wood to collapse into a glowing bed of white-ashed coals. While the wood carbonizes, use a bench scraper to organize your chopped aromatics on a portable cutting board. This prevents cross-contamination and keeps your workspace tight. Once the coals are ready, the actual cooking is rapid. By the time the chicken hits the pan, your sides should already be staged and ready to plate.
The Masterclass
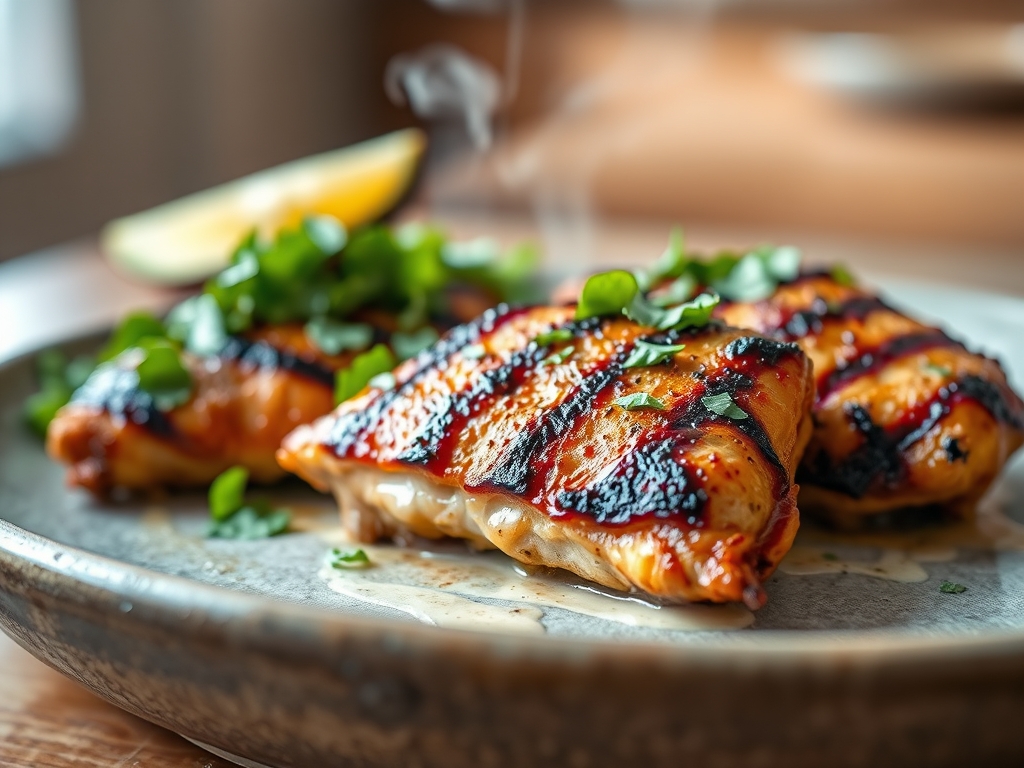
1. The High-Heat Sear
Place your heavy-bottomed skillet directly on a grate over the hottest part of the coals. Add your high-smoke-point oil and wait until it shimmers. Lay the chicken skin-side down, moving it as little as possible to allow the proteins to bond and then release naturally.
Pro Tip: This stage relies on conduction. The direct contact between the metal and the meat triggers the Maillard reaction. If you flip too early, you tear the delicate skin and lose the precious fats that provide flavor.
2. The Deglaze and Simmer
Once the chicken is browned, move the skillet to a cooler zone of the fire. Pour in a splash of chicken stock or dry white wine to deglaze the pan. Use a wooden spoon to scrape up the "fond," those caramelized bits stuck to the bottom.
Pro Tip: This is a lesson in solubility. The liquid dissolves the concentrated flavor compounds in the fond, creating a rich, complex sauce that coats the meat as it finishes cooking.
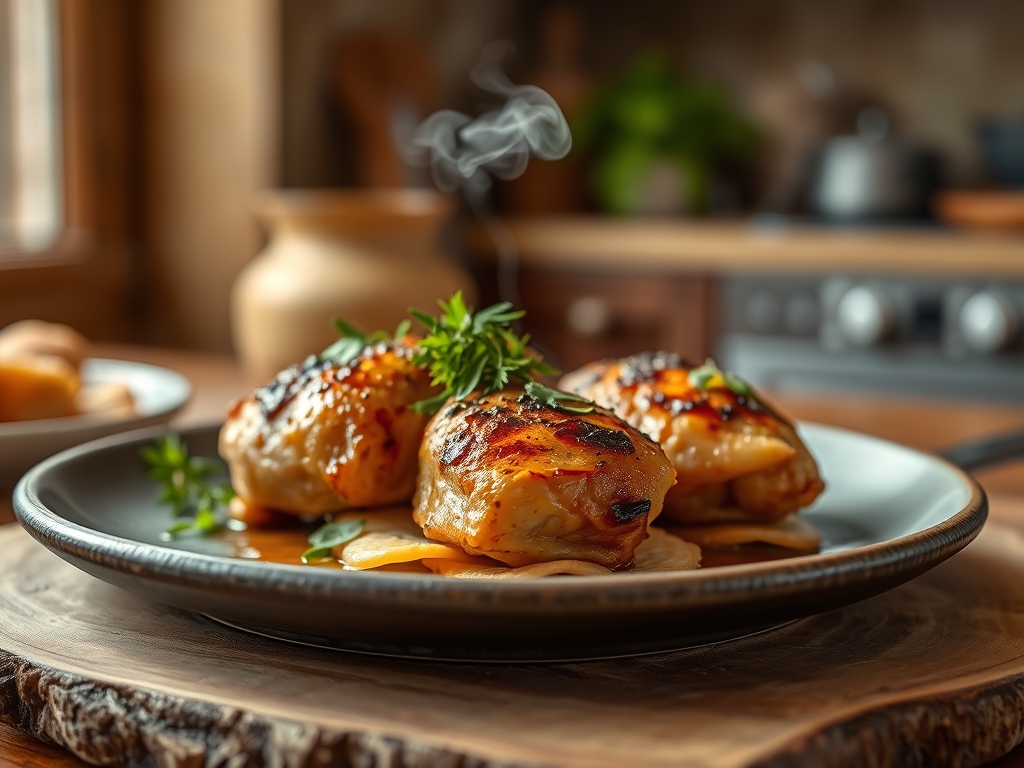
3. The Aromatic Infusion
Toss in your smashed garlic and woody herbs during the last five minutes of cooking. Use tongs to tilt the pan and baste the chicken with the flavored fat, a technique known as arroser.
Pro Tip: This uses lipid-based infusion. The essential oils in the herbs are fat-soluble; by basting, you are driving those flavors deep into the muscle fibers of the chicken.
4. The Thermal Rest
Remove the chicken from the heat when a digital scale or meat thermometer reads 160 degrees Fahrenheit. Tent the meat loosely with foil on a warm plate and let it sit for at least five to seven minutes before slicing.
Pro Tip: This accounts for carryover cooking. The internal temperature will continue to rise about five degrees after removal. Resting also allows the muscle fibers to relax and reabsorb juices, preventing a dry result.
The Deep Dive
From a macro nutrition perspective, chicken is a lean protein powerhouse. A standard four-ounce serving provides roughly 25 grams of protein with minimal carbohydrates. To keep it Keto-friendly, lean into the fats by using heavy cream in your pan sauces. For a Vegan swap, use soy-based "chicken" strips which respond well to the same searing techniques. If you are Gluten-Free, ensure your stock and spices are certified, as some pre-mixed rubs use flour as an anti-caking agent.
The Fix-It:
- The Skin is Rubber: Your heat was too low. The fat didn't render properly. Fix: Move the pan closer to the coals and press the chicken down with a weight.
- The Meat is Dry: You missed the carryover window. Fix: Slice the chicken thin and toss it in a quick saucier-made pan sauce to add moisture back.
- The Garlic Burnt: You added it too early. Fix: Scrape it out immediately and add a splash of lemon juice to mask the bitterness.
Meal Prep: To reheat leftovers with "day-one" quality, avoid the microwave. Use a small skillet with a tablespoon of water and a lid. This creates a steam chamber that gently rehydrates the proteins without toughening the fibers.
The Wrap-Up
Mastering campfire chicken recipes is about more than just eating; it is about reclaiming the primal joy of the hearth. By understanding the science of heat transfer and the chemistry of flavor, you transform a simple campsite meal into a gourmet experience. The woods are your dining room, the stars are your chandelier, and that perfectly seared chicken is your masterpiece. Now, go pour a glass of something crisp and enjoy the fruits of your scientific labor.
The Kitchen Table
How do I prevent chicken from sticking to the campfire grate?
Ensure the grate is scrubbed clean and preheated thoroughly. Use a high-smoke-point oil to coat the meat, not the grate. The protein will naturally release once the Maillard reaction has formed a sufficient crust on the surface.
What is the safest way to store raw chicken while camping?
Store chicken in a leak-proof vacuum-sealed bag at the bottom of a high-quality cooler. Ensure it stays below 40 degrees Fahrenheit by surrounding it with ice blocks. Keep it separate from ready-to-eat foods to prevent cross-contamination.
Can I use frozen chicken for campfire recipes?
Yes, but it must be fully thawed before cooking to ensure even heat distribution. Thawing in the cooler over 24 hours is the safest method. Cooking from frozen leads to a burnt exterior and a raw, dangerous interior.
What is the best wood for flavoring campfire chicken?
Hardwoods like oak, hickory, or fruitwoods like apple and cherry are ideal. They provide a clean, consistent heat and a pleasant aromatic profile. Avoid softwoods like pine, which contain resins that produce a bitter, sooty smoke.