Picture the kitchen at three in the afternoon. The air is thick with the scent of toasted coriander and peppercorns; it is a heavy, nostalgic aroma that promises a meal of substance. While most people default to the slow cooker, we are going to talk about the transformative power of dry heat. When you master corned beef recipes oven roasted, you are not just boiling a brisket; you are engineering a masterpiece of texture and flavor. We are aiming for a crust that shatters under the knife and a center that yields like butter. This is about taking a humble, salt-cured cut and elevating it through controlled thermal application. Forget the gray, soggy slabs of your childhood. Today, we are focusing on the Maillard reaction and the slow breakdown of connective tissues to create something truly transcendent. We are going to treat this brisket like the royalty it is, using precision and a little bit of kitchen chemistry to ensure every slice is a piquant revelation of salt, fat, and spice.
The Gathers:
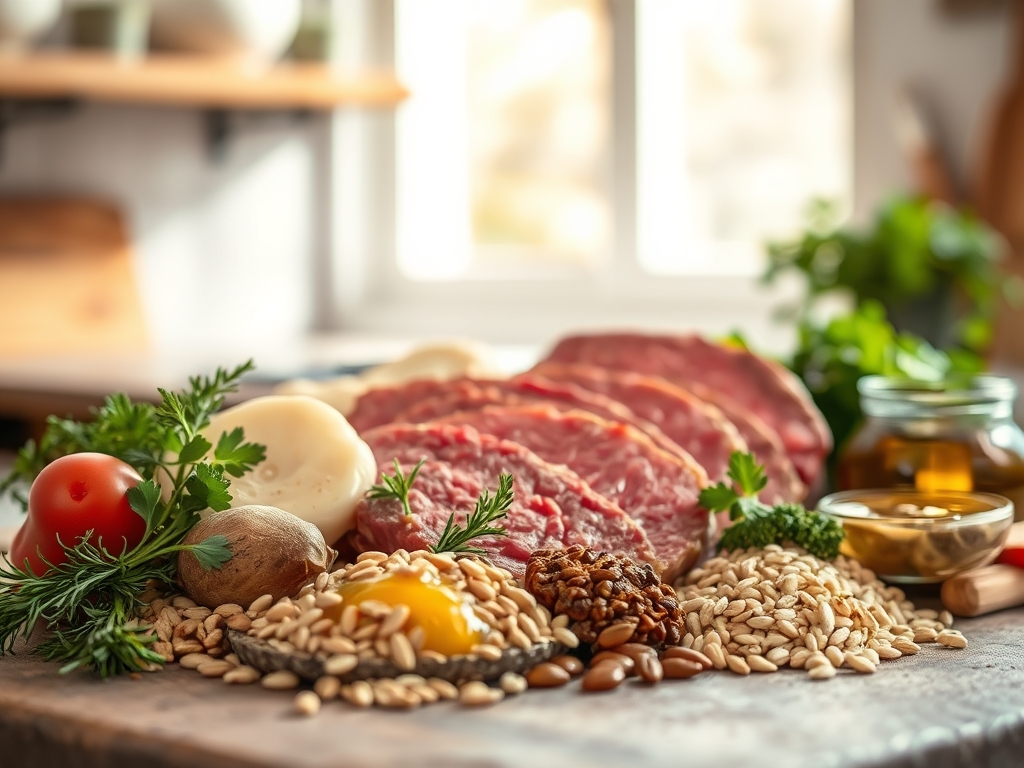
To begin, you need a high-quality flat-cut or point-cut brisket, typically weighing between three and five pounds. Look for a fat cap that is at least a quarter-inch thick; this is your built-in self-basting system. You will also need a saucier to prepare your glaze and a digital scale to measure out your aromatics if you are blending your own pickling spice. Your mise-en-place should include whole mustard seeds, bay leaves, allspice berries, and black peppercorns. For the liquid component, a bottle of dry Irish stout or a viscous beef bone broth will provide the necessary steam to soften the collagen.
Smart Substitutions: If you find yourself without a traditional spice packet, a blend of star anise and toasted fennel seeds adds a sophisticated, licorice-like depth. Instead of brown sugar for the glaze, try maple syrup or honey; both contain different sugar structures that caramelize at varying temperatures, providing a more complex crust. If you are avoiding alcohol, a splash of apple cider vinegar mixed with water will provide the acidity needed to brighten the heavy fats of the beef.
The Clock:
The "Chef's Flow" is all about managing your timeline so you aren't rushing the rest period. Expect about 30 minutes of active prep time, which includes rinsing the meat and preparing the braising liquid. The roasting phase is the marathon, requiring roughly one hour per pound at a low temperature of 300 degrees Fahrenheit. Finally, you must account for a 20-minute mandatory rest period. If you cut into the meat too soon, the internal pressure will force the juices out, leaving you with a dry, fibrous result. Total time: approximately 4 to 5 hours.
The Masterclass:
1. The Desalination Rinse
Remove the brisket from its packaging and rinse it thoroughly under cold filtered water. This removes the excess surface brine which can become overly salty during the roasting process. Use a bench scraper to clear any excess moisture from your cutting board afterward.
Pro Tip: This step is crucial because it prevents the surface from becoming "salt-burned." By removing the exterior nitrates, you allow the heat to penetrate the muscle fibers more evenly without creating a bitter crust.
2. The Sear and Render
Place the brisket fat-side down in a heavy-bottomed skillet over medium-high heat. You want to render some of that fat and create a golden-brown sear before it ever hits the oven. Use tongs to flip it once a crust has formed.
Pro Tip: Searing initiates the Maillard reaction. This chemical reaction between amino acids and reducing sugars creates hundreds of different flavor compounds that boiling simply cannot replicate.
3. The Aromatics Infusion
Place the meat in a deep roasting pan. Scatter your spices across the top and pour your chosen liquid (stout or broth) into the bottom of the pan, ensuring it does not submerge the meat. The liquid should reach about halfway up the sides of the brisket.
Pro Tip: This creates a dual-zone cooking environment. The bottom of the meat braises in the liquid, while the top roasts in the ambient heat, giving you the best of both textural worlds.
4. The Tight Seal
Cover the roasting pan tightly with heavy-duty aluminum foil. You want to create a pressurized steam environment that will break down the tough elastin and collagen within the brisket.
Pro Tip: Collagen begins to denature and turn into gelatin at around 160 degrees Fahrenheit. The foil trap ensures the meat stays moist during this long, transformative phase.
5. The Low and Slow Roast
Slide the pan into a preheated 300-degree oven. This low temperature prevents the muscle fibers from tightening too quickly, which would result in a rubbery texture.
Pro Tip: Slow roasting allows for "enzyme activation." Endogenous proteases stay active longer at lower temperatures, naturally tenderizing the meat from the inside out before the heat eventually deactivates them.
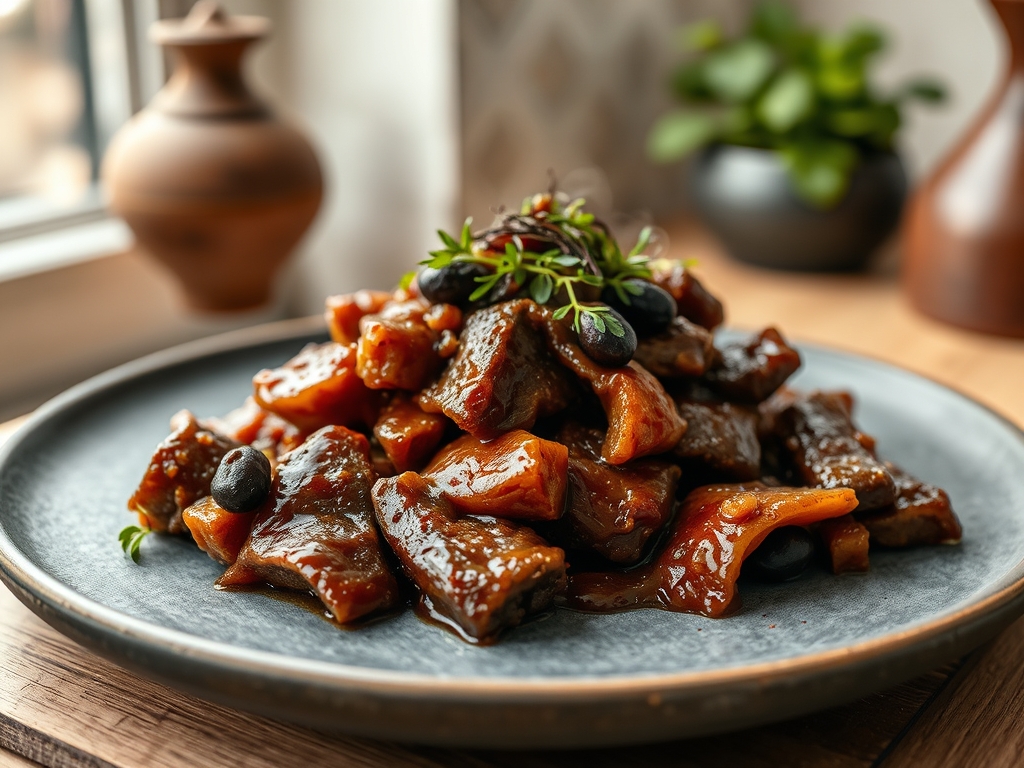
6. The Glaze Application
In the final 30 minutes, remove the foil. Use a microplane to grate fresh ginger or garlic into a mixture of mustard and honey, then brush this over the fat cap. Increase the oven temperature to 400 degrees.
Pro Tip: This "blast of heat" dehydrates the surface of the glaze, causing it to become viscous and tacky. This is the stage where the sugars undergo caramelization, providing a piquant contrast to the salty meat.
7. The Internal Temperature Check
Use a digital thermometer to check the thickest part of the brisket. You are looking for an internal temperature of 195 to 205 degrees Fahrenheit for that "melt-in-your-mouth" feel.
Pro Tip: This is known as the "sweet spot" for brisket. At this temperature, the internal fats have fully liquefied, providing a self-lubricating effect to the muscle fibers.
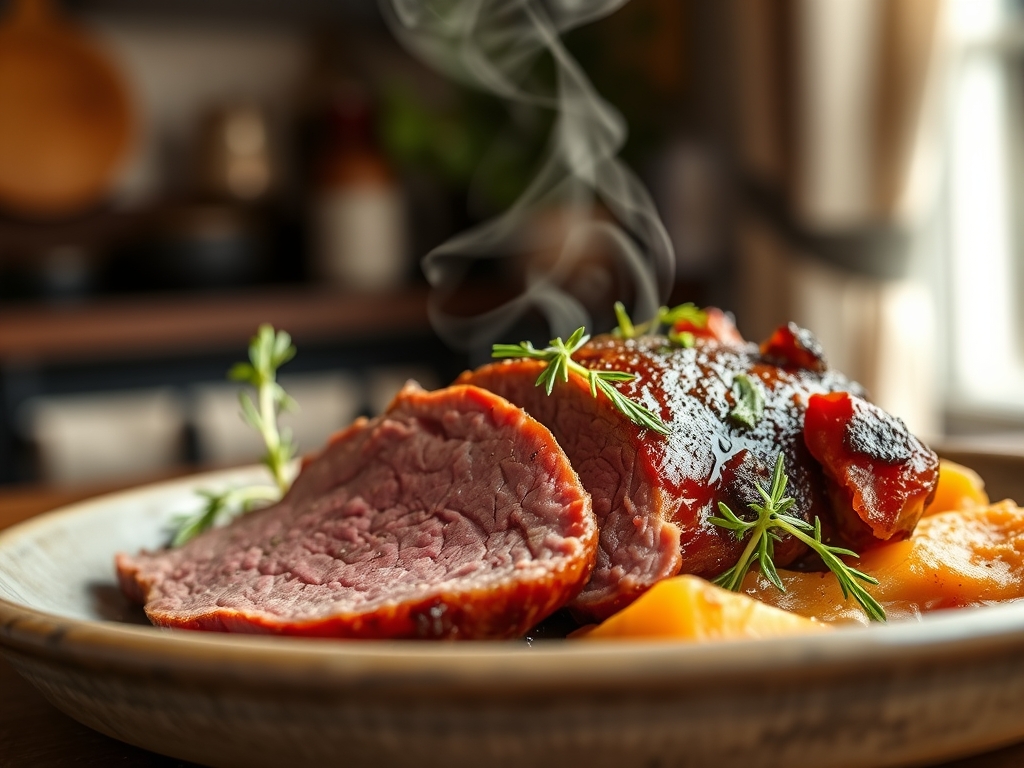
8. The Carryover Rest
Transfer the meat to a warm platter and tent it loosely with foil. Let it sit for at least 20 minutes.
Pro Tip: Thermal carryover will cause the internal temperature to rise by another 5 degrees. More importantly, the protein structures relax and reabsorb the juices, ensuring a succulent slice.
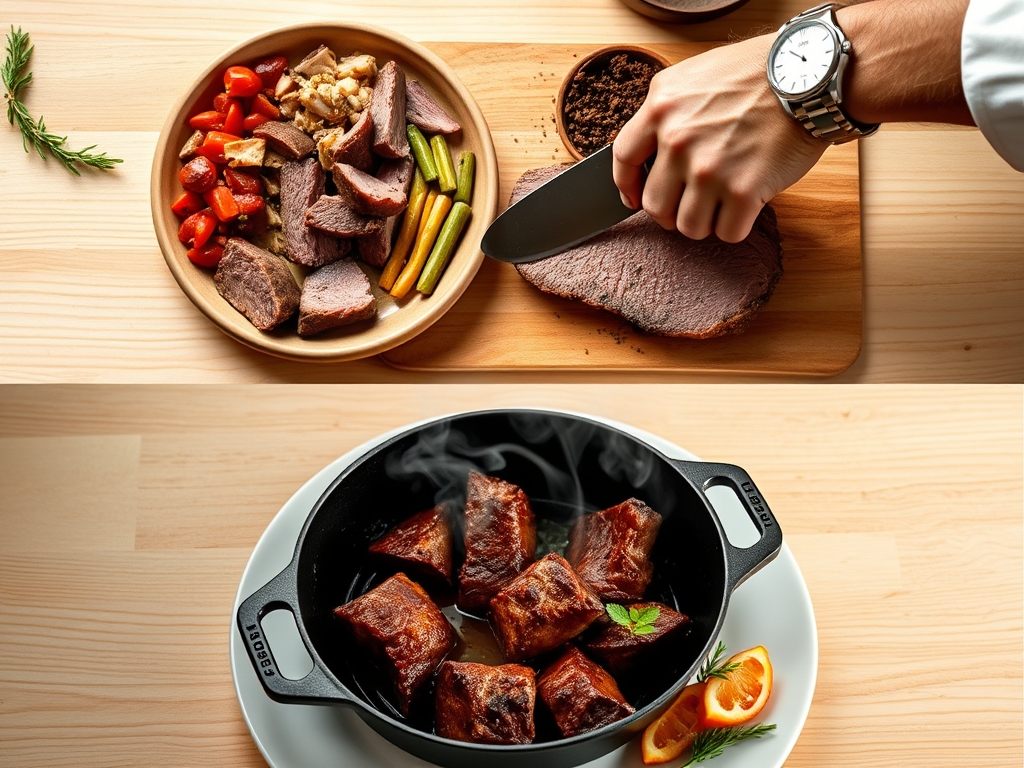
9. The Grain-Against-Grain Slice
Identify the direction of the muscle fibers and slice perpendicular to them. Use a long, serrated knife for the cleanest cuts.
Pro Tip: Slicing against the grain shortens the muscle fibers, making the meat significantly easier to chew. This is a mechanical way to enhance the perceived tenderness of the dish.
The Deep Dive:
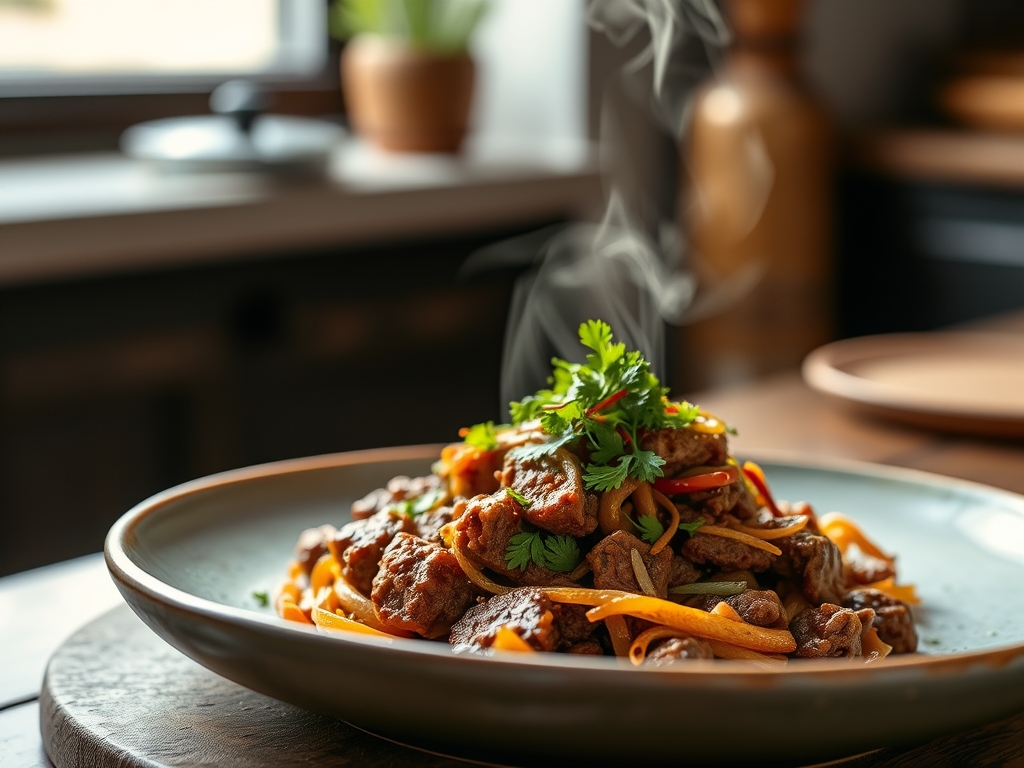
From a macro nutrition perspective, corned beef is a powerhouse of protein and B vitamins, though it is high in sodium and saturated fats. To balance the plate, serve it with cruciferous vegetables like roasted cabbage or Brussels sprouts, which provide fiber to aid digestion.
Dietary Swaps: For a Keto-friendly version, swap the sugar in the glaze for an erythritol-based sweetener. For a Gluten-Free version, ensure your beef broth is certified and skip the Irish stout in favor of a dry white wine or extra broth. If you are looking for a Vegan alternative, many chefs use "corned" seitan or large oyster mushrooms, though the cooking times will be significantly reduced to about 45 minutes.
The Fix-It:
- Meat is too tough: This usually means the collagen hasn't fully converted to gelatin. Wrap it back up with a splash of liquid and put it back in the oven for another 45 minutes.
- Too salty: If the finished product is an electrolyte overload, serve it with an un-salted starch like boiled potatoes or a creamy, fat-heavy sauce to coat the palate.
- Dry exterior: You likely skipped the foil or the temperature was too high. Next time, ensure a tighter seal and use a water bath in the oven to increase humidity.
Meal Prep: To reheat, do not use the microwave; it will turn the fat rubbery. Instead, place slices in a skillet with a tablespoon of water and cover with a lid. The steam will gently re-hydrate the proteins, maintaining "day-one" quality.
The Wrap-Up:
Mastering corned beef recipes oven roasted is a rite of passage for any home cook who values flavor over convenience. By understanding the science of collagen breakdown and the beauty of the Maillard reaction, you have transformed a standard grocery store find into a gourmet centerpiece. Whether you are serving this for a festive holiday or a high-protein meal prep, the key is patience and precision. Now, grab your carving knife and enjoy the fruits of your scientific labor!
The Kitchen Table:
How do I keep my corned beef from being dry?
The secret is a tight foil seal and a low roasting temperature. This creates a steam-rich environment that breaks down connective tissue without evaporating the internal moisture of the meat. Always let the meat rest before slicing.
Can I roast corned beef without liquid?
While you can, it is not recommended. Adding a small amount of stout or broth creates steam, which is essential for tenderizing the tough brisket fibers. Without it, the exterior will likely toughen before the interior is fully cooked.
Which cut is better: flat or point?
The flat cut is leaner and easier to slice into uniform pieces, making it perfect for sandwiches. The point cut has more intramuscular fat and marbling, resulting in a more flavorful and tender bite if you prefer a richer texture.
How long does leftover corned beef last?
Stored in an airtight container, it will stay fresh for three to four days in the refrigerator. For longer storage, you can freeze it for up to two months, though the texture may become slightly softer upon thawing.