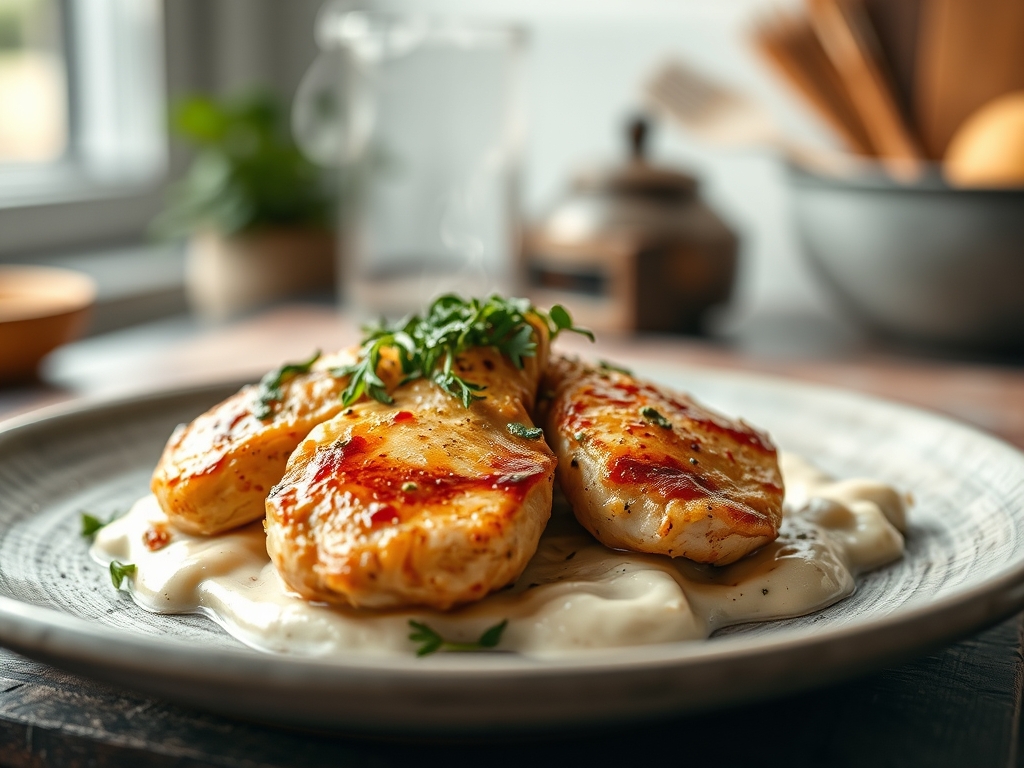
Picture this: the kitchen is thick with the scent of rosemary and rendered fat, a heavy perfume that signals something monumental is happening. You are standing over a primal cut of meat, your digital thermometer in hand, about to transform a massive piece of protein into a masterpiece. Mastering whole beef recipes is not just about following a timer; it is about understanding the physics of heat and the chemistry of muscle fibers. Whether you are hosting a holiday gala or a high-stakes Sunday dinner, the pressure to deliver a perfectly pink center and a salty, crusty exterior is real. We are moving beyond the basic pot roast into the realm of professional-grade culinary execution. This is where we bridge the gap between "home cook" and "executive chef" by manipulating moisture, salt, and fire. Grab your apron and your sharpest slicing knife; we are about to dive into the molecular mechanics of the perfect roast.
The Gathers:
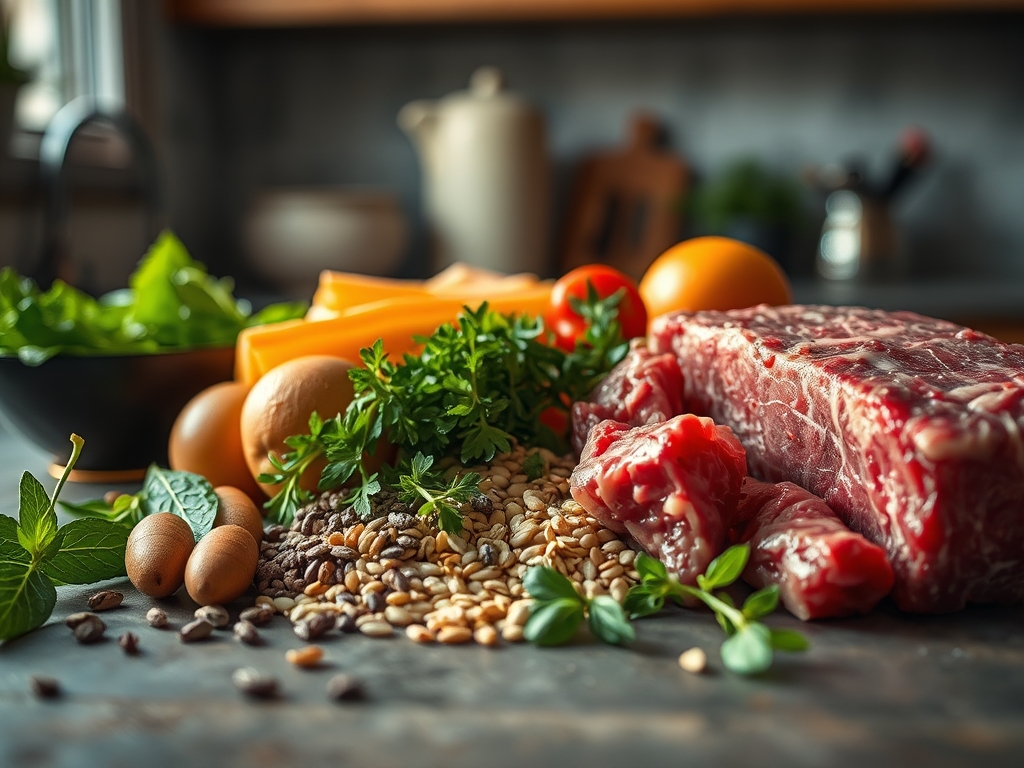
Before we ignite the flame, your mise-en-place must be flawless. You need a high-quality roast, preferably a center-cut tenderloin or a standing rib roast with significant intramuscular marbling. The fat should be white and firm, indicating a well-finished animal. You will also need coarse kosher salt; the large grains are essential for controlled seasoning and drawing out moisture. Fresh aromatics are non-negotiable: sprigs of woody rosemary, thyme, and a whole head of garlic to infuse the rendered lipids. For the crust, gather cracked black peppercorns and perhaps a touch of porcini powder for an earthy umami boost.
Smart Substitutions: If you cannot find a prime rib, a top sirloin roast is a fantastic, budget-friendly alternative that maintains a beefy profile. For those avoiding butter, use high-smoke-point avocado oil or wagyu tallow to facilitate the sear. If fresh herbs are scarce, a high-quality dry rub can work, but you must rehydrate it in a bit of oil first to prevent the spices from scorching in the high heat of the oven.
The Clock
Efficiency in the kitchen is governed by what I call the Chef's Flow. This is the art of overlapping tasks so that nothing sits idle. For a five-pound roast, expect a total commitment of about four hours, though only forty minutes of that is active labor. The "Resting Phase" is the most critical time block on your schedule; it is not "down time," it is "active equilibration time."
- The Temper (60-90 minutes): Bringing the meat to room temperature to ensure even heat penetration.
- The Prep (15 minutes): Trimming silver skin and applying the dry brine.
- The Sear (10 minutes): High-intensity Maillard reaction on the stovetop.
- The Roast (60-90 minutes): Low and slow thermal transfer until the core reaches 125 degrees Fahrenheit.
- The Rest (30-45 minutes): Allowing the internal juices to thicken and redistribute.
The Masterclass
1. The Dry Brine Protocol
Start by patting the beef bone-dry with paper towels. Use a digital scale to measure out 1.5% of the meat's weight in kosher salt. Rub it aggressively into every crevice. Place the meat on a wire rack over a sheet pan and refrigerate it uncovered for at least six hours.
Pro Tip: This process utilizes osmosis to draw moisture out, dissolve the salt, and then pull that seasoned brine back into the muscle fibers. This denatures the proteins, making the final result significantly more tender.
2. Tempering for Uniformity
Take the beef out of the fridge at least an hour before cooking. If the center is icy while the exterior is warm, you will end up with the "gray ring" of overcooked meat surrounding a raw core.
Pro Tip: Thermal conductivity is higher in room-temperature fats. Tempering ensures the heat moves through the meat at a predictable, steady rate, preventing a "bullseye" effect where the outside is parched before the inside is safe to eat.
3. The High-Octane Sear
Heat a heavy-bottomed skillet (cast iron is king here) until it is screaming hot. Use tongs to press the fat cap against the metal. You want to render that fat down until it is liquid gold, then sear every other side for 2 minutes.
Pro Tip: This is the Maillard reaction in action. At temperatures between 280 and 330 degrees Fahrenheit, amino acids and reducing sugars rearrange to create hundreds of flavor compounds. No sear means no soul.
4. Aromatics and Infusion
Once seared, place the roast in a roasting pan. Smash a head of garlic and toss it into the pan along with your herbs and a knob of cold butter. Use a saucier to melt butter and spoon it over the meat before it hits the oven.
Pro Tip: Fat is a solvent for flavor. The essential oils in rosemary and thyme are fat-soluble, meaning they will infuse into the rendered beef fat and coat the entire roast in a fragrant, viscous layer of aromatics.
5. Low and Slow Roasting
Set your oven to a low 250 degrees Fahrenheit. Insert a probe thermometer into the thickest part of the meat. We are looking for a slow climb; high heat causes muscle fibers to contract violently, squeezing out precious juice.
Pro Tip: Low-temperature roasting minimizes the temperature gradient between the surface and the center. This results in an edge-to-edge pink interior that looks like it came from a professional steakhouse.
6. The Carryover Calculation
Pull the beef out of the oven when it is 5 to 7 degrees below your target temperature. If you want a perfect 135-degree medium-rare, pull it at 128 degrees.
Pro Tip: This is "thermal carryover." The residual heat on the exterior continues to move toward the center even after the meat is out of the oven. Ignoring this law of physics is the number one cause of overcooked roasts.
7. The Rest is Holy
Transfer the roast to a bench scraper cleaned surface or a warm cutting board. Tent it loosely with foil. Do not touch it for at least 30 minutes.
Pro Tip: During cooking, the proteins tighten and push water toward the center. Resting allows those proteins to relax and reabsorb the liquid. If you cut it too soon, the juice will flood the board, leaving the meat dry and fibrous.
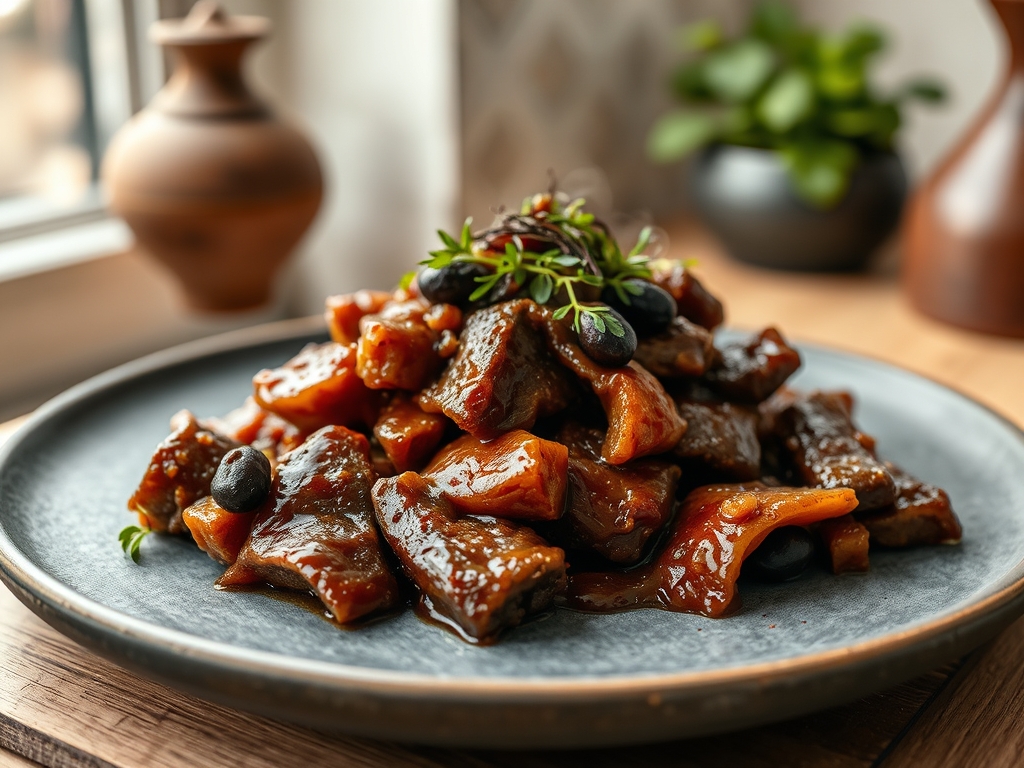
8. Deglazing the Fond
While the meat rests, take that roasting pan and put it over a burner. Add a splash of red wine or beef stock. Use a whisk to scrape up the brown bits (the fond).
Pro Tip: This process of deglazing captures the concentrated sugars and proteins stuck to the pan. It creates a piquant sauce that acts as a flavor bridge between the crust and the tender interior.
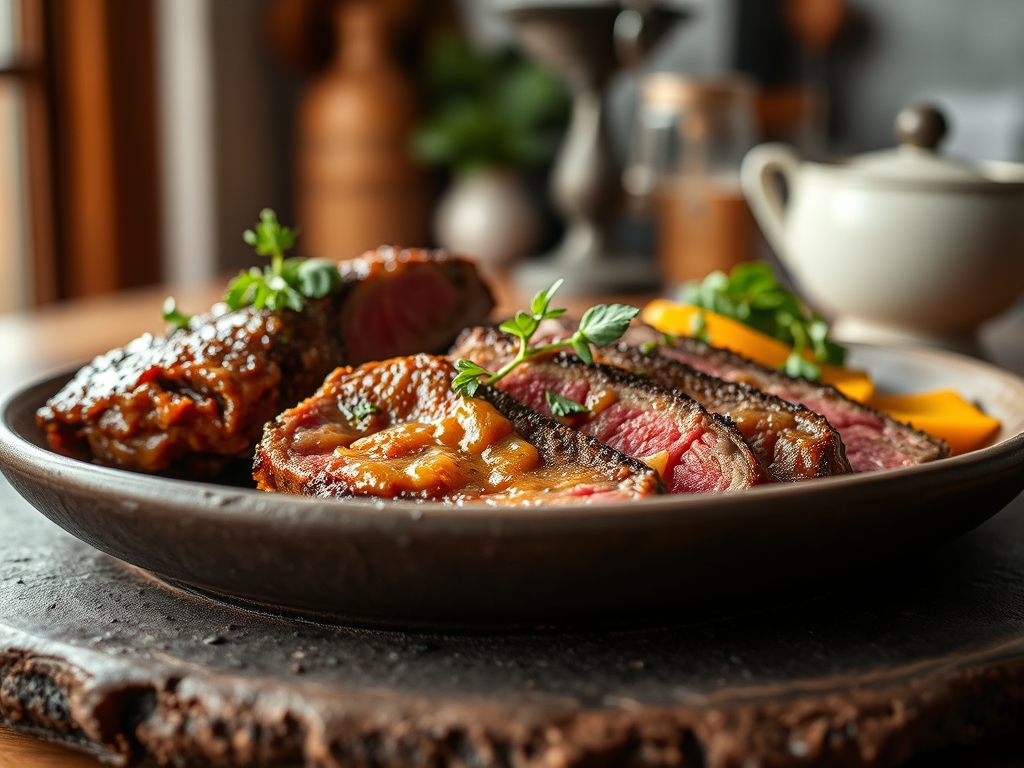
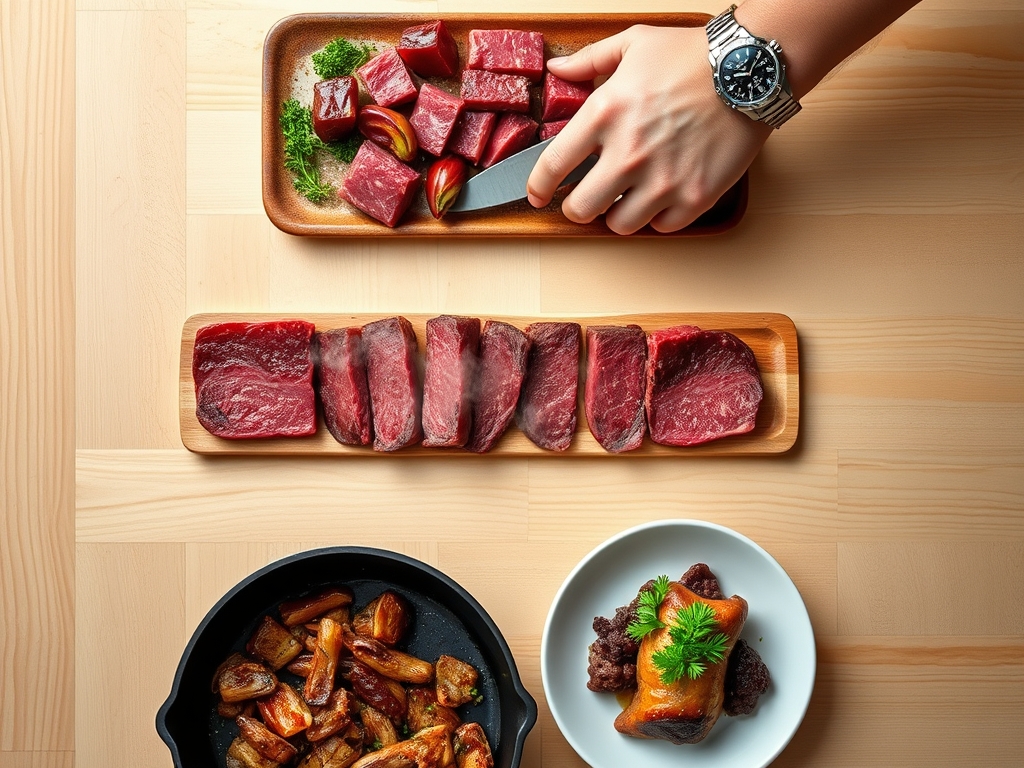
9. The Precision Slice
Use a long, unserrated slicing knife. Find the grain of the meat and slice perpendicular to it. This shortens the muscle fibers, making every bite melt in your mouth.
Pro Tip: Slicing against the grain is a mechanical way to "tenderize" the meat. Even a tougher cut becomes buttery when the long, stringy fibers are cut into short, manageable sections.
The Deep Dive
Macro Nutrition: A 6-ounce serving of roast beef provides roughly 45 grams of high-quality protein and 20 grams of fat. It is a dense source of Vitamin B12, Zinc, and Heme-Iron, which is the most bioavailable form for human absorption.
Dietary Swaps:
- Keto: This recipe is naturally keto-perfect. Ensure your rub has no added sugars or cornstarch.
- Vegan: For a "whole roast" experience, look toward a smoked, salt-crusted celeriac root or a seitan-based loaf enriched with beet juice for color.
- Gluten-Free: Ensure your beef stock and any thickening agents for the gravy are certified GF; use arrowroot powder instead of flour to aerate and thicken your sauce.
The Fix-It:
- Problem: The crust is soggy. Fix: You didn't dry the meat enough. Next time, use a hair dryer (yes, really) on the cool setting to desiccate the surface before searing.
- Problem: The meat is tough. Fix: It likely didn't rest long enough or was cooked too fast. Slice it paper-thin to compensate for the tension.
- Problem: The fat didn't render. Fix: Use a microplane to zest some fresh horseradish over it; the heat of the root will cut through the unrendered fat and provide a needed flavor contrast.
Meal Prep: To reheat leftovers without losing quality, do not use a microwave. Instead, wrap slices in foil with a teaspoon of beef broth and heat in a 300-degree oven until just warm. This prevents the proteins from "re-cooking" and turning rubbery.
The Wrap-Up
There you have it; the definitive guide to conquering the roast. By focusing on the science of the Maillard reaction and the patience of the rest, you have transformed a simple ingredient into a culinary event. Remember, the secret is in the details: the salt ratio, the surface moisture, and that crucial internal temperature. Go forth, use your tools with confidence, and prepare for the standing ovation you deserve.
The Kitchen Table
How do I get a better crust on my roast?
Ensure the surface is bone-dry before searing. Use a high-smoke-point oil in a preheated cast-iron pan. The Maillard reaction requires high heat and zero surface moisture to create that deep, umami-rich brown crust.
What is the best internal temperature for medium-rare?
Aim for a final temperature of 135 degrees Fahrenheit. Pull the meat from the oven when it hits 128 degrees to account for thermal carryover, which will raise the temperature during the resting phase.
Can I roast beef directly from the freezer?
It is not recommended. The exterior will overcook and become leathery before the center even begins to thaw. For the best results, always thaw completely in the refrigerator and temper at room temperature before cooking.
Why is my roast beef tough even though it is pink?
Toughness often results from skipping the resting period or slicing with the grain. Resting allows muscle fibers to relax and reabsorb juices, while slicing against the grain mechanically breaks down tough fibers for a tender mouthfeel.