Picture this: you are standing in your kitchen at 6:00 PM, staring at a solid, rock-hard brick of chuck that you forgot to defrost. Your stomach is growling, and your dinner plans are dissolving into a puddle of takeout-induced regret. But wait, because your pressure cooker is about to become your best friend. Mastering instant pot frozen ground beef recipes is not just about convenience; it is a high-speed exercise in thermodynamics that delivers juicy, perfectly crumbled protein in under thirty minutes. We are skipping the soggy microwave defrosting and moving straight to a high-pressure environment where steam molecules penetrate the dense ice crystals of the meat, ensuring an even cook without the gray, rubbery texture of traditional boiling methods.
The Gathers:
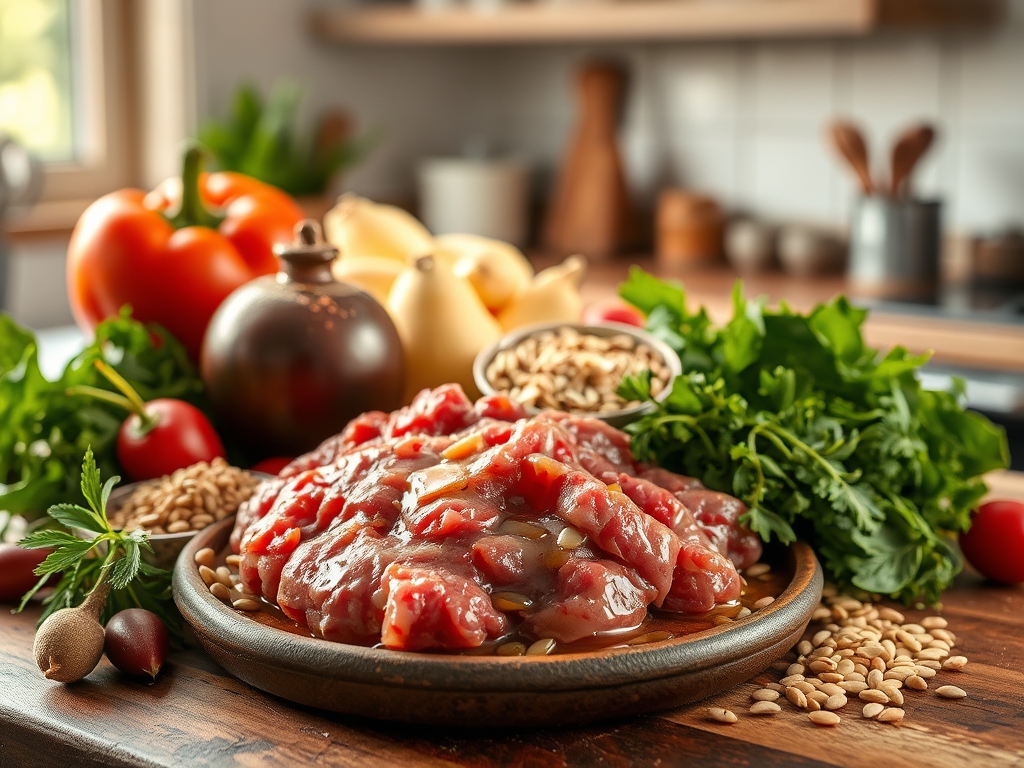
To execute these instant pot frozen ground beef recipes with precision, you need to assemble your mise-en-place with a focus on flavor density. Start with one pound of frozen ground beef; ideally, a 20/80 fat ratio to ensure the meat stays succulent during the high-pressure cycle. You will need one cup of filtered water or a rich, viscous beef bone broth to create the necessary steam. For the aromatic profile, gather a head of garlic to be processed via microplane, one medium yellow onion finely diced with a bench scraper, and a bouquet of fresh thyme.
Do not forget the acidic component to brighten the heavy fats. A splash of apple cider vinegar or a squeeze of lemon will do wonders. If you are looking for Smart Substitutions, you can swap the beef for frozen ground turkey or lamb. However, turkey has less natural fat, so you must add a tablespoon of avocado oil to prevent the proteins from becoming overly lean and dry. If you want to elevate the umami, keep a bottle of Worcestershire sauce or liquid aminos nearby to infuse the liquid base with a savory depth.
The Clock:
The "Chef's Flow" for this process is all about timing and thermal momentum. Your total active prep time is a mere five minutes, mostly spent gathering your digital scale and measuring your liquids. The pressure cooker requires approximately eight to ten minutes to reach the necessary internal psi. Once pressurized, the beef cooks for five minutes.
The most critical phase is the natural release, which takes ten minutes. This allows the muscle fibers to relax and reabsorb the rendered juices. If you perform a quick release too early, the sudden drop in pressure causes the moisture to evaporate instantly, leaving you with dry meat. Total time from freezer to table is roughly twenty-five minutes; faster than most delivery drivers can find your front door.
The Masterclass:
1. The Liquid Foundation
Place your stainless steel trivet into the inner pot and pour in your cup of liquid. Whether you use water or broth, this liquid is the medium for heat transfer.
Pro Tip: This is known as convection heating. By using a trivet, you ensure the meat is cooked by steam rather than boiling in its own rendered fat, which prevents a greasy, boiled texture.
2. The Frozen Insertion
Place the frozen block of beef directly onto the trivet. Ensure it is centered to allow the steam to circulate evenly around all four sides of the block.
Pro Tip: Do not season the frozen block yet. Salt is a desiccant; if it sits on the ice crystals, it can draw out moisture prematurely and affect the final texture of the protein.
3. The High-Pressure Seal
Lock the lid and set the valve to the sealing position. Program the unit for five minutes on high pressure. While it builds steam, you can prep your garnishes or a side salad.
Pro Tip: This phase utilizes latent heat. The steam molecules are forced into the microscopic gaps of the frozen meat, thawing and cooking simultaneously at a temperature higher than the boiling point of water.
4. The Natural Release
Once the timer beeps, let the pot sit undisturbed for ten minutes. This is the "rest" period that any high-quality protein requires to maintain its structural integrity.
Pro Tip: This stage manages thermal carryover. The internal temperature of the beef continues to rise slightly even after the heat source is off, ensuring the center is fully cooked without overcooking the exterior.
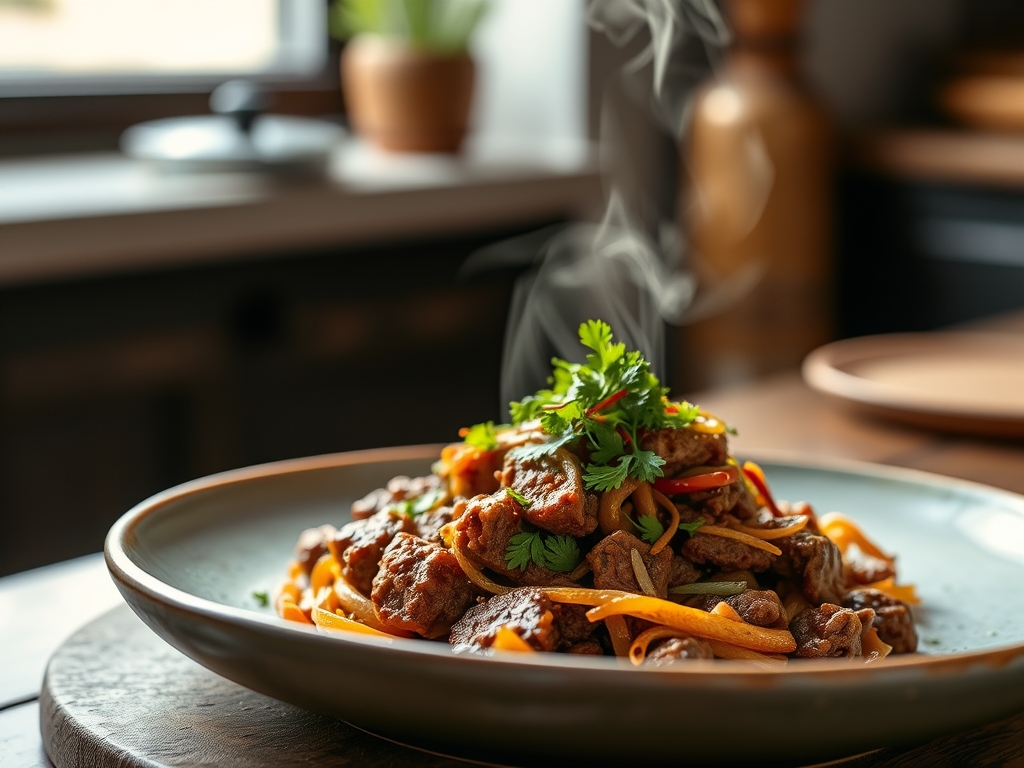
5. The Sauté Finish
Remove the lid, lift the beef out with tongs, and discard the cooking liquid (or save it for a base). Turn on the "Sauté" function and return the beef to the pot.
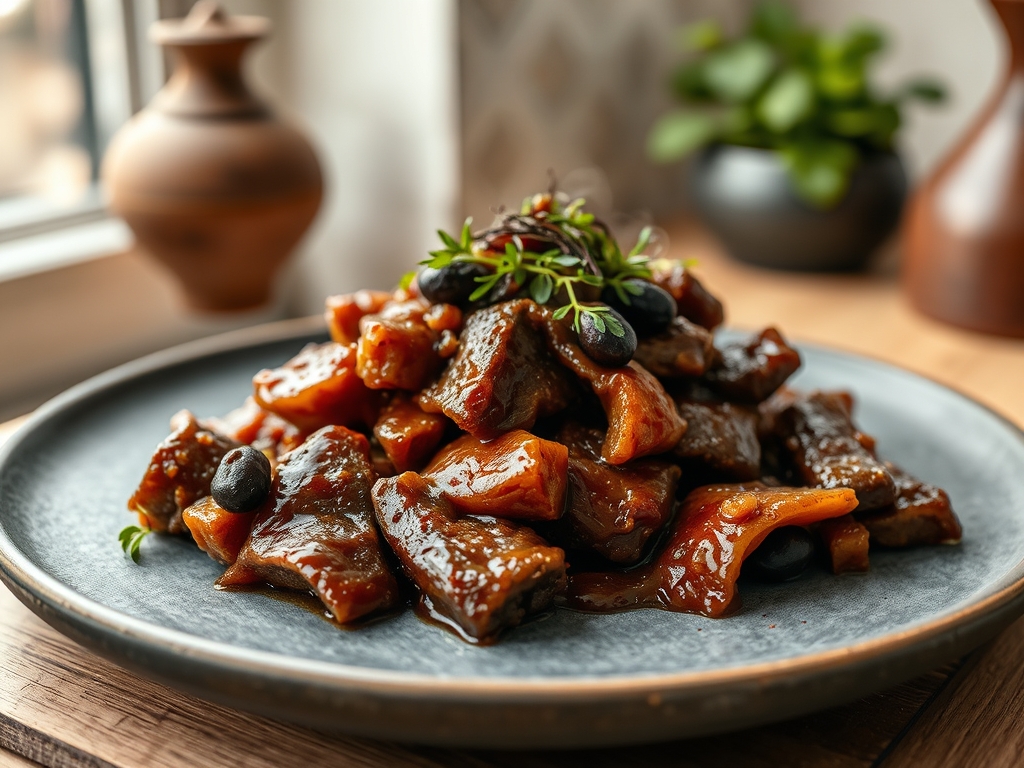
Pro Tip: This step triggers the Maillard reaction. By browning the now-cooked meat in the hot pot, you create complex flavor compounds and a piquant aroma that steam alone cannot achieve.
6. The Crumb Breakdown
Use a sturdy wooden spoon or a specialized meat masher to break the block into smaller crumbles. The meat will yield easily as the connective tissues have been softened.
Pro Tip: Breaking the meat after the pressure cycle prevents it from becoming a "meatloaf" texture. It allows for better aeration and a more traditional ground beef consistency.
7. The Final Infusion
Add your salt, pepper, garlic, and spices now. The rendered fat remaining in the pan will act as a carrier for the fat-soluble compounds in your spices.
Pro Tip: This is the deglazing phase. If there are brown bits stuck to the bottom, add a tablespoon of water or wine to scrape them up; those bits are concentrated flavor gold.
The Deep Dive:
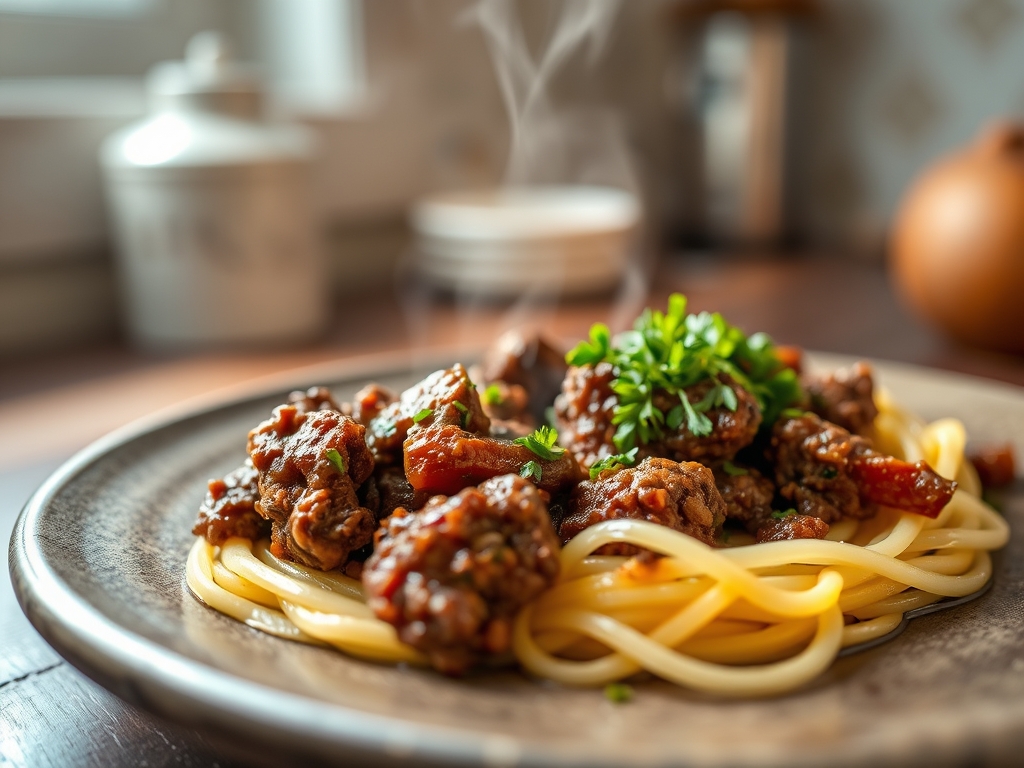
When we look at the macro nutrition of this method, one pound of 80/20 beef yields approximately four servings, each containing 20 grams of protein and 17 grams of fat. For those following a Keto lifestyle, this is a perfect high-fat, zero-carb base. If you are Vegan, you can apply this exact steaming method to frozen plant-based crumbles, though you should reduce the cook time to three minutes to avoid a mushy result. For a Gluten-Free version, simply ensure your broth and seasonings are certified GF.
Even the best chefs encounter pitfalls. If your meat is still slightly pink in the center, do not panic; simply use the "Sauté" function for an extra two minutes to finish it off. If the meat smells "steamy" or bland, you likely missed the deglazing step; add a teaspoon of tomato paste or soy sauce to build back that savory profile. If the beef is too dry, you likely used a quick release; next time, add a splash of beef stock back into the finished crumbles to rehydrate the fibers.
For meal prep enthusiasts, reheating is a science. To maintain "day-one" quality, reheat your beef in a saucier over medium heat with a tablespoon of water. This creates a mini-steam environment that prevents the fats from oxidizing and turning "waxy," a common issue with microwave reheating.
The Wrap-Up:
There you have it; the ultimate guide to turning a frozen brick of beef into a culinary masterpiece. You are now equipped with the technical knowledge to handle any dinner-time emergency with grace and wit. No more waiting for hours or settling for subpar textures. Grab your pressure cooker, trust the thermodynamics, and get ready to impress everyone at the table with your newfound kitchen sorcery!
The Kitchen Table:
Can I cook two pounds of frozen beef at once?
Yes, but do not stack them. Place them side-by-side or increase the pressure cook time to eight minutes. Ensure you still have at least one cup of liquid to maintain the necessary steam pressure for even cooking.
Do I need to change the time for turkey?
Frozen ground turkey is leaner and denser. Keep the cook time at five minutes, but ensure you use a natural release for the full ten minutes to prevent the lean proteins from becoming tough and rubbery during the cooling phase.
Why is my beef gray after pressure cooking?
Steaming does not cause browning. The gray color is a natural result of the moist-heat environment. Always use the "Sauté" function after the pressure cycle to trigger the Maillard reaction and develop a rich, brown, flavorful crust.
Is it safe to cook beef from frozen?
Absolutely. The USDA confirms that pressure cooking is a safe method for frozen meats because the device reaches high temperatures quickly, moving the food through the "danger zone" of bacterial growth much faster than a slow cooker or oven.