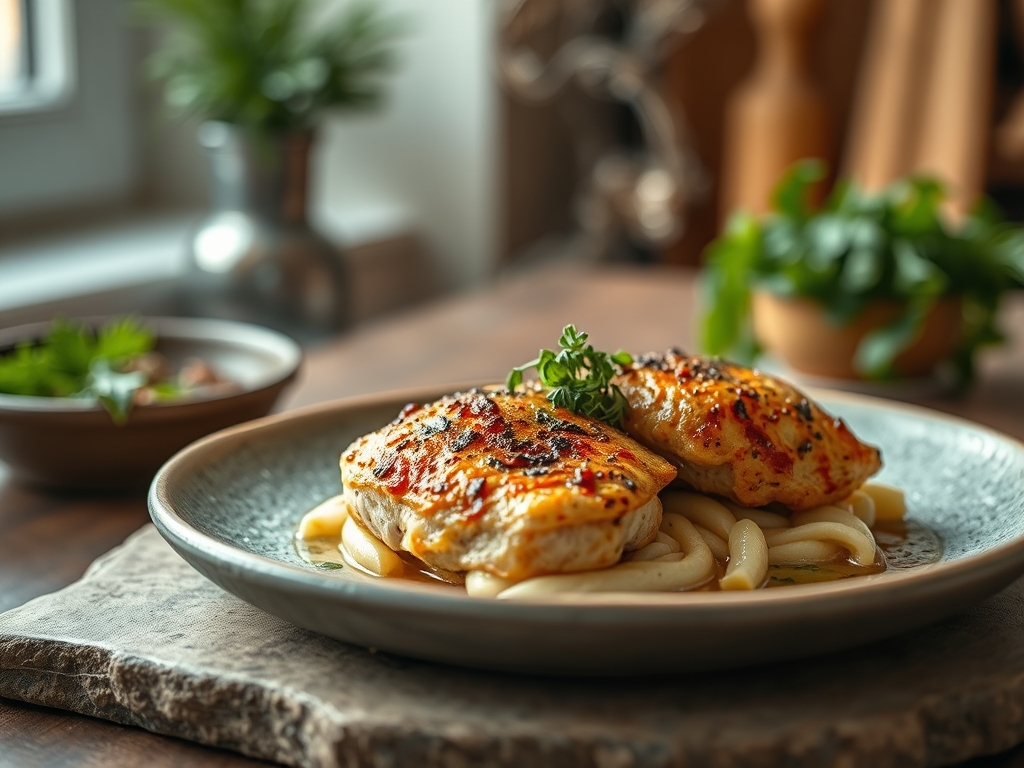
The kitchen is currently humming with the sound of a heavy lid rattling against seasoned iron. If you have been searching for the ultimate cast iron pot chicken recipes, you have finally arrived at the intersection of molecular science and pure comfort. There is a specific magic that happens when a bird meets the thermal mass of a Dutch oven; it is a transformation that turns humble proteins into a masterpiece of golden skin and succulent meat. We are moving beyond basic roasting. We are mastering the art of the braise. Imagine the smell of rendered fat mingling with woodsy thyme and the sharp, piquant bite of garlic hitting a hot surface. This is not just dinner; it is an exercise in heat management and flavor extraction. By the time we are done, you will understand exactly why your heavy-bottomed skillet or pot is the most powerful tool in your culinary arsenal. Let us get into the chemistry of the perfect bird.
The Gathers:
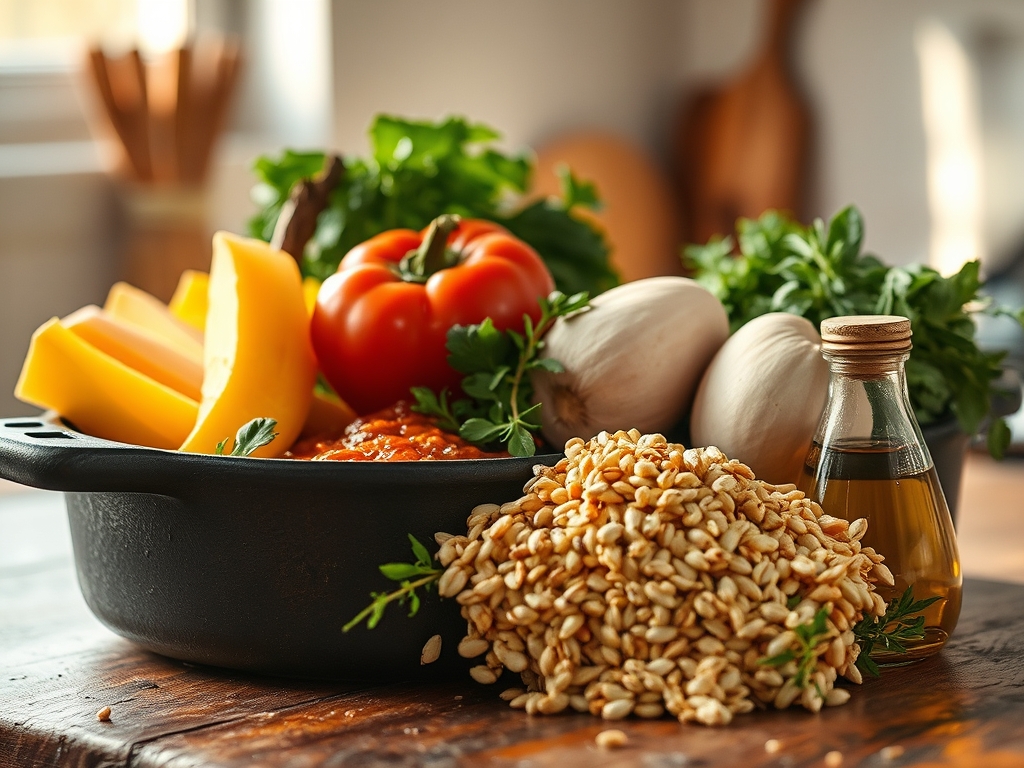
To execute this recipe with precision, your mise-en-place must be flawless. We are looking for a four-pound organic chicken, which offers a superior fat-to-protein ratio for optimal moisture retention. You will need high-smoke-point fats like avocado oil or clarified butter to facilitate the Maillard reaction without scorching. Gather your aromatics: six cloves of garlic, three sprigs of fresh rosemary, and two large shallots.
For the liquid base, we use a dry white wine like Sauvignon Blanc to provide the acidity necessary to break down connective tissues. You will also need a high-quality chicken bone broth, which contains the gelatin required to create a viscous sauce during the reduction phase. Do not forget the kosher salt; the large grains allow for better tactile control when seasoning.
Smart Substitutions: If you are avoiding alcohol, replace the wine with a mixture of chicken stock and a tablespoon of apple cider vinegar to maintain that essential pH balance. If fresh herbs are unavailable, use one-third the amount of dried herbs, as their oils are more concentrated. Use a microplane to zest a lemon into the pot at the very end to brighten the heavy fats.
The Clock
Efficiency in the kitchen relies on what professionals call the Chef's Flow. This is the ability to overlap tasks so that no heat is wasted.
- Prep Time: 20 minutes. This includes breaking down the aromatics with a sharp chef knife and tempering the chicken.
- Active Cook Time: 25 minutes. This is your "hands-on" time for searing and deglazing.
- Passive Cook Time: 45 to 55 minutes. The oven does the heavy lifting here.
- Resting Time: 15 minutes. This is non-negotiable for moisture redistribution.
Total time is approximately 1 hour and 45 minutes. While the chicken is in the oven, use a bench scraper to clear your workstation and prepare a simple side dish. This ensures that when the timer dings, your kitchen is as clean as your plate will soon be.
The Masterclass
1. Temper and Season
Remove the chicken from the refrigerator 30 minutes before cooking. Use paper towels to pat the skin bone-dry. Season aggressively with kosher salt and cracked black pepper.
Pro Tip: This process is called tempering. Cooking a cold bird causes the muscle fibers to seize up, resulting in a tough texture. Bringing it closer to room temperature ensures even heat penetration.
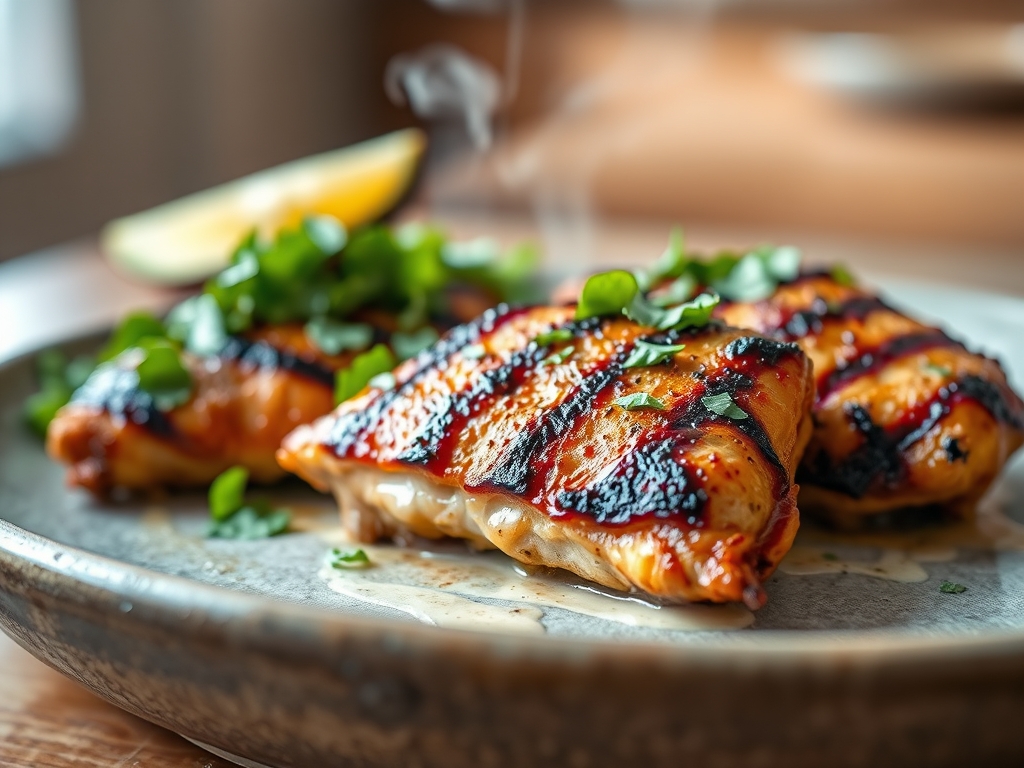
2. The Hard Sear
Heat your cast iron pot over medium-high heat. Add your oil and, once it shimmers, place the chicken breast-side down. Use heavy-duty tongs to press the skin against the iron.
Pro Tip: You are looking for enzymatic browning. Do not move the bird for at least five minutes. The meat will naturally release from the pan once a sufficient crust has formed.
3. Aromatics and Deglazing
Remove the chicken and set it aside on a warm plate. Toss in your shallots and garlic. Once they are translucent, pour in the wine and use a wooden spoon to scrape the brown bits (the fond) from the bottom.
Pro Tip: This is deglazing. Those caramelized bits are concentrated umami. The alcohol in the wine acts as a solvent, capturing flavor molecules that water-based liquids cannot.
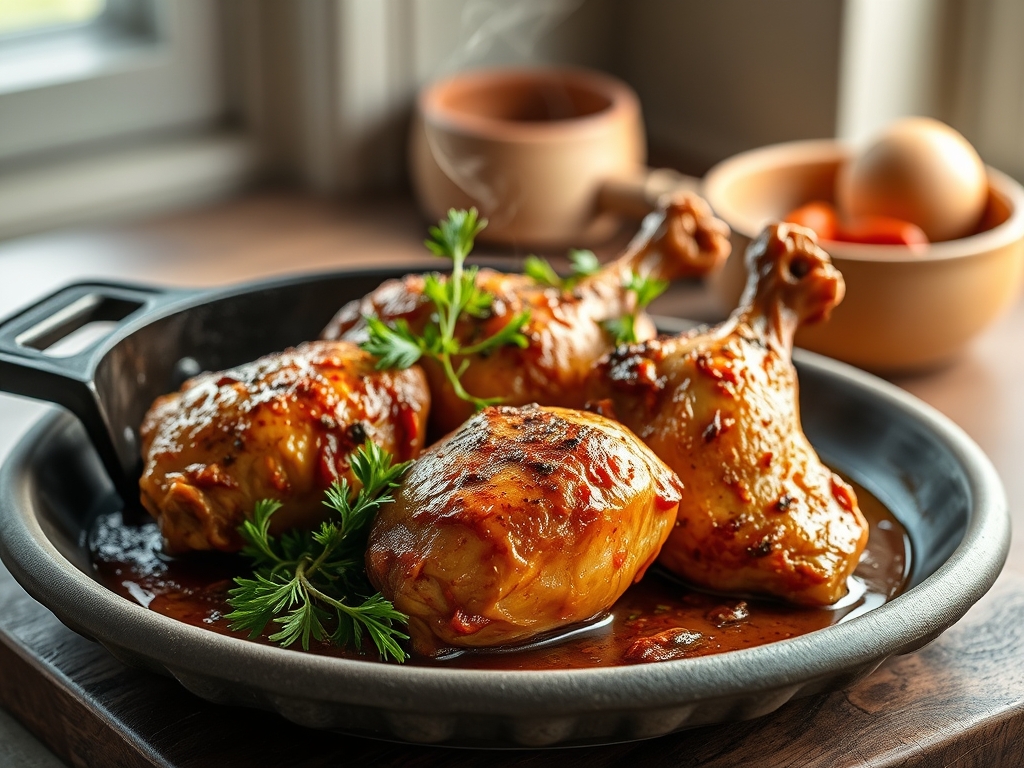
4. The Low and Slow Braise
Return the chicken to the pot, breast-side up. Add broth until it reaches halfway up the bird. Throw in your herbs and cover with a tight-fitting lid. Place in a 325-degree oven.
Pro Tip: This creates a micro-environment of steam and radiant heat. The cast iron's high emissivity ensures the heat is distributed perfectly from all sides, preventing hot spots.
5. The Final Reduction
Remove the lid for the last 15 minutes of cooking to crisp the skin. Once the internal temperature hits 160 degrees, remove the bird. Place the pot on the stove and boil the liquid until it coats the back of a spoon.
Pro Tip: This is thermal carryover. The chicken's internal temperature will rise another 5 degrees while resting. Reducing the liquid concentrates the solutes, creating a naturally thick, velvety sauce.
The Deep Dive
Macro Nutrition: A single serving provides approximately 35 grams of protein and 22 grams of fat. It is naturally low in carbohydrates, making it a staple for metabolic health.
Dietary Swaps:
- Keto: This recipe is inherently keto-friendly.
- Vegan: Swap the chicken for large "steaks" of cauliflower or lion's mane mushrooms. Use vegetable broth and a splash of soy sauce for depth.
- Gluten-Free: Ensure your chicken broth is certified GF; the rest of the ingredients are naturally safe.
The Fix-It:
- Soggy Skin: If the skin isn't crispy, turn on the broiler for the last 3 minutes. Watch it like a hawk to prevent burning.
- Dry Breast: You likely overcooked it. Next time, use a digital scale to check the bird's weight and adjust timing, or use a probe thermometer.
- Bland Sauce: Add a teaspoon of Dijon mustard or a splash of lemon juice. Acidity acts as a flavor "highlighter."
Meal Prep: To reheat, do not use a microwave; it turns the protein rubbery. Instead, place the chicken in a saucier with a splash of broth over medium heat. This gently rehydrates the fibers without overcooking the exterior.
The Wrap-Up
Mastering cast iron pot chicken recipes is about more than just following a list of steps; it is about understanding how heat interacts with protein. You have learned to manage the Maillard reaction, the importance of deglazing, and the science of resting meat. Your cast iron pot is a legacy tool that only gets better with every bird you roast. Now, grab your tongs, trust the process, and enjoy the most succulent dinner you have ever produced in your own kitchen.
The Kitchen Table
Can I use chicken thighs instead of a whole bird?
Yes, thighs are more forgiving due to their higher fat content. Reduce the oven time to 30 minutes. Ensure the skin is seared first to render the subcutaneous fat for a crispy texture and deep flavor profile.
Why is my cast iron chicken sticking to the pot?
Sticking usually occurs if the pan is not hot enough or if you try to flip the meat too early. The protein will naturally release from the surface once the Maillard reaction has sufficiently carbonized the outer layer.
Do I really need to rest the chicken?
Absolutely. Resting allows the muscle fibers to relax and reabsorb the internal juices. If you cut it immediately, the moisture will leak out onto the cutting board, leaving you with dry, disappointing meat.
Can I add vegetables to the pot?
Yes, root vegetables like carrots and potatoes work beautifully. Add them halfway through the roasting process so they soften in the chicken fat and broth without turning into mush before the bird is fully cooked.