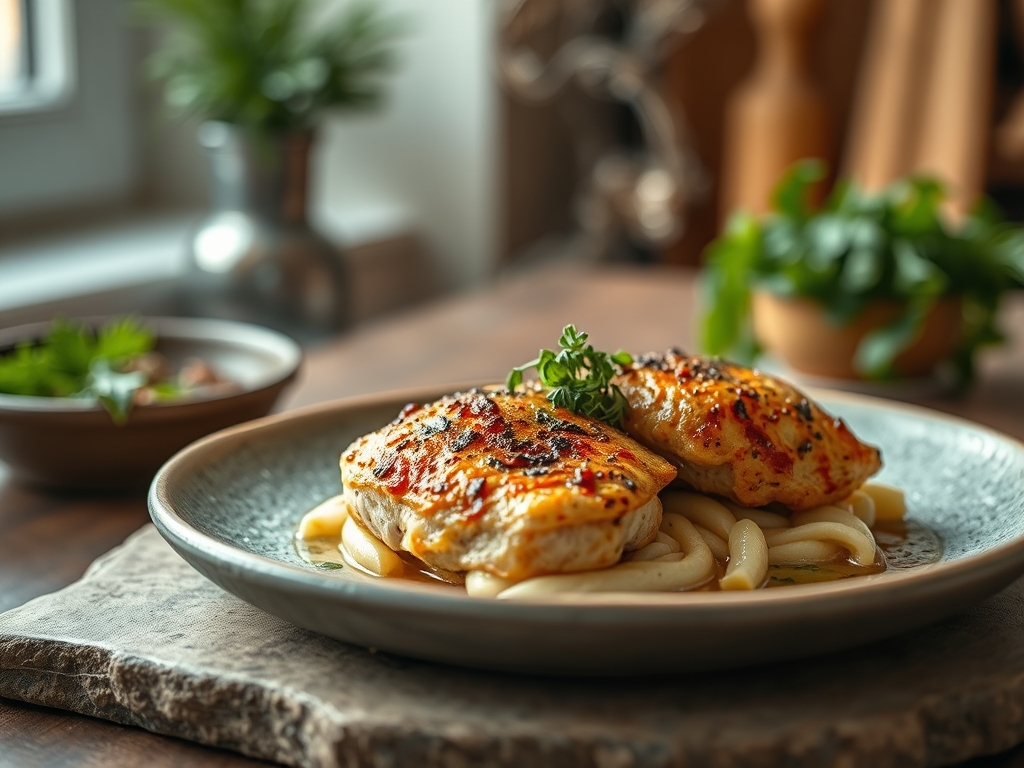
Picture the sound of a heavy-bottomed stainless steel skillet meeting a high-flame burner; that metallic ring is the opening bell for the best meal of your week. We have all been there, staring at a pale, vacuum-sealed pack of poultry with zero inspiration. However, mastering easy and delicious chicken recipes is less about following a rigid script and more about understanding the physics of heat and the chemistry of salt. We are going to transform that humble protein from a bland Tuesday chore into a gold-standard feast using science as our secret weapon.
The magic happens when you stop treating chicken like a chore and start treating it like a canvas for the Maillard reaction. This chemical dance between amino acids and reducing sugars creates that savory, umami-rich crust we crave. By the time we finish, you will be deglazing pans like a Michelin-starred pro and understanding exactly why your chicken used to turn out like rubber. Let us dive into the mechanics of flavor and the art of the sear.

The Gathers:
To execute these easy and delicious chicken recipes, your mise-en-place must be precise. Start with high-quality bird; air-chilled chicken is superior because it has not absorbed excess water, allowing for a more concentrated flavor and a better sear. You will need a coarse kosher salt, which has a larger surface area for even distribution, and a high-smoke-point fat like avocado oil or clarified butter. Ghee is particularly effective because the milk solids have been removed, preventing burning while providing a nutty, viscous mouthfeel.
For the aromatic base, gather fresh garlic, shallots, and woody herbs like rosemary or thyme. These contain essential oils that infuse into the cooking fat through a process called lipid extraction. If you are missing an ingredient, use smart substitutions. Swap shallots for the white parts of scallions for a sharper bite; use dried oregano if fresh is unavailable, but reduce the quantity by two-thirds because the flavor is more concentrated. Always keep a bottle of dry white wine or a splash of sherry vinegar nearby; these acidic components are vital for deglazing and balancing the heavy fats.
The Clock:
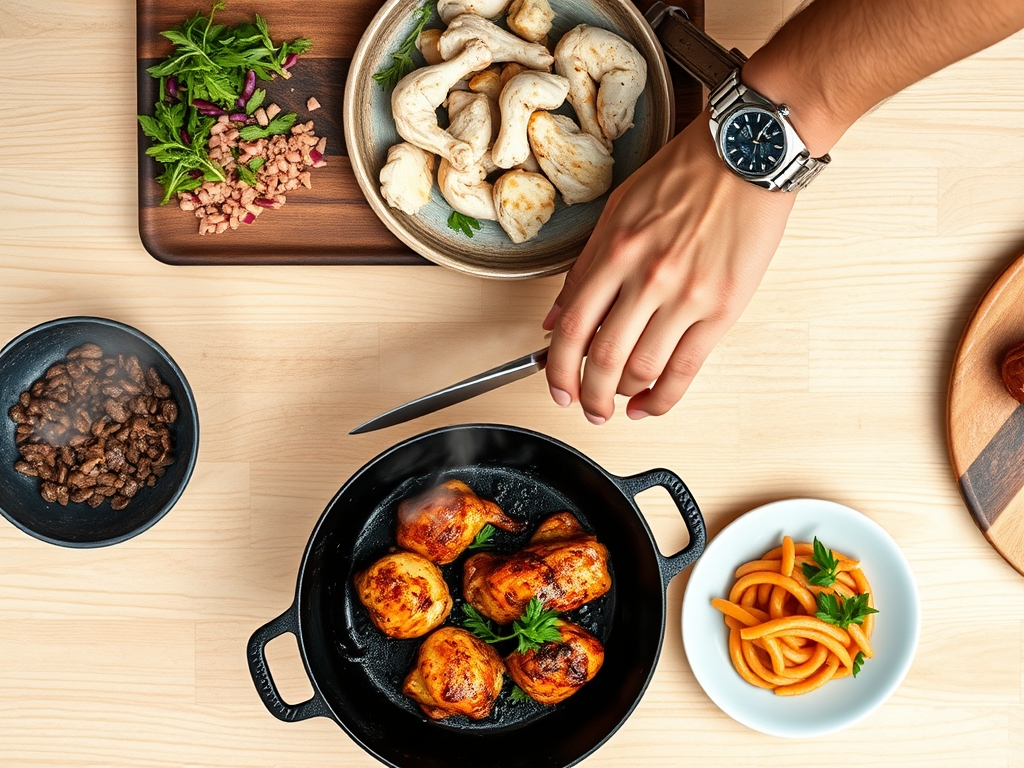
Efficiency in the kitchen is governed by what professionals call the "Chef's Flow." This is the chronological optimization of tasks to ensure nothing sits idle while something else burns. For these recipes, prep time is a focused fifteen minutes of knife work. Use a sharp chef's knife or a bench scraper to organize your aromatics into neat piles. Total cook time ranges from twelve to twenty minutes depending on the thickness of the cut.
The secret to timing is the rest period. You must factor in a five-minute rest after the chicken leaves the heat. This is not optional. During this time, the muscle fibers, which contracted under heat, begin to relax and reabsorb the internal juices. If you cut into the meat immediately, the moisture will evacuate onto the cutting board, leaving you with a dry result. Plan your side dishes to finish exactly when the chicken begins its rest phase for a perfectly synchronized meal.
The Masterclass:
1. The Tempering Technique
Remove your chicken from the refrigerator twenty minutes before cooking. Bringing the meat closer to room temperature ensures that the center reaches the safe internal temperature of 165 degrees Fahrenheit without the exterior becoming overcooked and fibrous.
Pro Tip: This is known as thermal equilibrium. Reducing the temperature gradient between the pan and the meat prevents the "shock" that causes protein fibers to tighten and squeeze out moisture.
2. The Surface Preparation
Pat the chicken extremely dry with paper towels. Any surface moisture will turn into steam the moment it hits the pan, which acts as a barrier to browning.
Pro Tip: This prevents "latent heat of vaporization" from stealing energy. If the pan has to evaporate water first, it cannot reach the temperatures required for enzymatic browning.
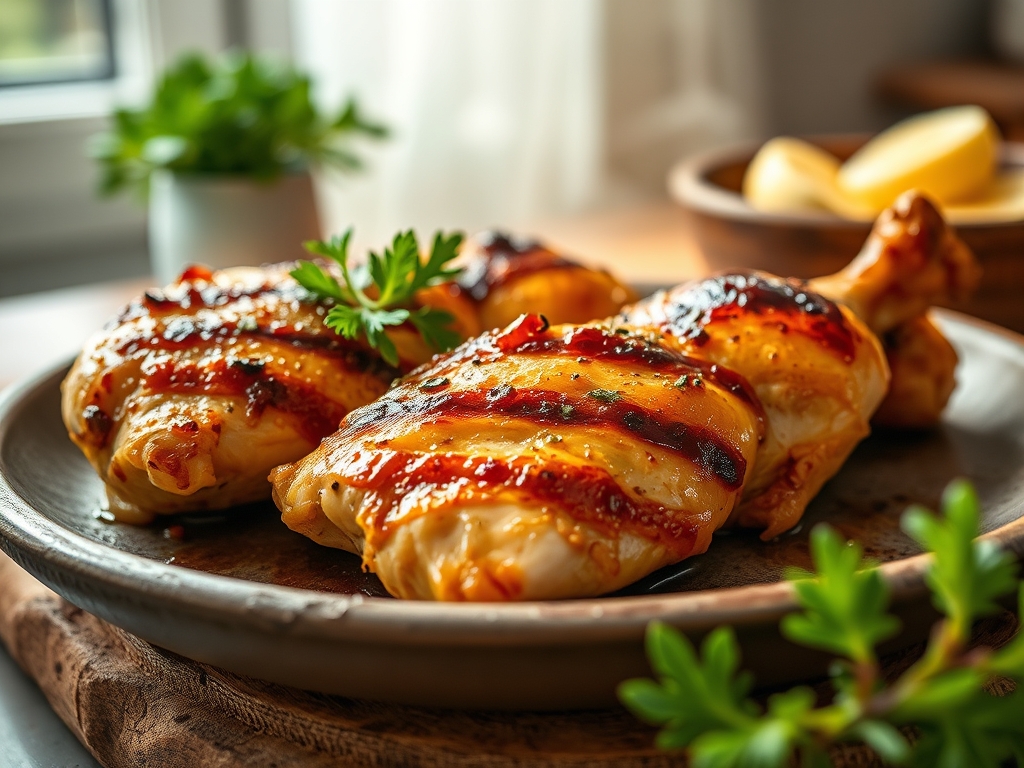
3. The Sear and Render
Place the chicken in a preheated heavy-bottomed skillet with shimmering oil. Press down firmly with a spatula or a weight to ensure maximum surface contact.
Pro Tip: This maximizes the Maillard reaction. By increasing the surface area in contact with the heat source, you accelerate the creation of hundreds of different flavor compounds.
4. The Aromatic Infusion
Once you flip the chicken, add a knob of butter and your aromatics to the pan. Use a large spoon to continuously pour the foaming butter over the meat.
Pro Tip: This is called "arrosé" or butter basting. The fat acts as a heat transfer medium, cooking the top of the meat while simultaneously infusing it with the fat-soluble compounds from the herbs.
5. The Deglaze
After removing the chicken, the pan will be covered in "fond," those brown bits stuck to the bottom. Pour in a splash of liquid and scrape vigorously with a wooden spoon.
Pro Tip: Deglazing dissolves the caramelized proteins back into a liquid state, creating a piquant, concentrated sauce that captures the essence of the entire cooking process.
6. The Emulsified Pan Sauce
Whisk a cold cube of butter or a teaspoon of Dijon mustard into your deglazing liquid until it becomes glossy and thick.
Pro Tip: This creates a stable emulsion. The proteins in the mustard or the milk solids in the butter bind the water-based juices and the fat together into a smooth, viscous coating.
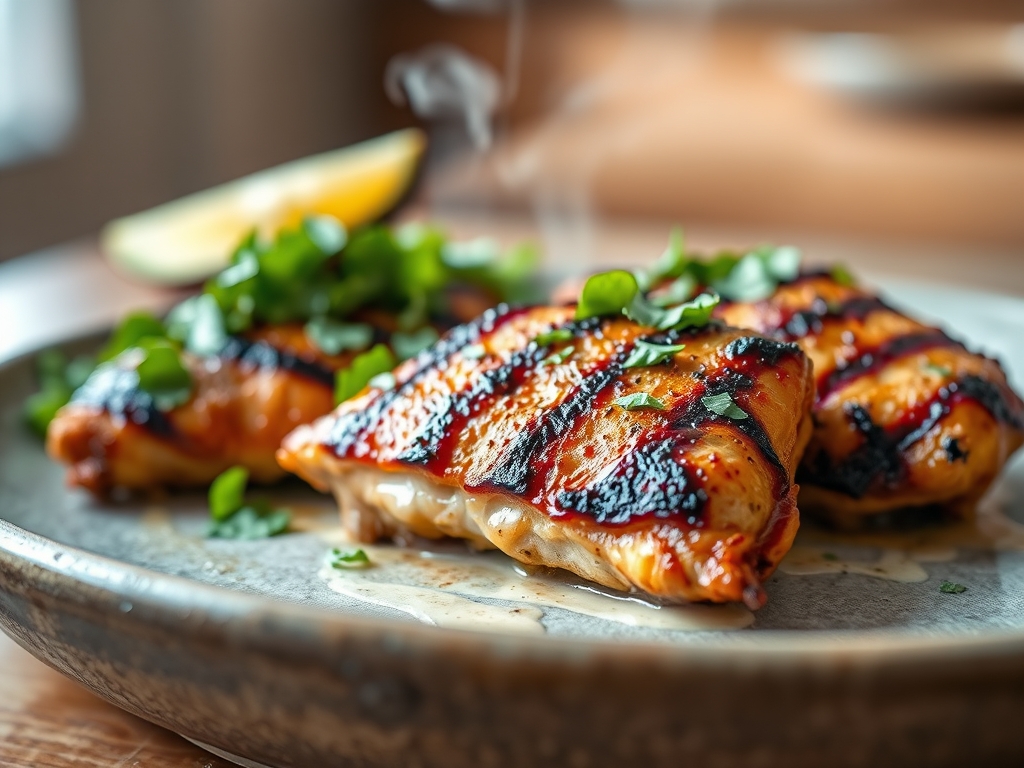
7. The Acid Finish
Always finish your dish with a squeeze of fresh lemon or a dash of vinegar right before serving.
Pro Tip: Acid acts as a flavor brightener. It cuts through the richness of the fats and "wakes up" the taste buds by lowering the pH of the dish, making the other flavors more perceptible.
8. The Carryover Rest
Transfer the chicken to a warm plate and tent it loosely with foil. Do not wrap it tightly, or the trapped steam will soften your crispy crust.
Pro Tip: Thermal carryover means the internal temperature will rise by 5 to 10 degrees after removal from the heat. Pulling the chicken at 155-160 degrees ensures it hits the perfect 165 during the rest.
The Deep Dive:
From a nutritional perspective, chicken is a powerhouse of lean protein, containing all nine essential amino acids. A standard six-ounce breast provides roughly 50 grams of protein with minimal saturated fat. For those on a Keto path, prioritize thighs for a higher fat-to-protein ratio and use heavy cream in your pan sauces. For a Vegan alternative, these same searing and deglazing techniques work wonders on "hen of the woods" mushrooms or thick slabs of cauliflower.
If you hit a snag, remember "The Fix-It." If your chicken is sticking to the pan, it is likely not ready to flip; the meat will naturally release once the crust has formed. If the sauce breaks and looks greasy, whisk in a tablespoon of warm water to re-emulsify the fats. If the exterior is burnt but the inside is raw, lower your heat and finish the chicken in a 350-degree oven. For meal prep, reheat your chicken in a skillet with a splash of water and a lid; the steam will gently rehydrate the proteins without making them rubbery like a microwave would.
The Wrap-Up:
You are now armed with the technical prowess to turn a simple bird into a culinary masterpiece. Understanding the "why" behind the sizzle makes you a faster, smarter, and more confident cook. Go grab your tongs and that heavy skillet; it is time to put this science into practice. Your kitchen is about to smell incredible, and your dinner guests will wonder when you secretly attended culinary school. Happy searing!
The Kitchen Table:
How do I prevent chicken from being dry?
Stop overcooking it. Use a digital thermometer to pull the chicken at 155 or 160 degrees Fahrenheit. The carryover heat during the five-minute rest period will bring it to a safe, juicy 165 degrees.
Why is my chicken skin not crispy?
Surface moisture is the enemy of crunch. Pat the skin bone-dry with paper towels and salt it early to draw out deep-seated moisture. Ensure your pan is shimmering hot before the chicken touches the oil.
Can I use frozen chicken for these recipes?
Yes, but thaw it completely in the refrigerator first. Cooking from frozen leads to uneven heat distribution, leaving the outside tough and the inside potentially undercooked and dangerous. Always pat dry after thawing to remove excess ice crystals.
What is the best pan for cooking chicken?
A heavy-bottomed stainless steel or cast iron skillet is best. These materials hold heat exceptionally well, ensuring the pan temperature does not drop when you add the meat, which is crucial for a proper Maillard sear.