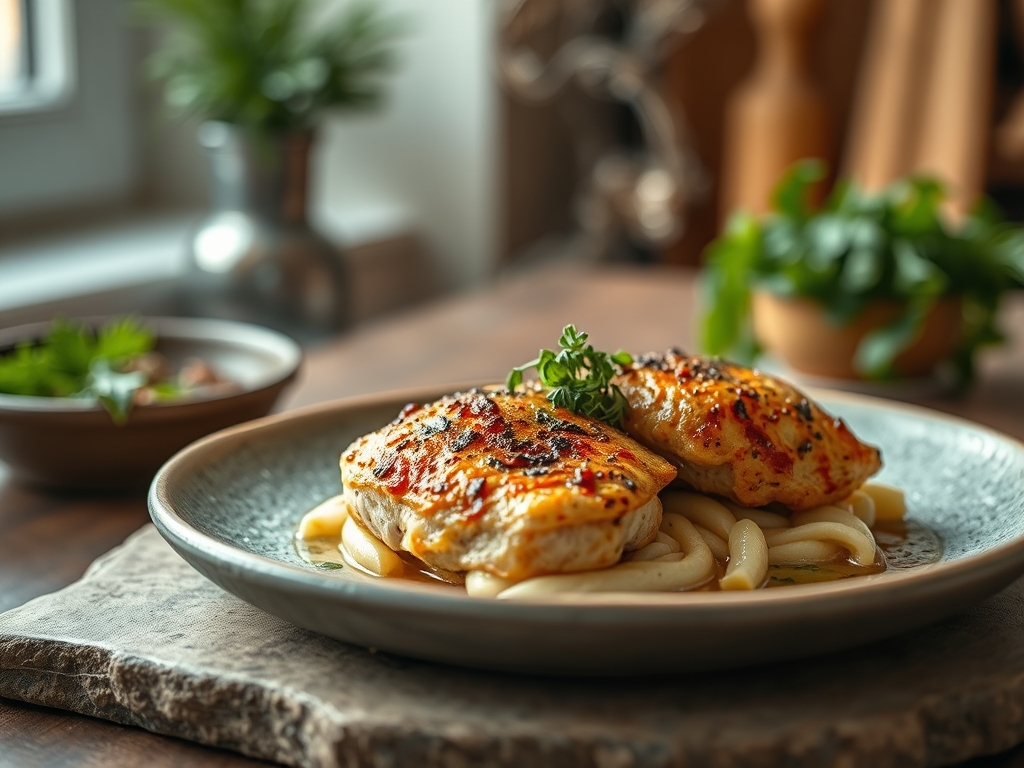
Imagine the sound of a heavy bottomed skillet hitting the burner; a sharp, metallic ring that signals the start of something transformative. As the heat climbs, the air fills with the scent of toasted aromatics and the promise of a meal that fuels your body without sacrificing a single ounce of soul. Finding healthy delicious chicken recipes is not just about counting calories; it is about mastering the chemical reactions that turn lean protein into a culinary masterpiece. We are moving beyond the dry, sad poultry of the past and stepping into a world where science meets flavor.
Chicken is the ultimate blank canvas for the modern kitchen. It possesses a unique cellular structure that, when treated with respect, absorbs moisture and carries bold spices with ease. By understanding the physics of heat transfer and the biology of muscle fibers, we can create eight distinct flavor profiles that keep your meal prep exciting. Whether you are craving the piquant zip of citrus or the deep, earthy notes of roasted garlic, these techniques ensure every bite is nutrient dense and restaurant quality. Grab your apron and your favorite tongs; it is time to redefine what healthy eating looks like in your kitchen.
The Gathers:
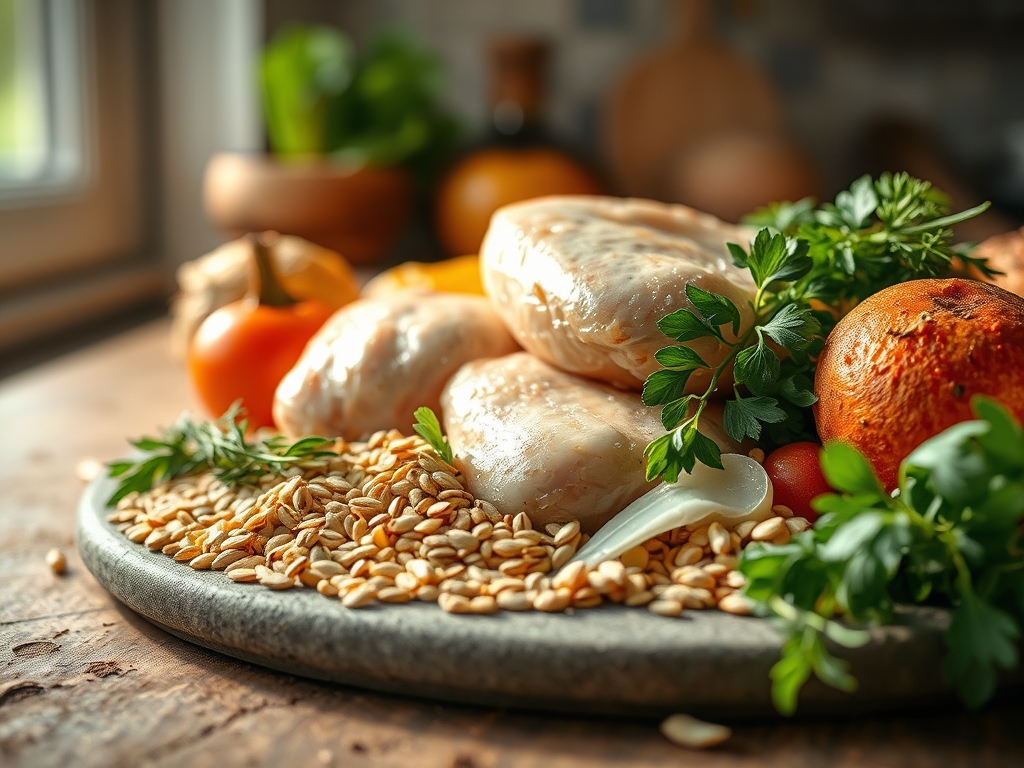
To execute these healthy delicious chicken recipes, your mise-en-place must be precise. Start with high quality organic chicken breasts or thighs; the latter contains more connective tissue which breaks down into gelatin for a richer mouthfeel. You will need a sharp chef knife to ensure clean cuts that cook evenly. Gather your aromatics: fresh ginger, garlic cloves, and shallots. These contain sulfur compounds that mellow and sweeten when exposed to heat.
For your liquids, keep a bottle of high smoke point oil like avocado oil or refined coconut oil nearby. You will also need acidic components to brighten the dish; think organic apple cider vinegar or freshly squeezed lime juice. The acidity acts as a chemical tenderizer by breaking down tough protein chains. Smart Substitutions are your secret weapon here. Instead of heavy cream, use a dollop of Greek yogurt to add a viscous, tangy finish. Swap refined sugar for a touch of raw honey or maple syrup to achieve that perfect caramelization without the blood sugar spike. Finally, keep a microplane ready for zesting citrus and grating fresh turmeric, which adds a vibrant hue and anti-inflammatory benefits to your plate.
The Clock
Efficiency in the kitchen is all about the Chef's Flow. This is the rhythmic sequence of tasks that prevents bottlenecks at the stove. For these eight variations, prep time generally clocks in at 15 minutes, while active cooking takes between 12 and 20 minutes depending on the thickness of your protein. Total time from fridge to table is roughly 35 minutes.
The Flow begins with the "Cold Prep" phase. Use a digital scale to portion your chicken and a bench scraper to clear your cutting board of vegetable scraps. Once the chopping is done, move to the "Active Heat" phase. This is where you focus entirely on the skillet. Do not walk away. The final phase is the "Rest and Carryover" period. Giving your chicken five minutes of downtime after cooking allows the internal juices to redistribute. If you cut into it immediately, the moisture escapes as steam, leaving you with a parched result.
The Masterclass
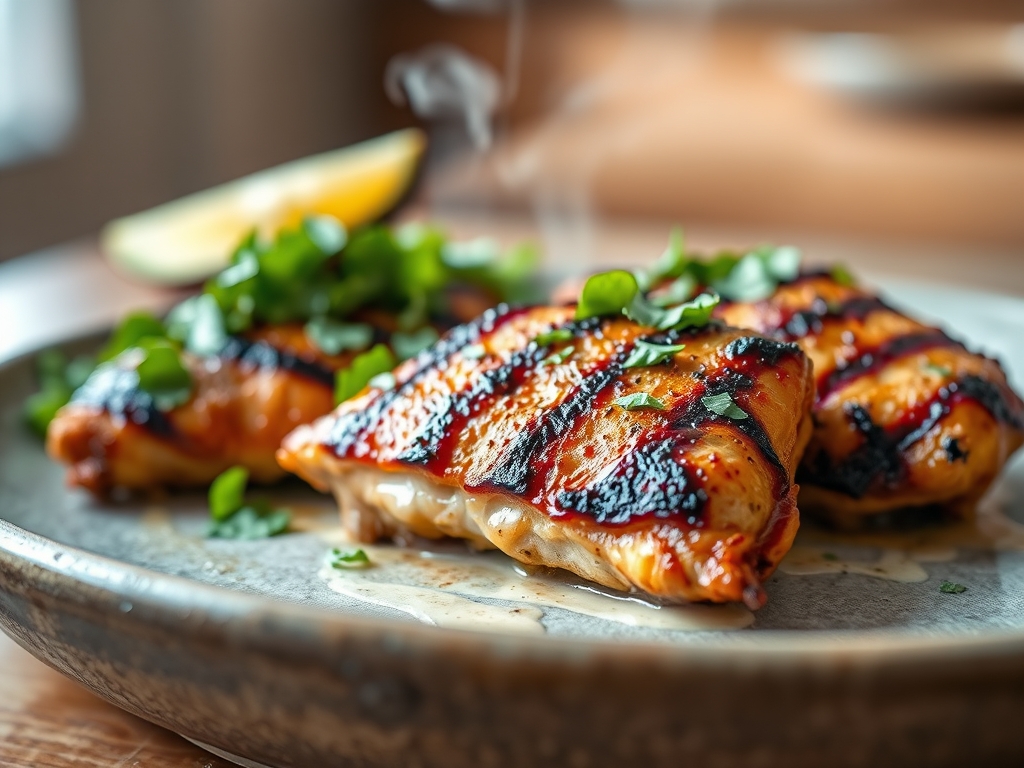
1. The Sear and Deglaze
Place your seasoned chicken into a preheated heavy bottomed skillet. Do not crowd the pan; overcrowding drops the temperature and leads to steaming rather than browning. Once a golden crust forms, remove the meat and add a splash of chicken stock or white wine to the pan. Use a wooden spoon to scrape up the brown bits.
Pro Tip: This process is known as the Maillard Reaction. Those brown bits, or fond, are concentrated flavor molecules created when amino acids and reducing sugars react under high heat.
2. The Infusion
Lower the heat and add your aromatics like minced garlic or rosemary sprigs. Swirl them in the residual fat until they become fragrant but not burnt. This allows the essential oils in the herbs to infuse into the cooking medium, ensuring the flavor permeates every fiber of the chicken when you add it back to the pan.
Pro Tip: Garlic burns at a lower temperature than chicken. Adding it toward the end of the process prevents the development of bitter, acrid compounds that can ruin a delicate sauce.
3. The Emulsification
To create a silky sauce without excess fat, whisk in a small amount of cold butter or a starch slurry (arrowroot and water) into your deglazed liquid. Whisk vigorously to aerate and combine the fats and liquids into a stable, creamy texture that coats the back of a spoon.
Pro Tip: This is the science of emulsification. By breaking fat droplets into tiny particles suspended in liquid, you create a luxurious mouthfeel using only a fraction of the calories found in traditional cream sauces.
4. The Thermal Finish
Use a digital meat thermometer to check the thickest part of the breast. Aim for 160 degrees Fahrenheit. Remove the chicken from the heat and tent it loosely with foil. The temperature will continue to rise to the safe 165 degree mark while the meat sits on the counter.
Pro Tip: This is thermal carryover. If you wait until the thermometer hits 165 in the pan, the chicken will actually reach 170 or higher while resting, resulting in a rubbery texture.
The Deep Dive
When we look at the macro nutrition of these healthy delicious chicken recipes, we see a powerhouse of efficiency. A standard 6 ounce serving provides approximately 40 grams of high quality protein with minimal saturated fat. By utilizing different spice profiles, you can keep your micronutrient intake diverse; for example, adding cumin and chili powder boosts your metabolism through capsaicin.
For those with dietary restrictions, these recipes are incredibly flexible. To make them Keto, increase the healthy fats by using chicken thighs and adding a finish of avocado oil. For a Vegan swap, firm tofu or tempeh can be treated with the exact same searing and deglazing techniques. To ensure the dish is Gluten Free, always verify your chicken stock labels and use arrowroot powder instead of flour for thickening.
The Fix-It:
- The Chicken is Tough: You likely skipped the resting phase. Let it sit for 5 minutes.
- The Sauce is Watery: You did not reduce the liquid enough. Simmer it on high heat for 2 more minutes to evaporate excess moisture.
- The Spices Tastes Raw: You didn't "bloom" them. Always toss your dry spices in the hot oil for 30 seconds before adding liquids.
For meal prep success, reheating is a science. Avoid the microwave if possible; it vibrates water molecules too violently, toughening the protein. Instead, reheat in a covered skillet with a tablespoon of water or stock to create a steam chamber that restores "day-one" moisture.
The Wrap-Up
Mastering healthy delicious chicken recipes is your ticket to a vibrant, high energy lifestyle. By focusing on the mechanics of the Maillard reaction and the precision of thermal carryover, you have graduated from a basic cook to a kitchen scientist. Remember that cooking is an act of self care. Every time you pick up your tongs and hear that sizzle, you are investing in your health and your happiness. Now go forth, deglaze that pan, and enjoy the most flavorful chicken of your life!
The Kitchen Table
Why is my chicken always dry?
Dry chicken is usually caused by overcooking or failing to let the meat rest. Use a digital thermometer to pull the chicken at 160 degrees and let it rest for five minutes to allow juices to redistribute within the fibers.
Can I use frozen chicken for these recipes?
Yes, but you must thaw it completely in the refrigerator first. Cooking from frozen prevents the Maillard reaction, leading to a gray, rubbery texture and uneven internal temperatures that could be unsafe to consume.
What is the best oil for searing chicken?
Avocado oil is ideal because it has a high smoke point of 520 degrees. This allows you to achieve a deep golden crust without the oil breaking down and releasing bitter flavors or harmful free radicals.
How do I get flavor deep into the meat?
For maximum flavor, use a dry brine of salt at least 30 minutes before cooking. Salt denatures the proteins, allowing moisture and seasonings to penetrate deep into the muscle tissue rather than just sitting on the surface.