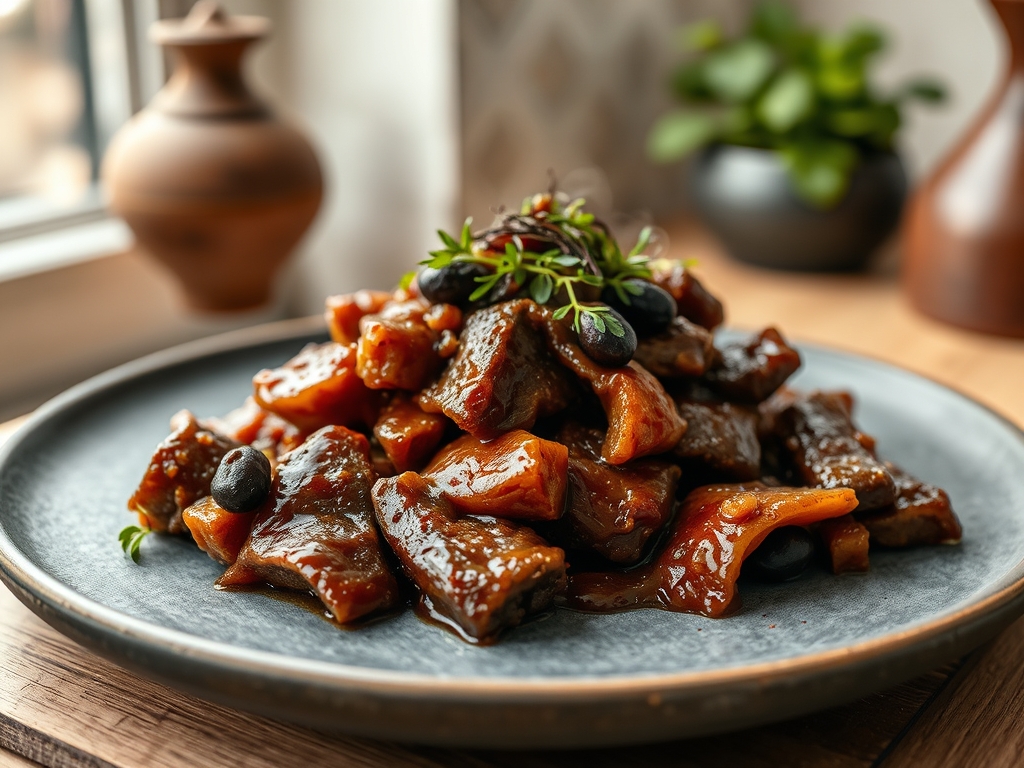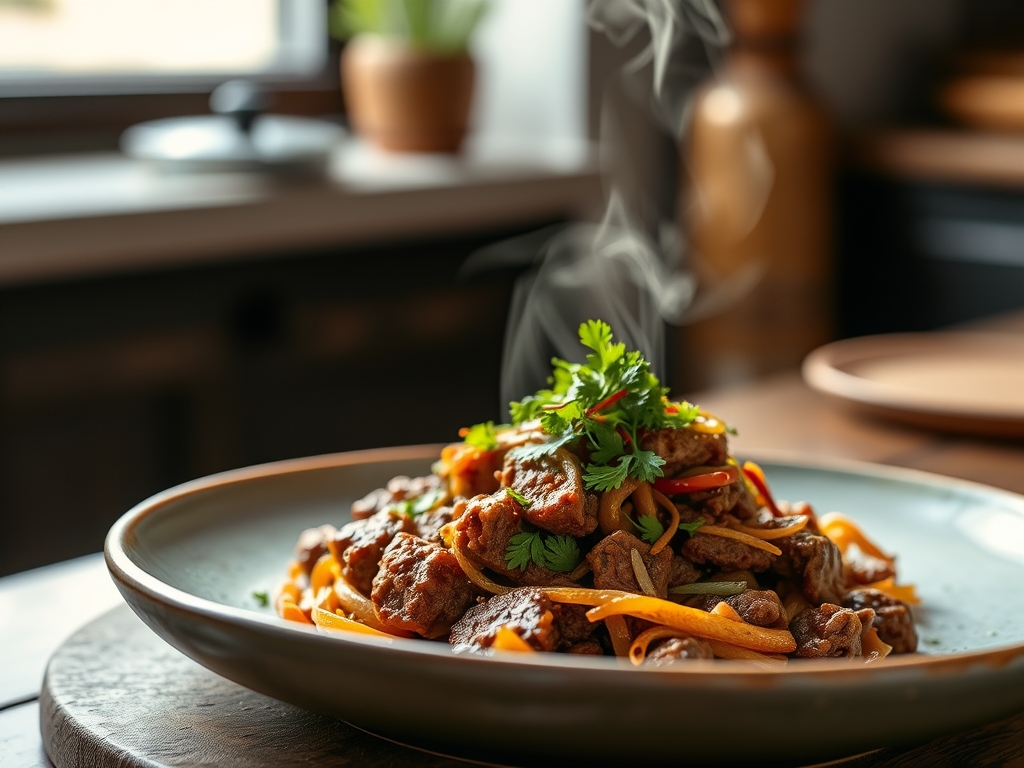
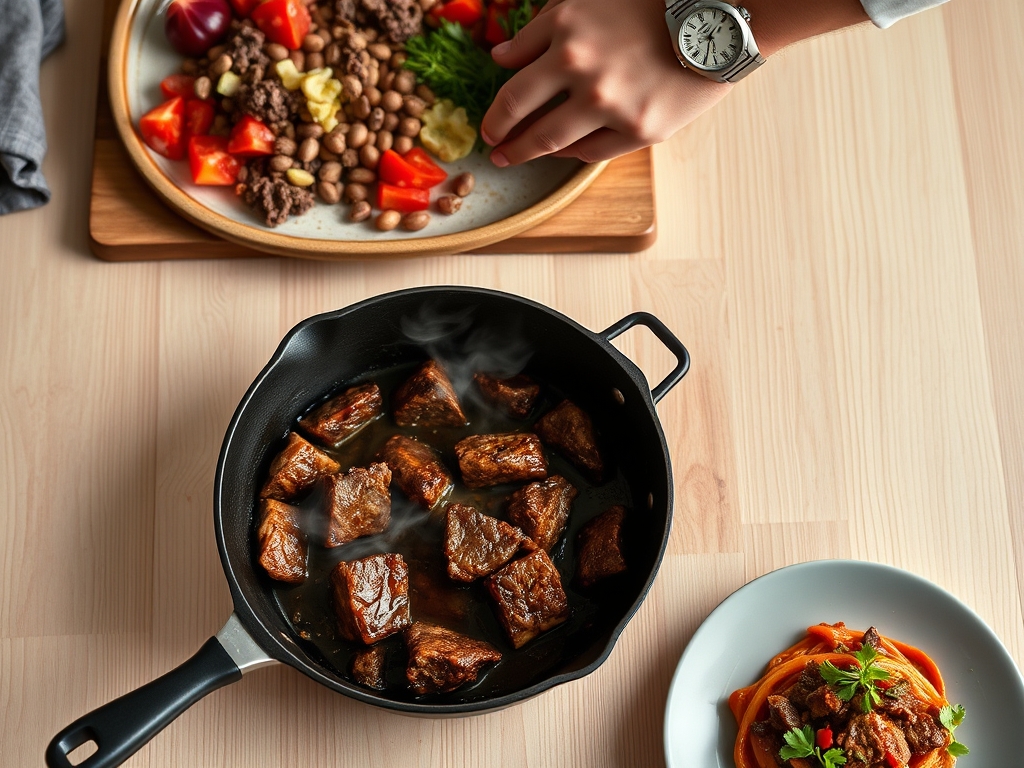
Picture this: a heavy-bottomed cast iron skillet sits on your burner; its surface is shimmering with a thin veil of oil just beginning to reach its smoke point. You drop in a pound of cold protein; the immediate hiss is not just noise; it is the sound of the Maillard reaction beginning its complex dance of amino acids and reducing sugars. We are diving deep into the world of half baked harvest ground beef recipes today. These dishes are the gold standard for weeknight luxury; they marry the rustic comfort of home cooking with the sophisticated flavor profiles of a high-end bistro. Whether you are craving a spicy Korean-inspired bowl or a classic Italian ragu with a twist; these recipes rely on the science of fat rendering and aromatics to create something truly transcendent. We are going to deconstruct ten iconic ways to elevate humble ground beef into a centerpiece that feels intentional; curated; and absolutely delicious. Grab your favorite apron and a glass of wine; because we are about to turn your kitchen into a laboratory of flavor.
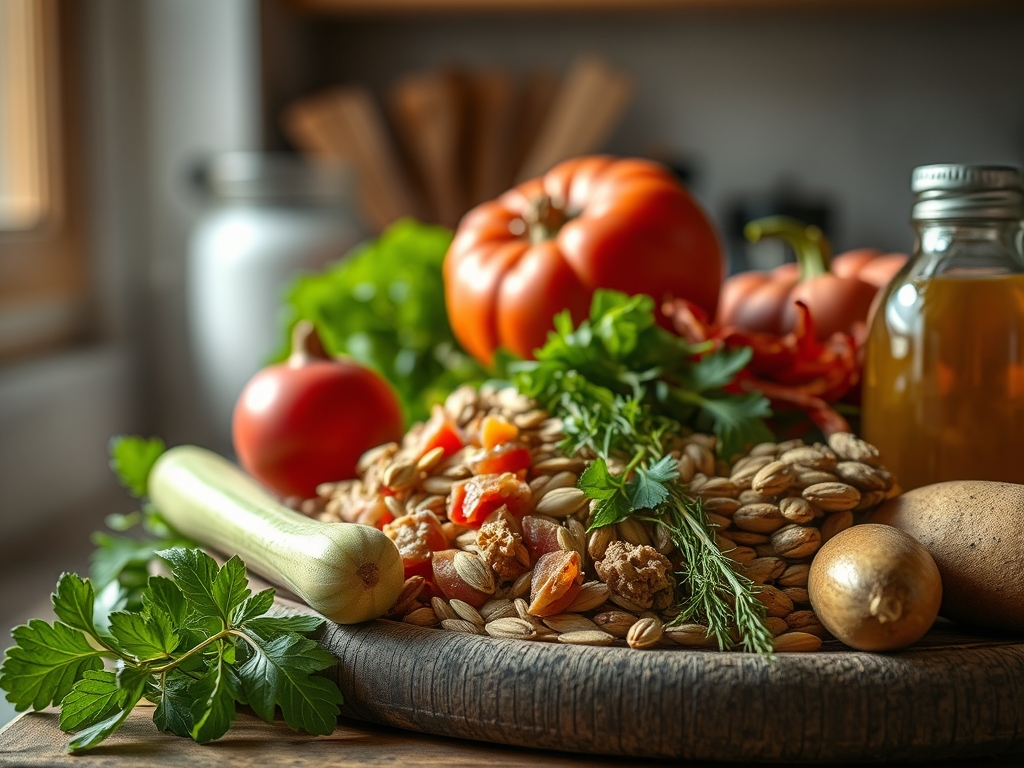
The Gathers:
To master half baked harvest ground beef recipes; your mise-en-place must be impeccable. Start with high-quality 80/20 ground chuck; the 20 percent fat content is non-negotiable for achieving a viscous; mouth-coating sauce and preventing the meat from becoming granular and dry. You will need a microplane for grating fresh ginger and garlic into a fine paste; ensuring they melt into the fat rather than burning. Fresh herbs like Thai basil; cilantro; and oregano should be washed and dried thoroughly; use a sharp chef's knife to avoid bruising the delicate cell walls of the leaves. For the sauces; gather piquant ingredients like Gochujang; balsamic glaze; and tamari.
Smart Substitutions: If you are looking to lighten the caloric density; you can swap half the beef for finely diced cremini mushrooms. This maintains the umami profile through glutamates while reducing saturated fat. For a dairy-free creamy finish; use full-fat coconut milk or a cashew cream infused with nutritional yeast to mimic the lactic tang of parmesan.
The Clock:
Efficiency in the kitchen is all about the Chef's Flow. For these ten dishes; expect a preparation window of 15 to 20 minutes and a total cook time of 30 minutes. The flow begins with the "Cold Start" prep: chopping all aromatics before the heat is even turned on. Once the skillet is hot; the process moves into the "Active Sear" phase. You are not just browning; you are building a foundation of flavor. The final ten minutes are the "Marriage Phase;" where sauces emulsify and noodles or grains absorb the seasoned fats. By the time your timer dings; the internal temperature of the beef should be a safe 160 degrees Fahrenheit; though the residual heat will continue to cook the proteins during the resting period.
The Masterclass:
1. The High-Heat Sear
Place your heavy-bottomed skillet over medium-high heat until the oil ripples. Add the beef in a single layer and do not touch it for at least three minutes. This allows for maximum surface contact and the development of a deep brown crust.
Pro Tip: This process is called the Maillard reaction. If you stir too early; you release steam which lowers the pan temperature and causes the meat to gray rather than brown.
2. Deglazing the Fond
Once the meat is browned; remove it and look at the brown bits stuck to the pan. Add a splash of wine; stock; or vinegar and use a wooden spoon to scrape them up. This liquid is liquid gold.
Pro Tip: Deglazing utilizes solvent extraction to pull concentrated flavor compounds out of the caramelized proteins; integrating them back into your sauce for depth.
3. Aromatics Infusion
Lower the heat and add your garlic; shallots; or ginger. Sauté until fragrant but not browned. The fat in the pan acts as a carrier for the fat-soluble flavor compounds in these vegetables.
Pro Tip: This is lipid-mediated flavor extraction. Adding aromatics to fat rather than water ensures the piquant notes are distributed evenly throughout the entire dish.
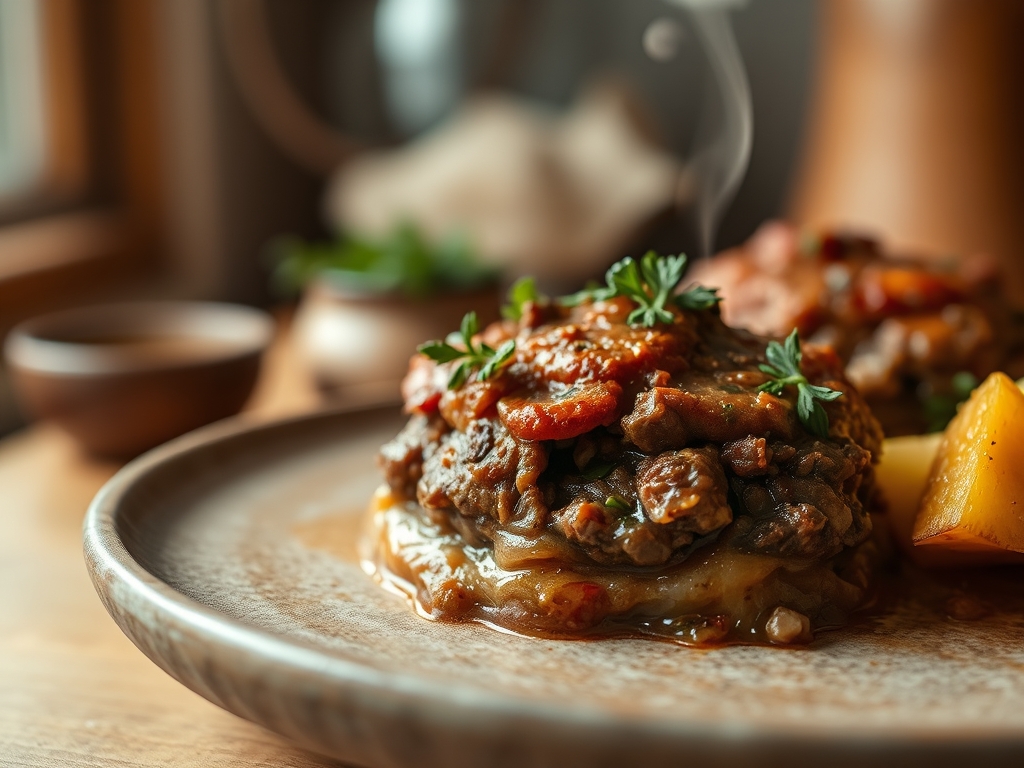
4. The Emulsification
Add your liquid components; such as heavy cream; coconut milk; or pasta water. Whisk vigorously as the liquid simmers to combine the fats and waters into a smooth; cohesive sauce.
Pro Tip: Use mechanical agitation to create a stable emulsion. The starches in pasta water or the proteins in cream act as emulsifiers to prevent the sauce from breaking.
5. The Rest and Finish
Turn off the heat and fold in your fresh herbs and a squeeze of citrus. Let the dish sit for three minutes before serving. This allows the muscle fibers in the beef to relax and reabsorb juices.
Pro Tip: Thermal carryover will increase the internal temperature by about five degrees. Resting prevents the juices from running out; ensuring every bite is succulent.
The Deep Dive:
When we look at the Macro Nutrition of these dishes; they are powerhouse meals. A standard serving provides roughly 25 to 30 grams of protein and a healthy dose of iron and B12. To manage the fat content; always drain excess grease into a heat-safe container before adding your liquids.
Dietary Swaps: For Keto enthusiasts; serve these beef creations over roasted cauliflower or zoodles. For Gluten-Free needs; ensure your soy sauce is replaced with tamari or coconut aminos. If you are going Vegan; high-quality plant-based crumbles work well; but add a teaspoon of smoked paprika to mimic the depth of beef.
The Fix-It:
- The Sauce is Too Thin: Create a slurry of one teaspoon cornstarch and one tablespoon cold water. Whisk it into the simmering sauce to instantly increase viscosity.
- The Meat is Greasy: You likely didn't drain the fat after browning. Use a slotted spoon to move the meat to a plate lined with paper towels; wipe the pan; then return the meat.
- The Flavor is Flat: It needs acidity. A teaspoon of lemon juice or apple cider vinegar will "brighten" the dish by balancing the heavy fats.
Meal Prep: To maintain "day-one" quality; reheat your beef dishes in a saucier over low heat with a tablespoon of water or broth. This creates a mini-steam environment that re-hydrates the proteins without overcooking them in the microwave.
The Wrap-Up:
Mastering half baked harvest ground beef recipes is about more than just following a list of ingredients; it is about understanding how heat; fat; and acid interact to create something spectacular. From the crunch of the sear to the silky finish of a well-emulsified sauce; these dishes are designed to impress without the stress. You now have the technical knowledge to troubleshoot any kitchen mishap and the stylistic flair to plate these meals like a pro. Go ahead; fire up that skillet and let the aroma of browning beef and fresh herbs fill your home. You have got this!
The Kitchen Table:
How do I keep ground beef from getting rubbery?
Avoid overworking the meat before it hits the pan. Use a bench scraper to break it into large chunks and let it sear undisturbed. This prevents the proteins from knitting together too tightly; which causes a rubbery texture.
Can I freeze these ground beef dishes?
Yes; most of these recipes freeze beautifully for up to three months. Ensure the dish is completely cool before sealing in an airtight container to prevent ice crystals. Reheat slowly on the stove to maintain the sauce's integrity.
What is the best way to drain fat?
Use tongs to push the meat to one side of the skillet and tilt the pan so the liquid fat pools. Use a large spoon or a bulb baster to remove the grease safely into a jar.
Why is my ground beef gray instead of brown?
The pan was likely crowded; causing the meat to steam in its own moisture. Cook in batches or use a larger heavy-bottomed skillet to ensure there is enough surface area for moisture to evaporate quickly.