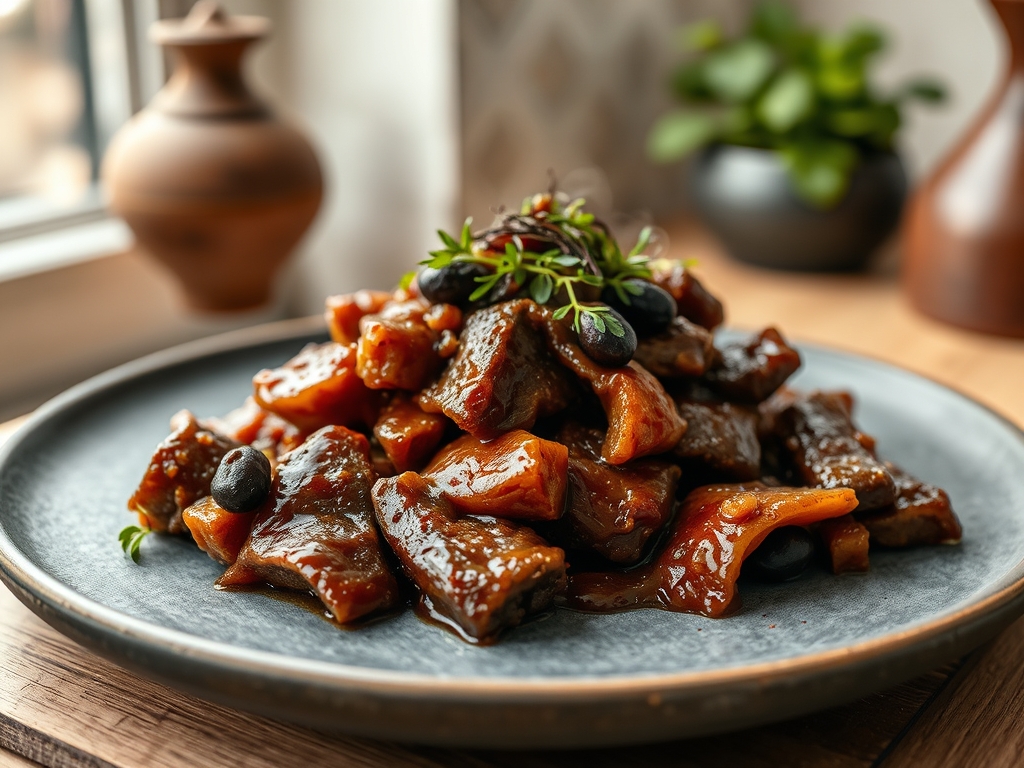
Imagine the scent of toasted cumin and searing fat dancing through your kitchen as the sun dips below the horizon. There is something deeply primal about meat that yields to the mere suggestion of a fork. When you are hunting for the ultimate shredded beef recipes instant pot edition, you are not just looking for dinner; you are looking for a scientific shortcut to soul-soothing comfort. We are bypassing the six-hour slow cook in favor of high-pressure magic that transforms stubborn connective tissue into buttery ribbons of protein in record time.
The Gathers:
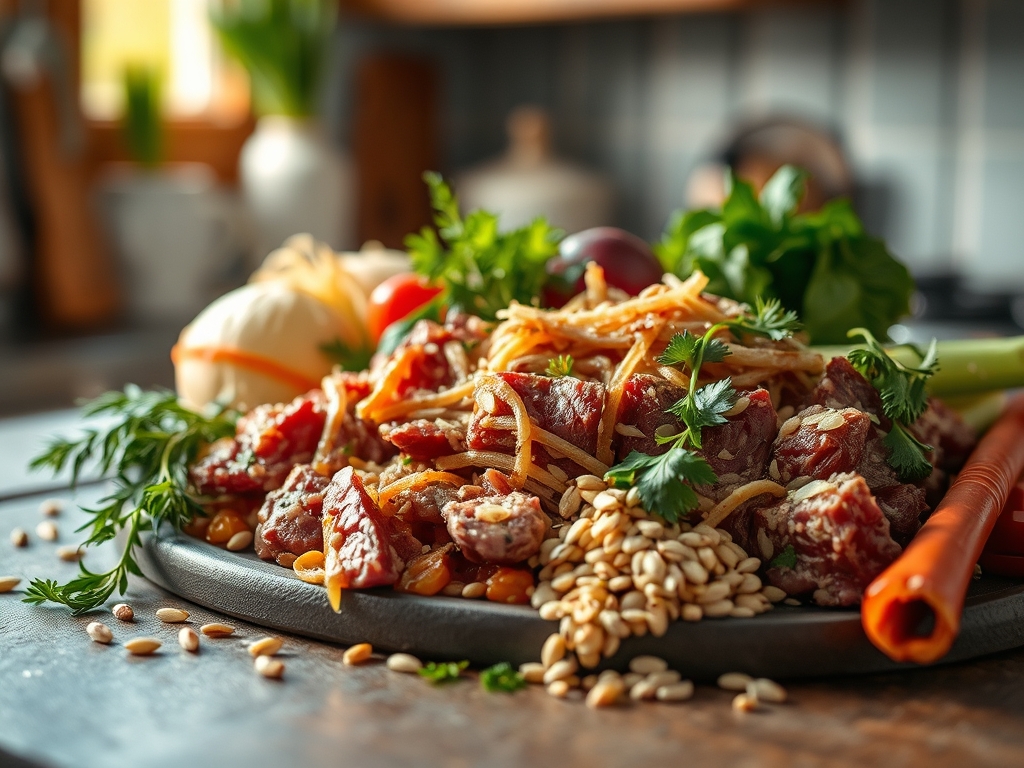
To achieve a result that is both viscous and vibrant, we start with the anatomy of the cut. You want a three-pound chuck roast, marbled with intramuscular fat. This fat will render during the cook, self-basting the meat from the inside out. Beside your digital scale, gather three cloves of garlic, one large white onion, and a quart of high-quality beef bone broth. For the aromatics, we use smoked paprika, dried oregano, and a splash of apple cider vinegar to provide a piquant counterpoint to the richness of the beef.
Smart Substitutions: If you cannot find chuck, a brisket point or a bottom round will suffice, though the latter requires an extra tablespoon of tallow to mimic the necessary fat content. For a deeper umami profile, swap half the salt for liquid aminos or a dash of fish sauce. Use a microplane to zest a bit of lime into your spice rub; the citrus oils cut through the heavy lipids and brighten the entire flavor profile.
The Clock
Efficiency is the hallmark of a seasoned home cook. This process follows a specific "Chef's Flow" designed to minimize cleanup while maximizing flavor extraction. Your active prep time is exactly fifteen minutes. This includes the "sear and clear" phase where we develop the Maillard reaction. The pressurized cook cycle takes sixty minutes, followed by a twenty-minute natural pressure release.
Total time from bench scraper to table is approximately one hour and forty minutes. While the pot is under pressure, use that "dead time" to prepare your garnishes or a quick pickled slaw. This ensures that the moment the lid is removed, you are ready to serve, preventing the meat from drying out as it sits in the cooling liquid.
The Masterclass
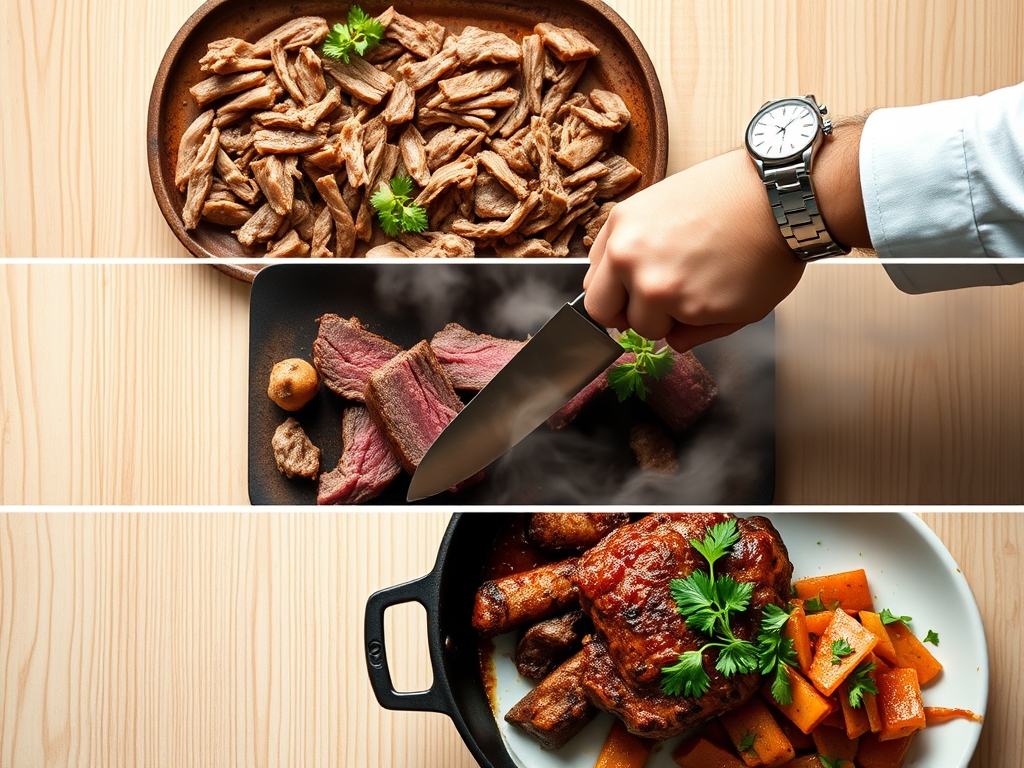
1. The Sear and Sizzle
Pat your beef dry with paper towels. Moisture is the enemy of browning. Season aggressively with salt and pepper, then use the "Saute" function on your pot. Add a high-smoke-point oil and sear each side for four minutes until a dark, mahogany crust forms.
Pro Tip: This is enzymatic browning at work. By searing the exterior, you create hundreds of new flavor compounds that do not exist in raw meat. Do not crowd the pot, or you will steam the meat instead of searing it.
2. Deglaze the Fond
Remove the beef and set it on a clean plate. Pour in a splash of broth and use a wooden spoon to scrape the brown bits (the fond) off the bottom of the pot.
Pro Tip: These bits are concentrated umami. If you leave them stuck to the bottom, you risk a "burn" notice from the sensors. Incorporating them into the liquid ensures a deeply infused sauce.
3. Aromatics and Acid
Add your onions, garlic, and spices. Return the beef to the pot and pour in the remaining broth and vinegar. The acid in the vinegar helps break down the tough collagen fibers during the high-pressure cycle.
Pro Tip: Acid acts as a catalyst for hydrolysis, the process where collagen turns into gelatin. This is why the meat feels "slippery" and moist rather than dry and stringy.
4. The Pressure Phase
Secure the lid and set the timer for 60 minutes on high pressure. Ensure the steam valve is set to the sealing position. Now, walk away and let physics do the heavy lifting.
Pro Tip: High pressure raises the boiling point of water, allowing the internal temperature of the beef to exceed 212 degrees Fahrenheit without boiling away the moisture. This accelerates the breakdown of stubborn proteins.
5. The Natural Release
Once the timer beeps, do not touch the valve. Let the pressure dissipate naturally for 20 minutes. This allows the muscle fibers to relax and reabsorb the surrounding juices.
Pro Tip: A quick release causes a sudden drop in pressure, which can "shock" the moisture out of the meat cells, leaving you with tough beef. Thermal carryover continues to soften the fibers during this resting phase.
6. The Shred and Reduce
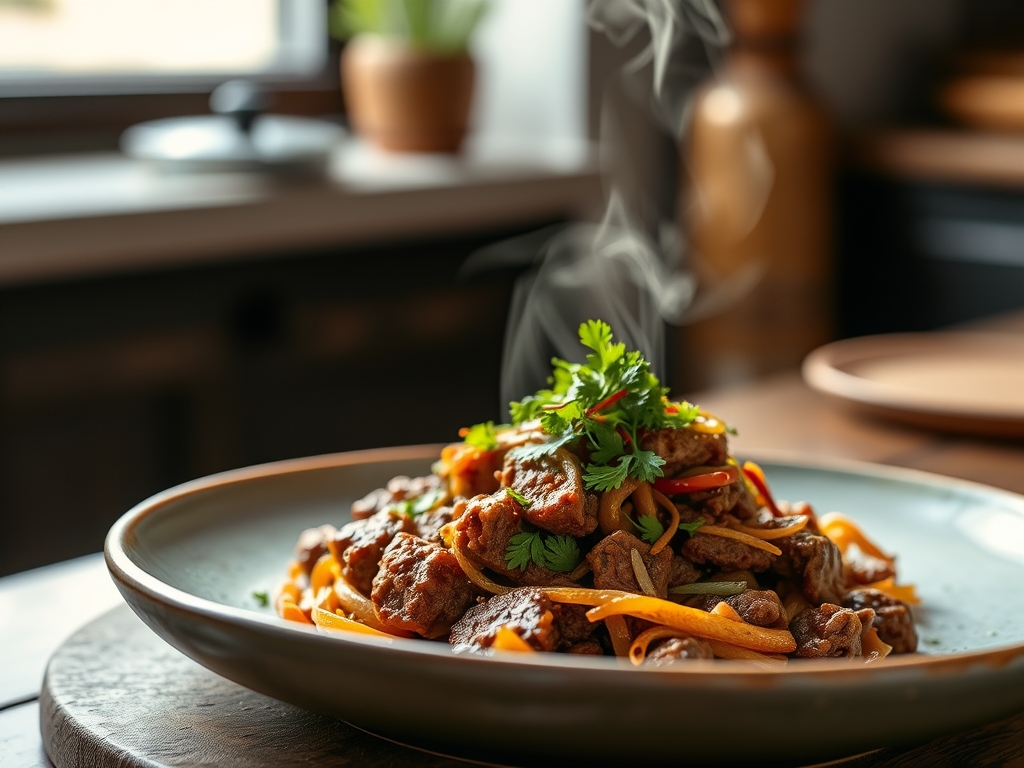
Use tongs to move the beef to a large bowl. Shred it using two forks. Meanwhile, set the pot back to "Saute" to reduce the remaining liquid by half until it becomes a thick, glossy glaze.
Pro Tip: Reducing the liquid concentrates the solutes. Tossing the shredded meat back into this concentrated jus ensures every strand is coated in a viscous, flavorful emulsion.
The Deep Dive
Macro Nutrition: A standard four-ounce serving of this shredded beef contains approximately 280 calories, 24 grams of protein, and 18 grams of fat. It is naturally zero-carb, making it a powerhouse for metabolic health.
Dietary Swaps: To make this Keto, ensure your broth has no added sugars. For a Vegan "shredded" alternative, use king oyster mushrooms or young jackfruit, reducing the pressure time to 10 minutes. For Gluten-Free needs, ensure your spices are certified and avoid any soy-based additives.
The Fix-It:
- Tough Meat: If it does not shred easily, it is undercooked. Put it back in for 10 more minutes.
- Greasy Sauce: Use a fat separator or a chilled spoon to skim the excess tallow from the top of the liquid before reducing.
- Bland Flavor: You likely under-salted before the sear. Add a pinch of finishing salt or a squeeze of fresh lime juice to wake up the palate.
Meal Prep: To maintain "day-one" quality, store the beef submerged in its own cooking liquid. When reheating, use a saucier over medium-low heat. Adding a tablespoon of water or broth helps aerate the sauce and prevents the proteins from tightening up and becoming rubbery.
The Wrap-Up
Mastering shredded beef recipes instant pot style is about more than just pressing buttons; it is about respecting the chemistry of the ingredients. By controlling the sear, the acid, and the cooling process, you transform a budget-friendly cut into a gourmet foundation for tacos, salads, or sandwiches. Now, grab your tongs and get to work. Your future self will thank you when those tender, flavorful strands hit the plate!
The Kitchen Table
Can I use frozen beef for this recipe?
Yes, but you must skip the searing step. Increase the high-pressure cook time by 20 to 30 minutes to ensure the core temperature reaches the point where collagen begins to break down into gelatin.
Why is my shredded beef dry even in liquid?
Overcooking at high heat or using a quick pressure release can squeeze moisture out of the muscle fibers. Always use a natural release to allow the proteins to relax and reabsorb the flavorful cooking juices.
How long does shredded beef last in the fridge?
Stored in an airtight container with its juices, shredded beef remains delicious for up to four days. For longer storage, it freezes beautifully for up to three months without losing its structural integrity or flavor.
What is the best way to thicken the sauce?
The best method is reducing the liquid using the "Saute" function. This concentrates the natural flavors. Alternatively, whisk in a small slurry of cornstarch and water for a faster, glossier finish that clings perfectly to the meat.