Imagine the scent of toasted coriander and peppercorns swirling through a kitchen as the brisket simmers into something buttery and transcendent. We are moving far beyond the salty, grey slabs of your childhood. Mastering easy corned beef recipes is about more than just a holiday; it is a masterclass in low and slow protein transformation. Whether you are aiming for a classic boiled dinner or a modern, crusty sear, the chemistry remains the same. We are going to break down the barrier between a tough cut of meat and a fork-tender masterpiece using a few professional tricks and a bit of kitchen physics.
The brisket is a hardworking muscle, packed with connective tissue that requires a specific thermal journey to become edible. When you approach this dish, think of yourself as a molecular architect. You are not just cooking; you are dissolving collagen into gelatin to create that luxurious, mouth-coating silkiness we all crave. By the time we are finished, you will understand exactly why your previous attempts might have been rubbery and how to ensure every slice is a velvet revelation. Let us get your heavy-bottomed pot ready and dive into the aromatic world of cured brisket.
The Gathers:
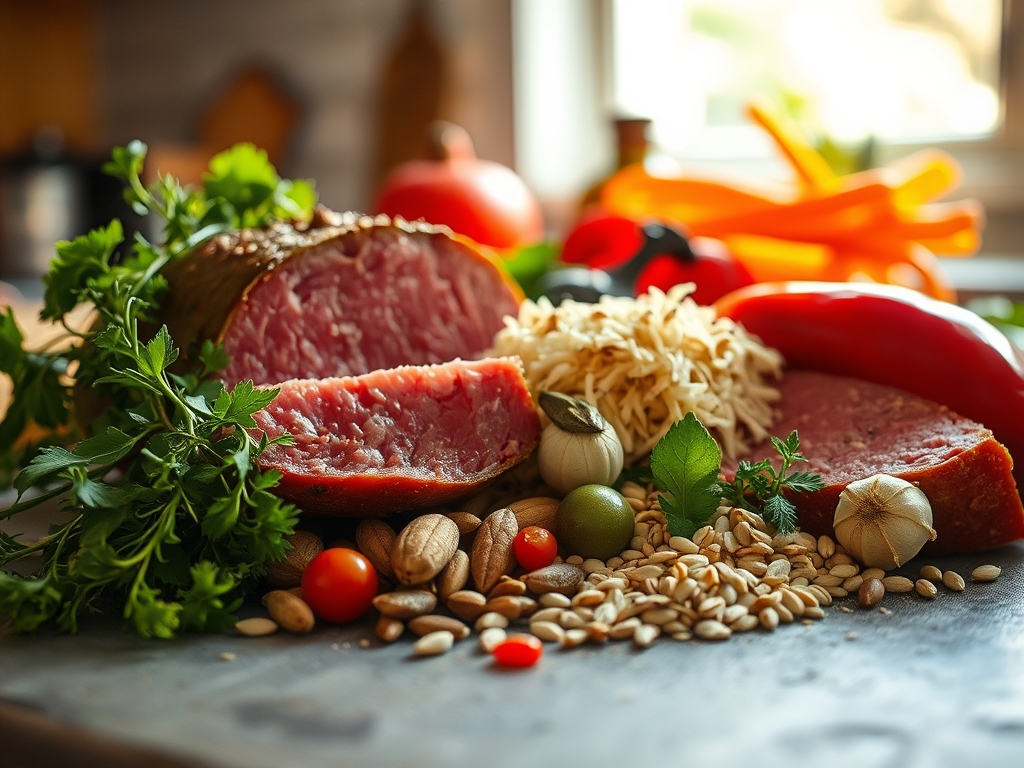
The foundation of any elite dish is the mise-en-place. For our easy corned beef recipes, you need a three-pound flat-cut or point-cut brisket, pre-brined. The flat-cut is leaner and easier to slice with a bench scraper for uniform presentation, while the point-cut offers more intramuscular fat for a richer mouthfeel. You will also need a bouquet garni of peppercorns, mustard seeds, coriander, and bay leaves.
To create a viscous and flavorful braising liquid, gather four cloves of smashed garlic, one large yellow onion, and three large carrots. If you want to elevate the profile, add a splash of apple cider vinegar to provide a piquant counterpoint to the salt. Smart Substitutions: If you lack a pre-packaged spice packet, use a microplane to zest a bit of fresh ginger into the pot; the enzymes help soften the meat fibers. Instead of water, use a dark stout to infuse the beef with malty, complex notes that mimic the depth of a long-aged ferment.
The Clock:
Efficiency in the kitchen is what separates the hobbyist from the pro. This is the Chef's Flow: a rhythmic progression that respects the biological limits of the meat. Total preparation time is approximately 20 minutes, mostly spent on vegetable fabrication. The cooking time, however, is a non-negotiable three to four hours.
You cannot rush the denaturation of proteins. If you attempt to boil this meat at a high temperature, the muscle fibers will contract and squeeze out all moisture, leaving you with a dry, stringy mess. Your goal is a gentle simmer between 190 and 200 degrees Fahrenheit. This allows the heat to penetrate the center of the roast without over-coagulating the surface. Plan for a 20-minute resting period post-cook; this is the most vital window for moisture reabsorption.
The Masterclass:
1. The Rinse and Prep
Remove the brisket from its packaging and rinse it thoroughly under cold water. This removes the excess surface brine and prevents the final dish from being an oversalted disaster. Use a digital scale to ensure your aromatics are proportional to the weight of your meat.
Pro Tip: Rinsing is essential because it manages the osmotic pressure. By removing surface salts, you allow the aromatics in your cooking liquid to better penetrate the meat via diffusion.
2. Searing for Depth
Heat a heavy-bottomed skillet or your Dutch oven with a teaspoon of high-smoke-point oil. Sear the fat cap of the brisket until it is golden brown. This is not traditional for some, but it adds a layer of complexity that boiling alone cannot achieve.
Pro Tip: This creates the Maillard reaction, a chemical reaction between amino acids and reducing sugars that gives browned food its distinctive flavor. It adds "umami" notes that balance the brine.
3. Aromatics Activation
Toss your onions, garlic, and spices into the pot after searing the meat. Use a wooden spoon to deglaze the bottom of the pan, scraping up those flavorful browned bits (the fond) with a splash of liquid.
Pro Tip: Heating spices in fat before adding water is called "blooming." It releases fat-soluble volatile oils that would otherwise remain trapped inside the spice hulls.
4. The Low Simmer
Submerge the beef in liquid, ensuring it is covered by at least an inch. Bring it to a boil, then immediately drop the heat to the lowest setting. Cover the pot tightly to prevent evaporation and maintain a consistent internal temperature.
Pro Tip: Maintaining a "lazy bubble" ensures the collagen conversion happens slowly. High heat causes proteins to tighten like a wrung-out sponge; low heat keeps them relaxed and tender.
5. Managing the Scum
In the first thirty minutes, you may see grey foam rising to the top. Use a wide spoon or a saucier to skim this off. These are denatured proteins that can cloud your broth and add a bitter aftertaste.
Pro Tip: Skimming ensures a "clean" flavor profile. It prevents the emulsification of impurities into the cooking liquid, keeping the broth clear and the flavors sharp.
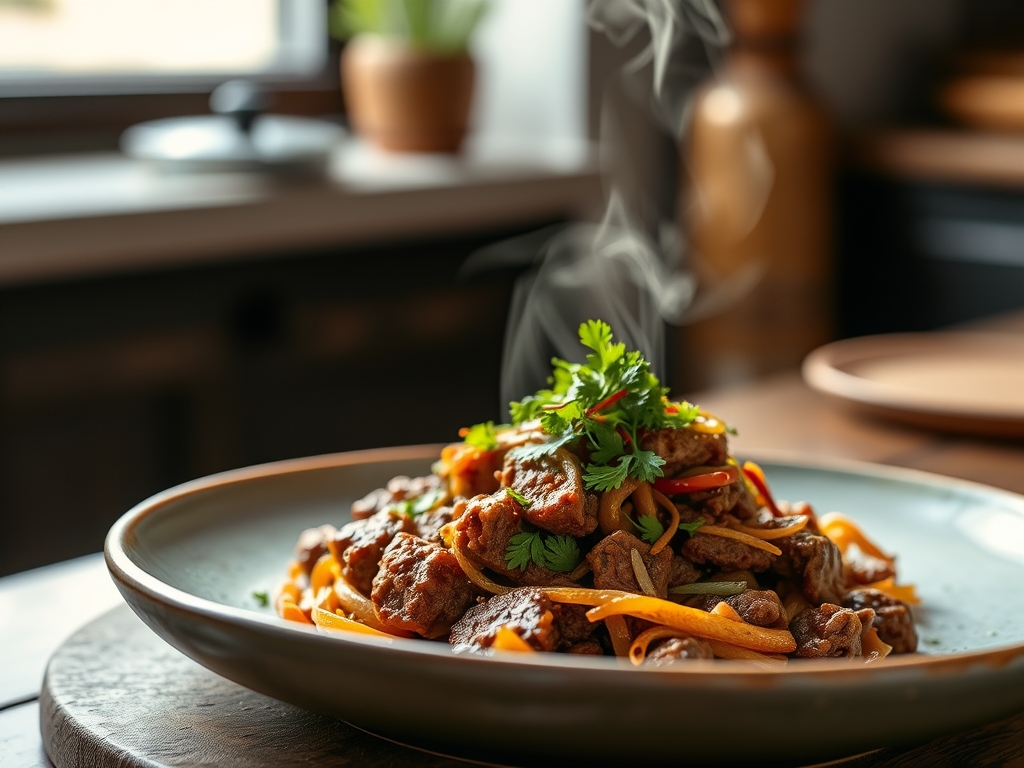
6. The Vegetable Interval
Add your potatoes and carrots only in the last 45 minutes of cooking. Adding them too early results in a mushy texture that lacks structural integrity. Use a pairing knife to check for "fork-tenderness" in both the meat and the tubers.
Pro Tip: Vegetables have different pectin structures than meat. Cooking them for the full four hours would dissolve their cell walls entirely, turning your dinner into a mash.
7. The Cabbage Finish
Add cabbage wedges in the final 15 minutes. You want them to wilt and absorb the fat from the broth without losing their vibrant color or becoming sulfurous.
Pro Tip: Cabbage contains glucosinolates that release pungent sulfur odors if overcooked. A short "flash braise" keeps the flavor sweet and the texture snappy.
8. The Critical Rest
Use heavy-duty tongs to lift the brisket onto a cutting board. Tent it loosely with foil and let it sit for at least 20 minutes before you even think about touching a knife.
Pro Tip: This allows for thermal carryover. The internal temperature will rise slightly, and the muscle fibers will relax, allowing the juices to redistribute rather than spilling out onto the board.
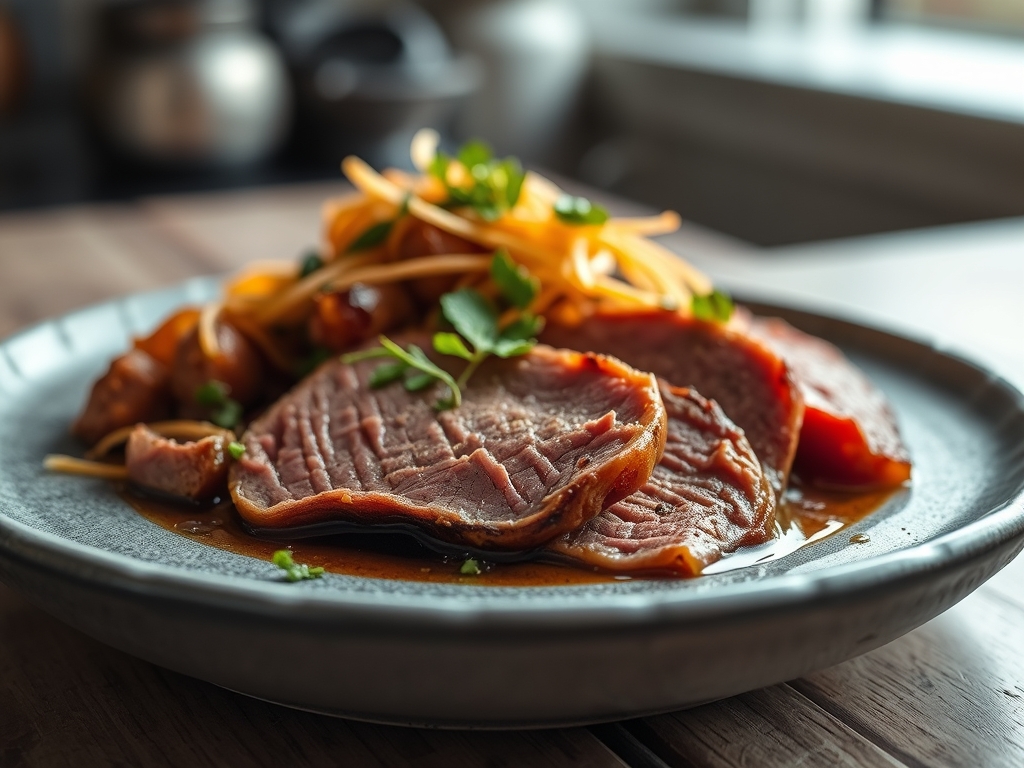
9. Slicing Against the Grain
Look for the direction of the muscle fibers. Use a long, serrated knife or a sharp carving knife to slice perpendicular to those lines. This breaks up the long fibers, making every bite feel more tender.
Pro Tip: Slicing against the grain is a mechanical way to enhance the "tenderness" of the meat. It shortens the fiber length, making it easier for your teeth to shear through the protein.
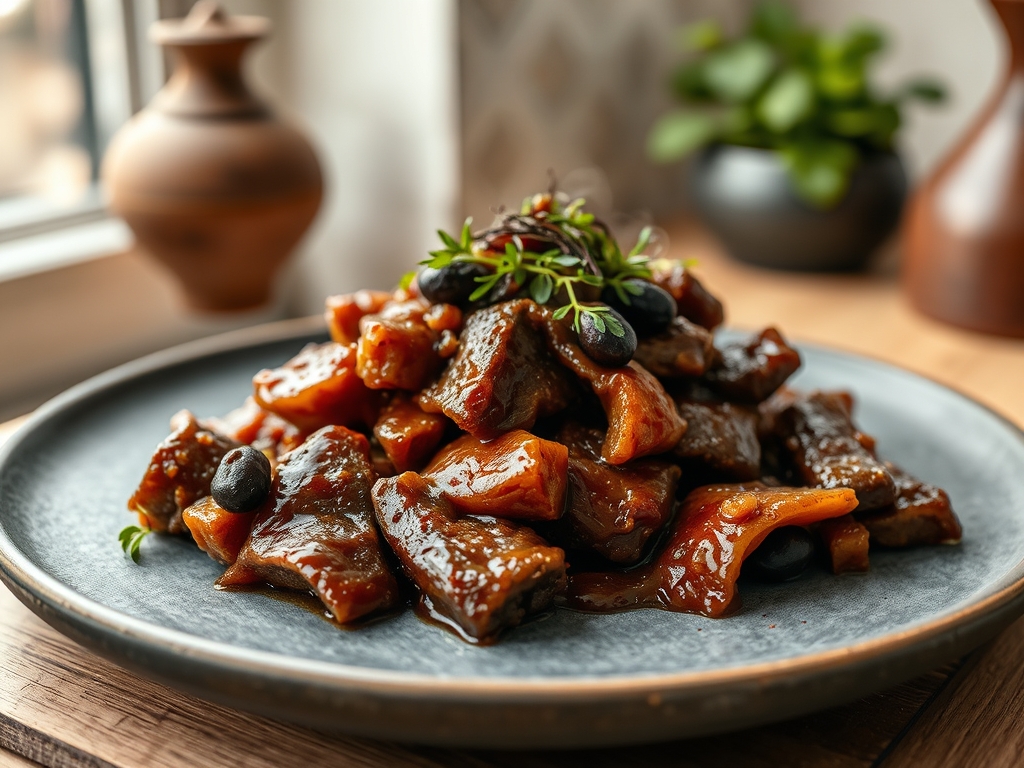
10. The Glaze Option
For a modern twist, brush the top of your sliced beef with a mixture of honey and grain mustard. Place it under the broiler for two minutes until it bubbles and caramelizes.
Pro Tip: This final hit of heat creates a viscous glaze that clings to the meat. The sugars provide a necessary contrast to the deep, salty savoriness of the cured beef.
The Deep Dive:
When we look at the macro nutrition, corned beef is a powerhouse of protein and B vitamins, though it is high in sodium. For those on a Keto path, skip the potatoes and double the cabbage for a high-fat, low-carb feast. Vegan friends can achieve a similar flavor profile by brining large "steaks" of cauliflower or seitan in a mixture of beet juice (for color), pickling spices, and liquid smoke. If you are Gluten-Free, simply ensure your spice mix and any added broths are certified, as some pre-packaged spices use wheat-based anti-caking agents.
"The Fix-It" guide for common pitfalls: If your meat is tough, it simply hasn't cooked long enough; put it back in the simmer. If it is too salty, add a raw potato to the pot to soak up excess brine, or replace half the cooking liquid with fresh water. If the meat is dry despite being tender, you likely boiled it too hard; next time, use a thermometer to keep the water under 200 degrees. For meal prep, store the beef in its own cooking liquid. The liquid acts as a preservative and prevents the meat from oxidizing and turning grey. When reheating, do so gently in a covered dish with a splash of broth to maintain that "day-one" moisture.
The Wrap-Up:
You are now equipped with the scientific secrets to the most incredible easy corned beef recipes in your repertoire. By respecting the transition of collagen to gelatin and mastering the art of the low simmer, you have turned a humble brisket into a gourmet centerpiece. Remember: the kitchen is your laboratory, and every spice, sear, and rest period is a deliberate choice toward perfection. Now, grab your tongs, carve that brisket, and enjoy the fruits of your culinary labor!
The Kitchen Table:
How do I know when the corned beef is done?
The meat is done when it is "fork-tender," meaning a fork slides in and out with zero resistance. Internally, the beef should reach about 195 to 205 degrees Fahrenheit for the best collagen breakdown and texture.
Can I cook corned beef in a slow cooker?
Yes, set it to "low" for 8 to 10 hours. The slow cooker is excellent for maintaining the gentle, consistent heat required to render fat and soften the tough connective tissues without boiling the meat.
Why is my corned beef still tough after hours?
Toughness usually means the collagen hasn't fully dissolved. If the meat is still rubbery, it needs more time at a low simmer. Never increase the heat to speed it up; that only makes the protein fibers tighter and drier.
How should I store and reheat leftovers?
Store leftovers in their cooking liquid in an airtight container. To reheat, simmer the slices gently in the broth on the stove or microwave them covered with a damp paper towel to prevent the protein from becoming "rubbery" and dry.