Picture the scene: a quiet sizzle begins the moment the cold flesh hits the heavy-bottomed skillet, releasing a cloud of piquant citrus and toasted butter. Your guests are hovering near the kitchen island, wine glasses in hand, drawn in by the aroma of rendering fats and caramelizing proteins. Finding the best cooked salmon recipes is not just about following a timer; it is about mastering the alchemy of heat and moisture to transform a simple fillet into a buttery masterpiece. We have all been there, staring at a dry, chalky piece of fish that looks more like a pencil eraser than a delicacy. Today, we are ending that cycle. We are diving into the molecular mechanics of the Maillard reaction and the delicate art of thermal carryover to ensure your next dinner party is legendary.
The Gathers:
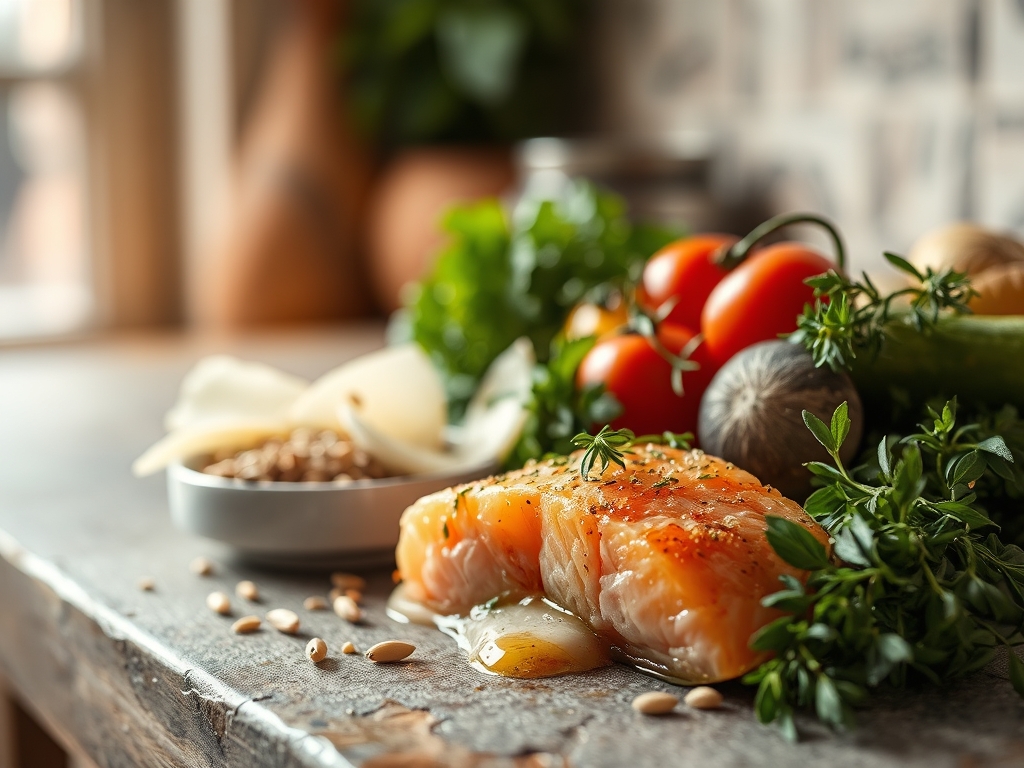
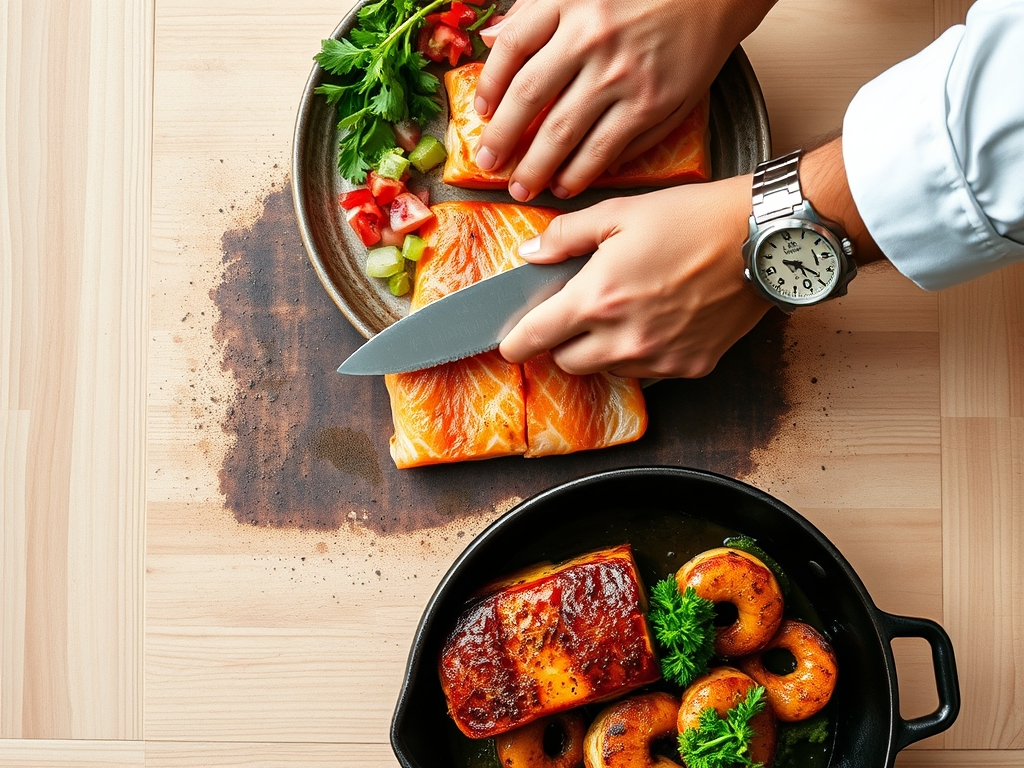
Setting up your station is the difference between a frantic kitchen and a fluid performance. You will need high-quality Atlantic or King salmon fillets, ideally center-cut for uniform thickness. Gather your aromatics: fresh dill, garlic cloves, and a bright Meyer lemon. For the fat profile, use a combination of high-smoke-point avocado oil and unsalted European-style butter for that rich, nutty finish. You will also need kosher salt for its jagged crystal structure that clings to the flesh, and freshly cracked white pepper for a subtle, earthy heat that does not mar the visual aesthetic of the pink meat.
Smart Substitutions: If you are out of fresh dill, use fennel fronds for a similar anise-like profile. If you lack avocado oil, grapeseed oil works perfectly due to its neutral flavor and high thermal stability. For a dairy-free crowd, swap the butter for a viscous, high-quality olive oil infused with a touch of nutritional yeast to mimic that savory depth. Ensure you have your microplane ready for zest and a digital scale to confirm your portions are consistent, ensuring every guest receives the same cook time.
The Clock:
The "Chef's Flow" is all about timing the transition from raw to radiant. Total active prep time is a brisk 15 minutes, focusing on drying the skin and tempering the fish. The actual cooking phase spans 8 to 12 minutes depending on the thickness of the fillet. However, the most critical phase is the 5-minute rest period. This allows the internal juices, which have been pushed toward the center by the heat, to redistribute through the muscle fibers. If you cut into it too early, you lose that moisture to the cutting board. Total time from fridge to table is roughly 30 minutes, making this a high-efficiency move for any host.
The Masterclass:
1. The Desiccation Ritual
Use a paper towel to aggressively pat the salmon skin dry. Moisture is the enemy of a crisp crust; any surface water will turn to steam, preventing the skin from reaching the temperatures required for the Maillard reaction.
Pro Tip: This is known as surface dehydration. By removing water, you allow the skin to reach 310 degrees Fahrenheit almost instantly, triggering the chemical reaction between amino acids and reducing sugars that creates that golden, savory "crunch."
2. Precision Seasoning
Dust the fillets with salt from about 12 inches above the board. This height ensures an even distribution of crystals, preventing "salt pockets." Use your bench scraper to move the fillets without tearing the delicate flesh.
Pro Tip: Salt acts as a denaturant. It begins to break down the tightly wound proteins on the surface, allowing them to hold onto more moisture during the cooking process, a phenomenon known as brining.
3. The Cold-Pan Start
Place the salmon skin-side down in a cold, heavy-bottomed skillet before turning the heat to medium-high. This allows the fat beneath the skin to render slowly, effectively frying the skin in its own oil.
Pro Tip: This technique prevents the "buckling" effect. When cold fish hits a screaming hot pan, the proteins contract violently, causing the fillet to curl. A gradual temperature rise keeps the fillet flat and ensures edge-to-edge contact.
4. The Weighting Game
Once the heat is up, use a flexible fish spatula or even another heavy pan to gently press down on the fillets for the first 60 seconds. This ensures the entire surface of the skin is in contact with the heat source.
Pro Tip: This maximizes thermal conductivity. Without pressure, air pockets form between the skin and the pan, leading to uneven patches of soggy skin and overcooked meat.
5. The Butter Baste
When the fish is 70 percent cooked through, add a knob of butter, smashed garlic, and thyme to the pan. Use a saucier spoon to continuously pour the foaming butter over the raw top of the fish.
Pro Tip: This is called "arroser." The hot fat gently cooks the top of the salmon while infusing it with aromatic compounds, all without the harsh direct heat that causes the albumin (that white gunk) to squeeze out.
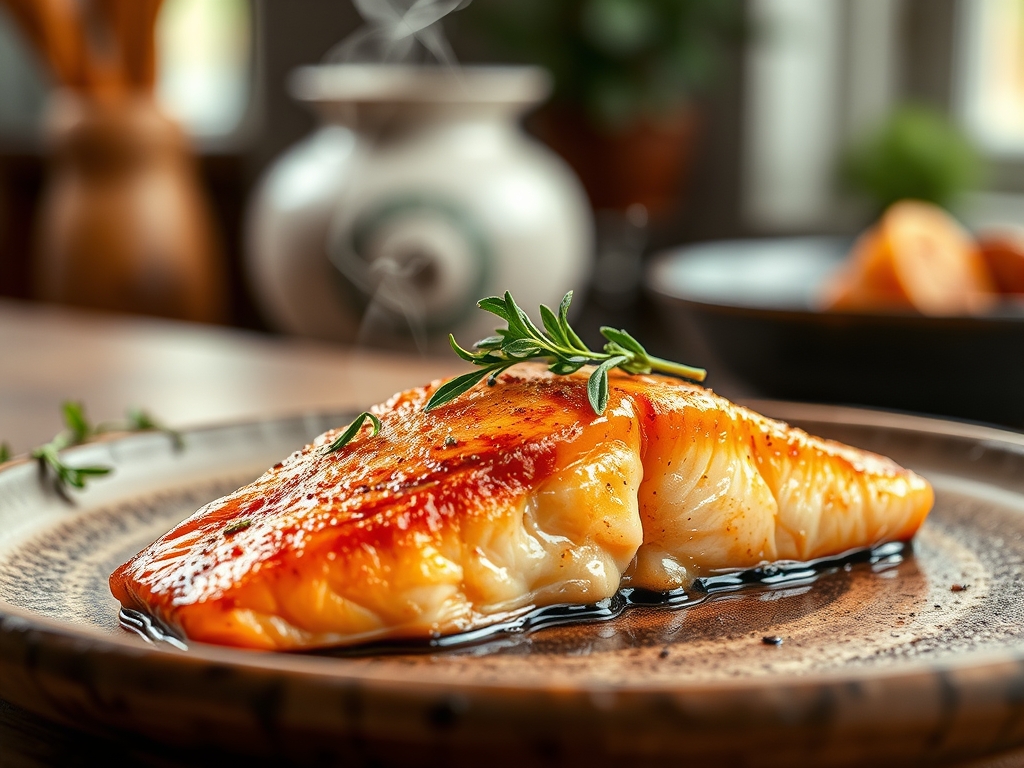
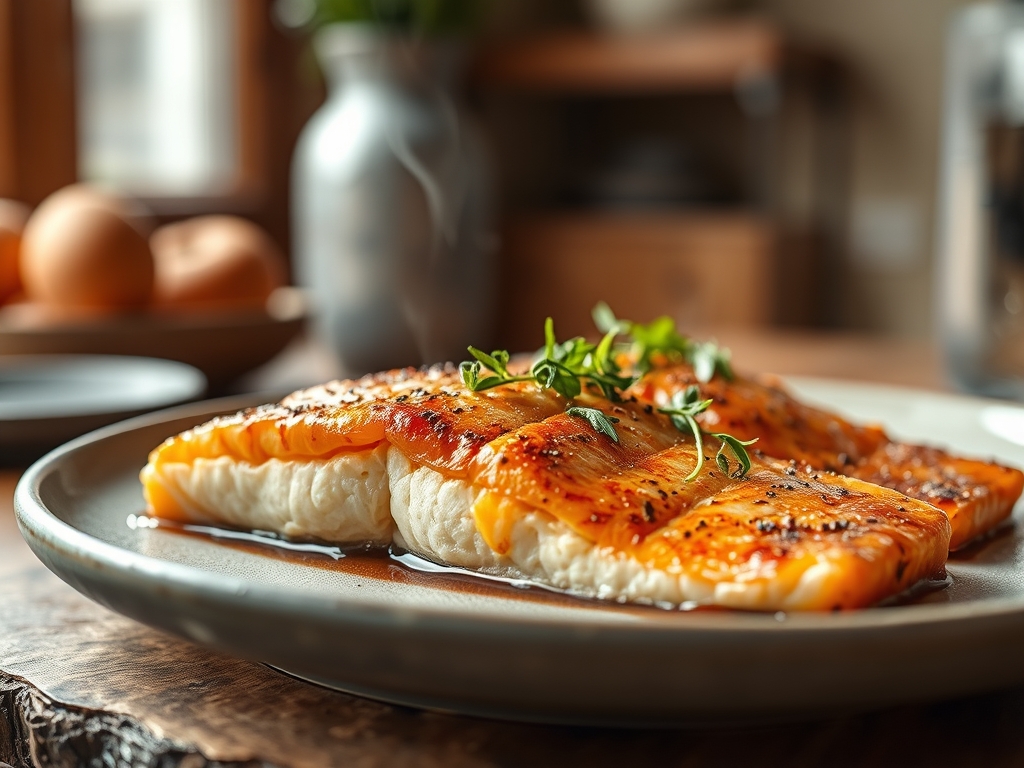
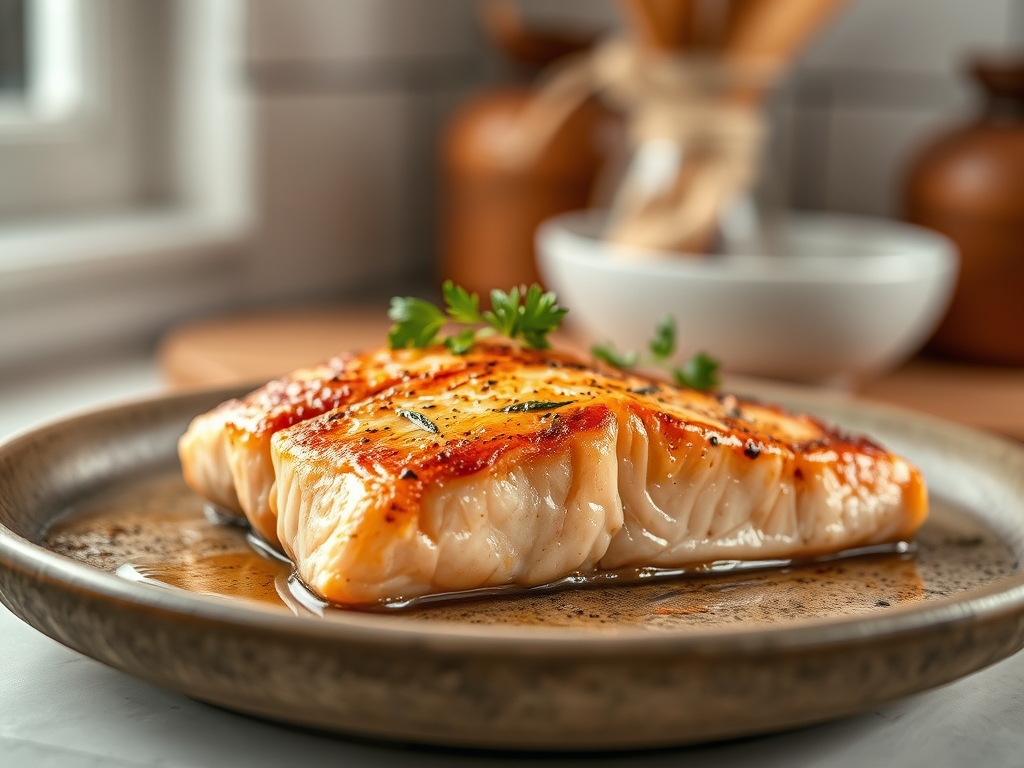
6. The Thermal Exit
Remove the salmon from the pan when the internal temperature reaches 125 degrees Fahrenheit on a digital thermometer. Place it on a warm plate, skin-side up, to preserve the crunch.
Pro Tip: This accounts for thermal carryover. The residual heat trapped in the outer layers will continue to migrate toward the center, raising the final temperature to a perfect medium-rare (130-135 degrees) while it rests.
The Deep Dive:
From a macro perspective, salmon is a nutritional powerhouse, loaded with Omega-3 fatty acids (EPA and DHA) and high-quality protein. A standard 6-ounce serving provides roughly 34 grams of protein and 20 grams of healthy fats. For Dietary Swaps, this recipe is naturally Keto and Gluten-Free. To make it Vegan, you can apply the same searing techniques to thick slabs of "King Trumpet" mushrooms or marinated tofu, though the protein structure will react differently to the heat.
The Fix-It:
- White Gunk (Albumin): If you see white bubbles, the heat was too high too fast. Fix it by lowering the flame and basting with room-temperature oil to cool the surface.
- Stuck Skin: If the fish won't release, do not force it. The skin will naturally "release" from the metal once the proteins have fully caramelized. Wait another 30 seconds.
- Fishy Odor: This usually means the fats have oxidized. Neutralize this by deglazing the pan with a splash of dry white wine or lemon juice at the very end to provide an acid balance.
Meal Prep: To reheat salmon without turning it into leather, avoid the microwave. Instead, place it in a low oven (275 degrees) with a tablespoon of water and cover it tightly with foil. This creates a gentle steam chamber that restores the viscous texture of the fats without re-cooking the proteins.
The Wrap-Up:
Mastering the best cooked salmon recipes is about more than just dinner; it is about the confidence to host with ease. When you understand why we dry the skin or why the butter foams, you stop being a follower of recipes and start being a master of the kitchen. Your guests will notice the difference in the flake of the fish and the complexity of the crust. So, grab your tongs, fire up the range, and prepare to serve a meal that is as scientifically sound as it is delicious.
The Kitchen Table:
How do I prevent salmon from smelling "fishy"?
Always buy high-quality, fresh-smelling fish. Before cooking, rinse the fillet in cold water and pat it completely dry. The addition of an acid, like lemon juice or white wine, during the final stages of cooking will neutralize any oxidized fats.
What is the white stuff that leaks out of salmon?
That is albumin, a liquid protein that coagulates when the muscle fibers contract too quickly. To minimize this, cook the salmon at a lower temperature and avoid overcooking, as the albumin is pushed out when the fish becomes too dry.
Can I cook salmon straight from the freezer?
It is not recommended for high-end results. Thawing allows for even heat distribution. If you must, use the "sous-vide" method or a very slow bake to ensure the center reaches a safe temperature without burning the exterior.
Is it better to cook salmon with the skin on?
Absolutely. The skin acts as a protective thermal barrier, preventing the delicate flesh from drying out against the pan. Even if you do not plan to eat the skin, it helps retain moisture and flavor during the entire cooking process.