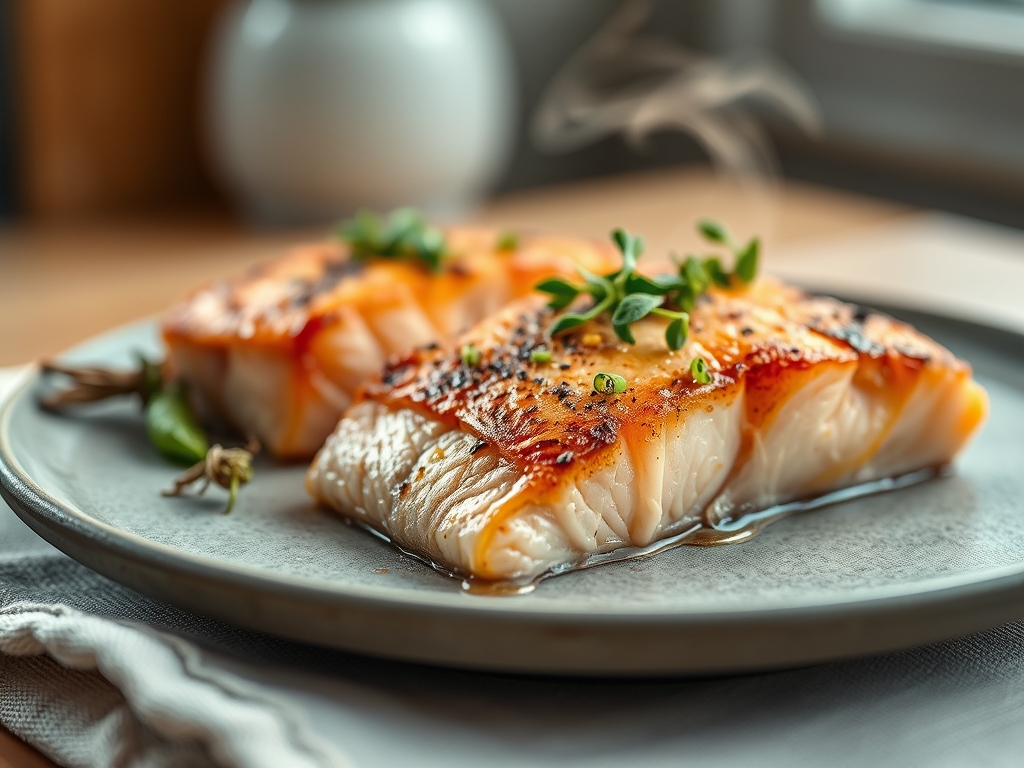
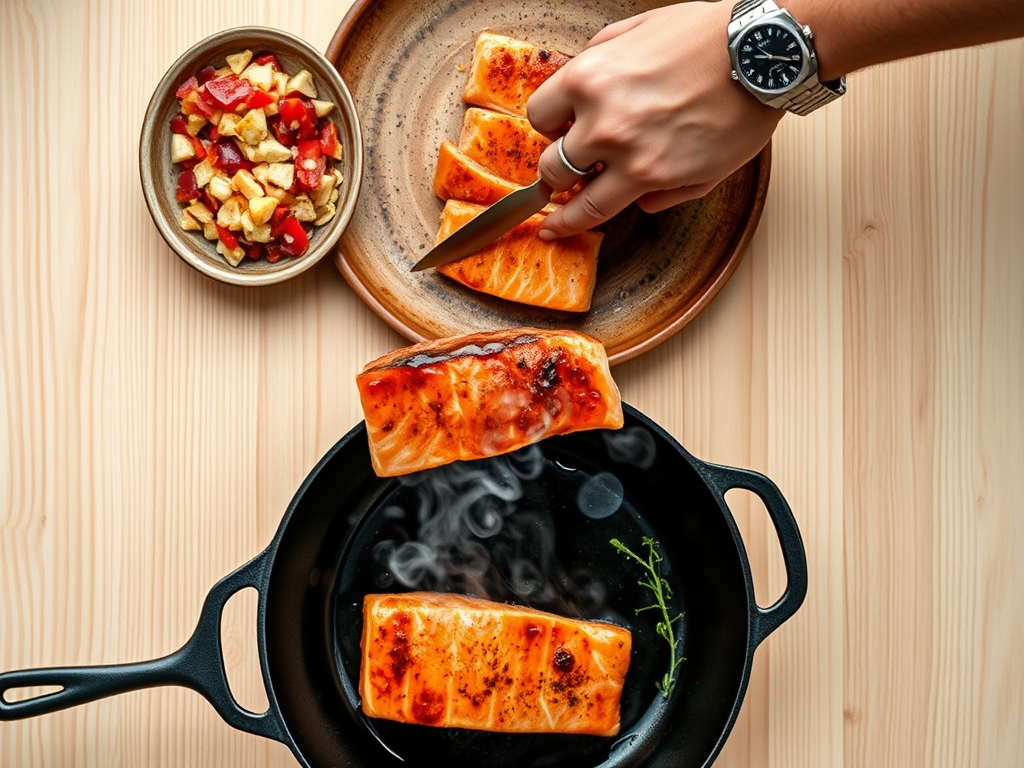
Picture the scene: a quiet kitchen, the rhythmic hum of the refrigerator, and the sharp, clean scent of cold Atlantic water. You are holding a fillet of King salmon, its flesh a vibrant coral, its skin shimmering like wet slate. When we talk about salmon recipes cast iron skillet techniques, we are not just making dinner; we are conducting a high heat physics experiment. The goal is a crust so crisp it shatters like glass, giving way to a center that remains buttery and translucent. Most home cooks fear the stick, that heartbreaking moment where half the fish stays behind on the metal. But today, we are mastering the thermodynamics of the sear. We are going to harness the immense heat capacity of seasoned iron to create a restaurant quality crust that rivals any five star bistro.
The Gathers:
To achieve the perfect sear, your mise-en-place must be precise. Start with high quality salmon fillets, preferably center cut for uniform thickness. You will need a neutral oil with a high smoke point, such as avocado or grapeseed oil; avoid extra virgin olive oil here, as its low smoke point will result in a bitter, acrid flavor at the temperatures required for searing. Gather your digital scale to ensure portions are consistent, and keep a microplane nearby for finishing with citrus zest.
The "Smart Substitutions" list is short because quality is paramount. If you cannot find fresh salmon, steelhead trout offers a similar fat profile and texture. For the aromatics, if fresh thyme is unavailable, a sprig of rosemary or even a bay leaf can infuse the oil with earthy notes. Do not skip the salt. Use a coarse Kosher salt; the larger grains provide a better tactile grip and do not dissolve instantly, allowing them to draw moisture to the surface for a better crust.
The Clock
Efficiency in the kitchen is about "Chef's Flow," the art of timing your movements so that no heat is wasted. Prep takes exactly ten minutes. This involves patting the fish dry and allowing it to sit at room temperature to take the chill off. Cooking is a swift eight to ten minute affair. You spend six minutes on the skin side to render the subcutaneous fat and four minutes on the flesh side to finish. Total time from fridge to plate is under twenty five minutes. Understanding this flow prevents the frantic scrambling that leads to overcooked protein.
The Masterclass
1. The Desiccation Ritual
Use a paper towel to press every molecule of moisture off the skin. Moisture is the enemy of the Maillard reaction. If the skin is wet, the heat of the pan will spend its energy evaporating water rather than browning the protein.
Pro Tip: This is the science of evaporative cooling. By removing surface water, you allow the pan's energy to immediately trigger the Maillard reaction, which occurs at temperatures above 285 degrees Fahrenheit.
2. The Pre-Heat Protocol
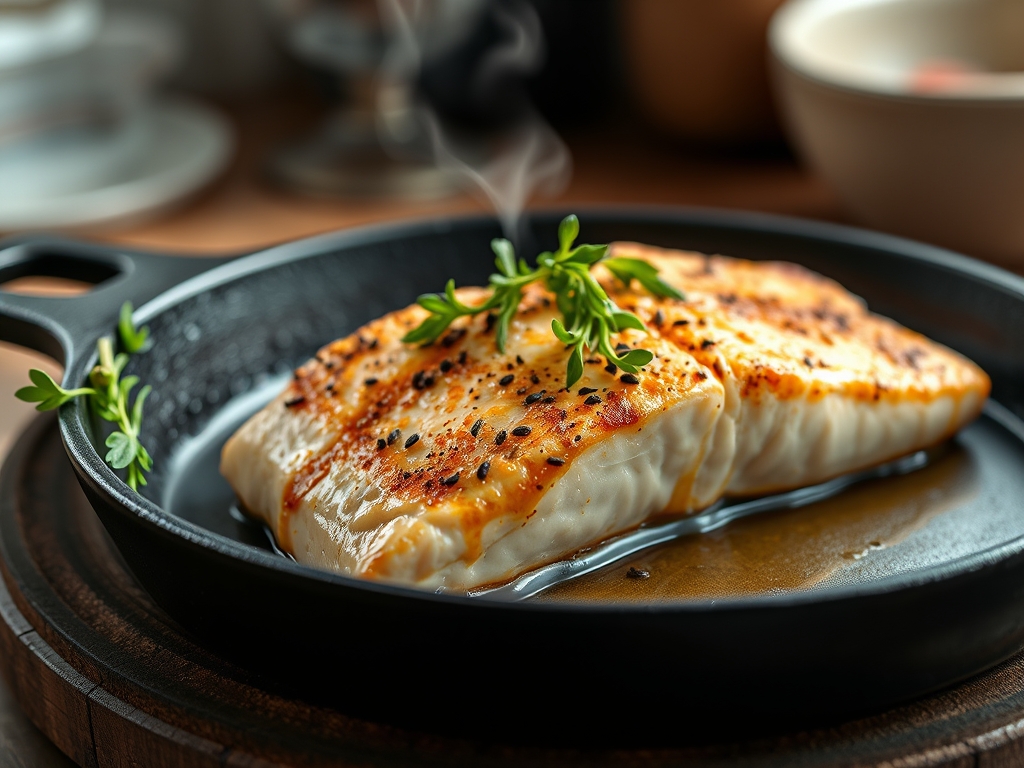
Place your heavy-bottomed skillet over medium high heat for at least five minutes. Cast iron is a poor conductor but an incredible radiator. You need the entire surface to be saturated with thermal energy before the fish touches the metal.
Pro Tip: Use the "Leidenfrost Effect" to test the pan. A drop of water should bead up and dance across the surface rather than evaporating instantly. This signifies the pan is ready to sear.
3. The Oil Shimmer
Add two tablespoons of oil. It should become viscous and shimmer, moving like water. If it starts to smoke excessively, pull the pan off the heat for thirty seconds.
Pro Tip: A thin layer of oil acts as a heat transfer medium. It fills the microscopic gaps between the fish skin and the textured iron, ensuring total surface contact for a uniform crust.
4. The Initial Press
Lay the salmon away from you to avoid oil splatter. Immediately use a flexible fish spatula to press down firmly on the fillet for thirty seconds. Salmon skin tends to curl when it hits heat; pressing it flat ensures the entire surface renders evenly.
Pro Tip: This prevents the "cupping" effect caused by the rapid contraction of collagen fibers in the skin when they hit high heat.
5. The Patience Phase
Do not touch the fish for at least five minutes. You will see the color of the flesh change from the bottom up. Once the cooked "white" line reaches the halfway mark, the skin will naturally release from the pan.
Pro Tip: This is known as adhesion release. As the proteins denature and the fat renders, the bond between the fish and the pan weakens, allowing for a clean flip.
6. The Butter Baste
Flip the fish gently using tongs and a spatula. Drop a knob of unsalted butter and a crushed garlic clove into the pan. As the butter foams, use a saucier spoon to tilt the pan and bathe the skin in the hot, flavored fat.
Pro Tip: This is convection cooking within a conduction environment. The hot butter reaches the nooks and crannies of the crust, deepening the flavor through enzymatic browning.
7. The Internal Check
Use a digital thermometer to pull the salmon at 125 degrees Fahrenheit for a perfect medium-rare. The temperature will continue to rise as the fish rests.
Pro Tip: This is thermal carryover. The residual heat on the exterior of the fish continues to move toward the center even after it is removed from the heat source.
8. The Resting Period
Transfer the salmon to a warm plate and let it rest for three minutes. This allows the muscle fibers to relax and reabsorb the internal juices.
Pro Tip: Resting prevents "purging," where the albumin (the white protein) leaks out of the fish, which happens when the fibers are too tight from immediate slicing.
9. The Acid Finish
Squeeze a fresh lemon over the fillets and hit them with a final sprinkle of flaky sea salt. Use your microplane to add a dusting of lemon zest for a piquant aromatic lift.
Pro Tip: Acid cuts through the heavy lipids of the salmon, balancing the palate and highlighting the delicate flavors of the fish.
The Deep Dive
From a macro perspective, salmon is a nutritional powerhouse. A six ounce fillet provides roughly 34 grams of protein and 22 grams of healthy fats, primarily Omega 3 fatty acids. For those following a Keto lifestyle, this is a gold standard meal. If you are looking for a Vegan alternative, this same cast iron technique works beautifully for thick slabs of "Lion's Mane" mushrooms, which mimic the meaty texture of seafood.
If you encounter "The Fix-It" scenarios, do not panic. If the skin sticks, the pan wasn't hot enough; leave it alone for another minute and it will eventually release. If the fish is "bleeding" white gunk, that is albumin, a sign of overcooking or too much heat too fast. Lower the flame. For meal prep, reheat salmon in a low oven (275 degrees) with a splash of water covered in foil. This prevents the proteins from tightening further and maintains "day-one" silkiness.
The Wrap-Up
Mastering salmon recipes cast iron skillet style is a rite of passage for any serious home cook. It is about the marriage of high heat and delicate timing. Once you hear that first sizzle and see that golden crust, you will never go back to poaching or baking. Grab your skillet, trust the science, and enjoy the most incredible salmon of your life.
The Kitchen Table
How do I stop salmon from sticking to cast iron?
Ensure the pan is preheated for five minutes and the fish skin is bone dry. Do not attempt to flip the fillet until the proteins have naturally released from the surface, which usually takes five minutes.
Should I cook salmon with the skin on or off?
Always cook with the skin on. The skin acts as a protective barrier against the high heat of the cast iron, preventing the delicate flesh from drying out while providing a delicious, crunchy texture.
What is the best oil for searing salmon?
Use oils with high smoke points like avocado, grapeseed, or refined coconut oil. These can handle the 400 degree temperatures of a cast iron skillet without breaking down or creating bitter flavors.
How can I tell if salmon is done without a thermometer?
Gently press the side of the fillet with a fork. If the flakes begin to separate easily along the white lines of fat (the lamellae), the salmon is medium-rare and ready to rest.