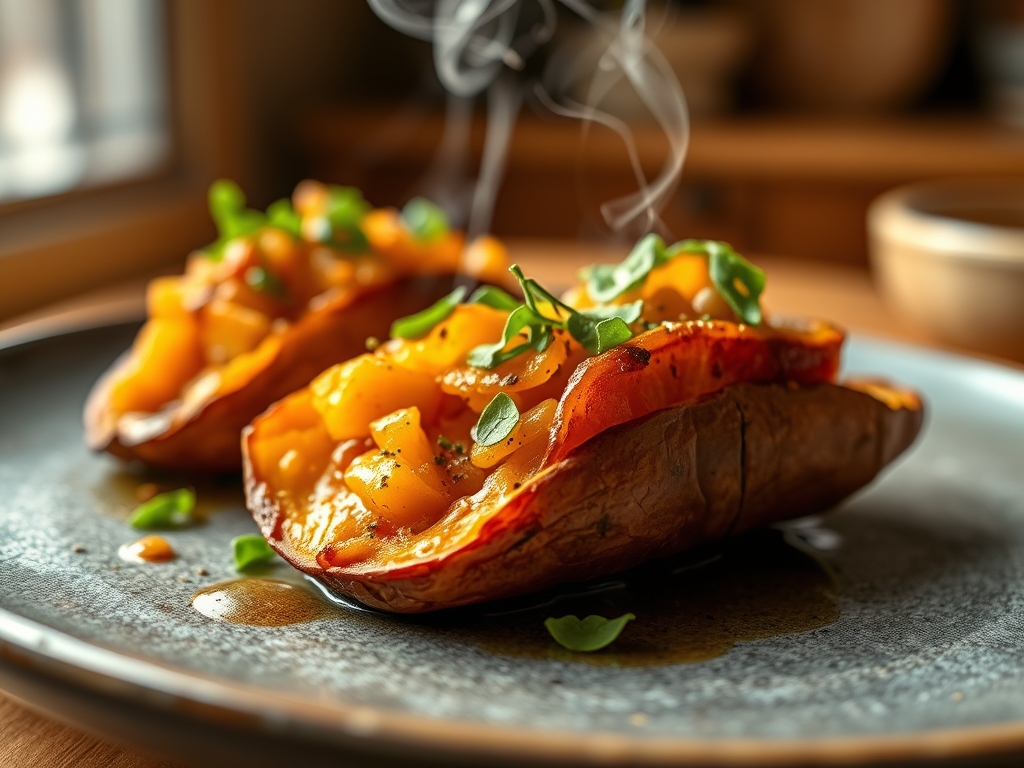
Picture a crisp autumn evening in Tokyo where the scent of caramelizing sugar drifts through the air from a passing stone-roasting cart. That intoxicating aroma belongs to the Yaki-imo, the gold standard of comfort food. While many home cooks struggle with dry or fibrous results, mastering baked japanese sweet potato recipes requires a deep understanding of starch conversion and thermal physics to achieve that signature jammy interior.
The Japanese sweet potato, specifically the Satsuma-imo variety, is a biological marvel. Unlike its orange-fleshed American cousins, it possesses a purple skin and a creamy, pale yellow interior that transforms into a dense, custard-like texture when treated with patience. We are not just roasting a root vegetable; we are managing a complex enzymatic reaction that turns bland starches into maltose. By the end of this guide, you will be producing potatoes with skins as thin as parchment and centers that eat like a decadent pudding.
The Gathers:
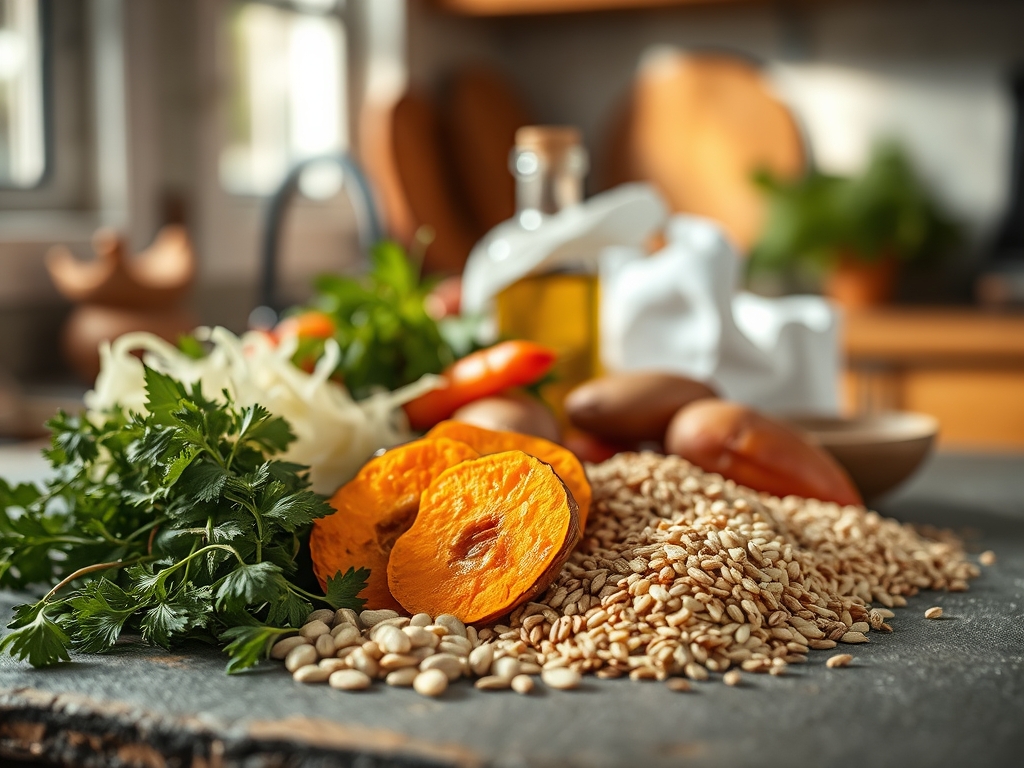
To begin, you need the right specimens. Look for Satsuma-imo that feel heavy for their size, indicating a high moisture content. The skin should be a vibrant, dusty purple without soft spots or sprouting eyes. You will also need a high-quality sea salt, such as Maldon, to provide a textural contrast to the soft flesh.
For your mise-en-place, gather a digital scale to ensure your potatoes are of uniform weight; this ensures they finish cooking simultaneously. You will also need a heavy-duty baking sheet and a stainless steel cooling rack. Elevating the potatoes allows hot air to circulate 360 degrees, preventing a soggy "bottom" where the sugars might burn against the pan.
Smart Substitutions: If you cannot find Satsuma-imo, the Murasaki variety is a brilliant alternative. It offers a similar starch profile. If you are looking for a savory twist, keep a microplane nearby to zest fresh ginger or shave frozen salted butter over the finished product. Avoid using aluminum foil for the entire process, as it steams the skin rather than roasting it; we want a viscous syrup to form between the skin and the flesh.
The Clock
The "Chef's Flow" for this recipe is all about passive patience. Preparation takes exactly five minutes: a quick scrub and a dry. The roasting process, however, is a long game. Expect a total cook time of 75 to 90 minutes. This is not a mistake. The extended time at a lower temperature is what triggers the amylase enzymes to break down complex starches into simple sugars. If you rush this with high heat, you will end up with a chalky, starchy center. Allow for a 10 minute "rest" period post-bake to let the internal steam redistribute.
The Masterclass
1. The Low-Temp Activation
Place your cleaned, dried potatoes on the wire rack inside a cold oven, then set the temperature to 325 degrees Fahrenheit. Starting in a cold oven allows the potato to spend more time in the "danger zone" of 135 to 170 degrees, which is the peak activity window for starch-to-sugar conversion.
Pro Tip: This technique utilizes enzymatic saccharification. By slowly raising the internal temperature, you maximize the time enzymes have to liquefy the starches before the heat eventually denatures the proteins and stops the process.
2. The High-Heat Finish
Once the potatoes are tender when pierced with a paring knife (usually after 60 minutes), crank the heat to 425 degrees Fahrenheit for the final 15 minutes. This shift initiates the Maillard reaction on the skin, creating those charred, bitter-sweet notes that balance the sugary interior.
Pro Tip: Use tongs to rotate the potatoes during this phase. This ensures the sugars that have begun to render out of the pores do not burn in one specific spot, creating a uniform, caramelized crust.
3. The Controlled Cool-Down
Remove the tray from the oven and let the potatoes sit on the rack for 10 minutes. Do not cut them open immediately. The internal temperature will continue to rise slightly due to thermal carryover, finishing the center without drying out the exterior.
Pro Tip: During this rest, the moisture within the potato moves from the center toward the skin. This slightly loosens the skin from the flesh, making it effortless to peel or slice without losing the best parts of the potato.
The Deep Dive
From a nutritional standpoint, these potatoes are powerhouses. They are rich in dietary fiber and potassium, with a lower glycemic index than white potatoes when cooked slowly. For those following specific diets, this recipe is naturally Vegan, Gluten-Free, and Paleo-friendly. For a Keto-adjacent version, focus on smaller portions and pair with a high-fat element like mascarpone or grass-fed butter to slow glucose absorption.
The Fix-It:
- Problem: The skin is tough and woody. Fix: You likely skipped the "cold start" or used an old potato. Ensure you are using fresh stock and starting in a non-preheated oven.
- Problem: The center is white and crumbly. Fix: The internal temperature didn't stay in the 160 degree range long enough. Lower your initial oven temperature next time.
- Problem: The sugars burned on the pan. Fix: Always use a wire rack. If you must use a pan, line it with parchment paper to catch the viscous drippings.
Meal Prep & Reheating: To maintain "day-one" quality, store leftovers in an airtight container in the fridge. To reheat, avoid the microwave, which turns the starch gummy. Instead, use a toaster oven at 350 degrees for 10 minutes. This re-crisps the skin and re-liquefies the maltose for that perfect mouthfeel.
The Wrap-Up
Mastering the baked japanese sweet potato is a lesson in culinary restraint. By respecting the biological makeup of the Satsuma-imo and utilizing slow, controlled heat, you transform a humble tuber into a world-class dessert or side dish. Whether you serve it plain, topped with a sprinkle of black sesame seeds, or finished with a hit of sea salt, the result is a testament to the power of food science. Now, grab your tongs and get roasting!
The Kitchen Table
Why is my Japanese sweet potato dry?
Dryness usually results from high-heat roasting. If the oven is too hot, the moisture evaporates before the starches can convert to sugar. Use a lower temperature (325F) for the majority of the bake to ensure a jammy, moist texture.
Do I need to wrap the potato in foil?
No, avoid foil if you want the traditional texture. Foil traps steam, which results in a boiled flavor and wet skin. Roasting uncovered on a wire rack allows for caramelization and a slight "chew" to the skin.
Are Japanese sweet potatoes healthier than orange ones?
Both are nutrient-dense, but Japanese sweet potatoes contain unique antioxidants called anthocyanins in their purple skin. They also have a slightly higher starch content, providing more sustained energy and a more satisfying, creamy mouthfeel.
How do I know when it is perfectly done?
The potato should yield completely when squeezed with tongs. You will often see a dark, syrupy liquid bubbling through the skin. This indicates the starches have successfully converted to maltose and the interior is fully caramelized.