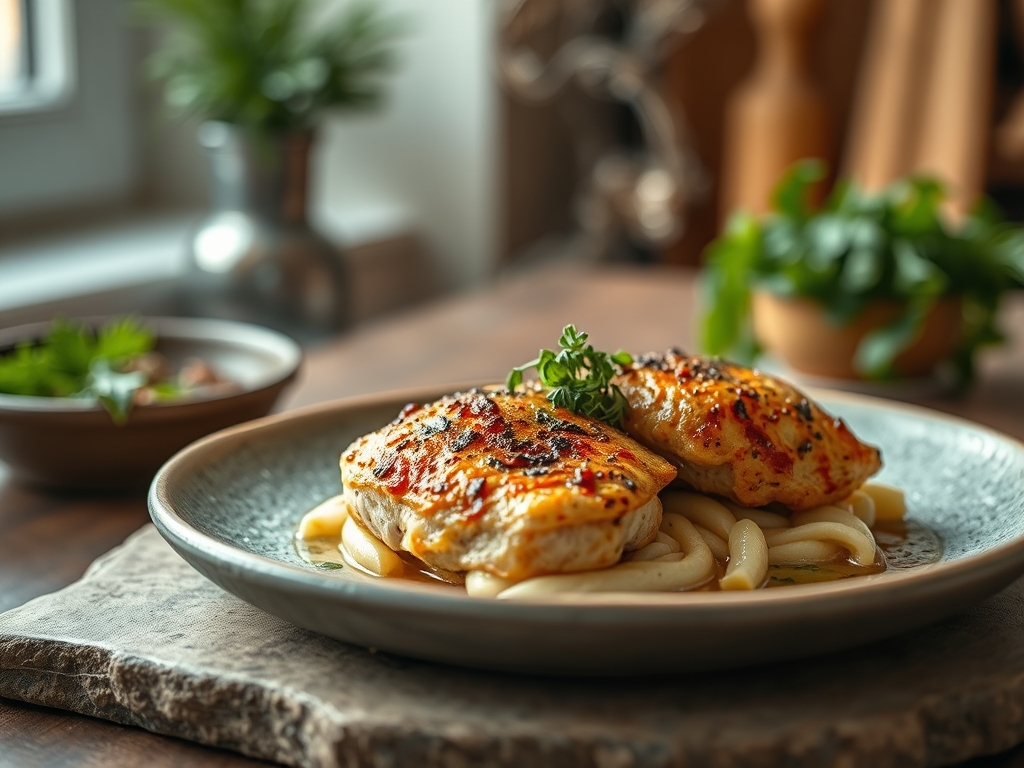
Picture a kitchen filled with the scent of lemon zest and searing protein; it is the ultimate sensory reset. Finding light chicken recipes that actually satisfy is an art form rooted in chemistry. We are moving past the era of dry, flavorless poultry and entering a world where moisture retention and bold aromatics reign supreme.
The secret to a perfect light meal is not subtraction, but strategic substitution. By understanding how heat interacts with muscle fibers, we can create dishes that feel indulgent without the heavy caloric load. Whether you are craving a piquant citrus glaze or a herbaceous steam, these ten variations utilize the same core principles of heat transfer and acid balance to transform a humble bird into a culinary masterpiece. We are going to treat your kitchen like a laboratory and your dinner plate like a canvas. Grab your apron; it is time to master the science of the sear.
The Gathers:
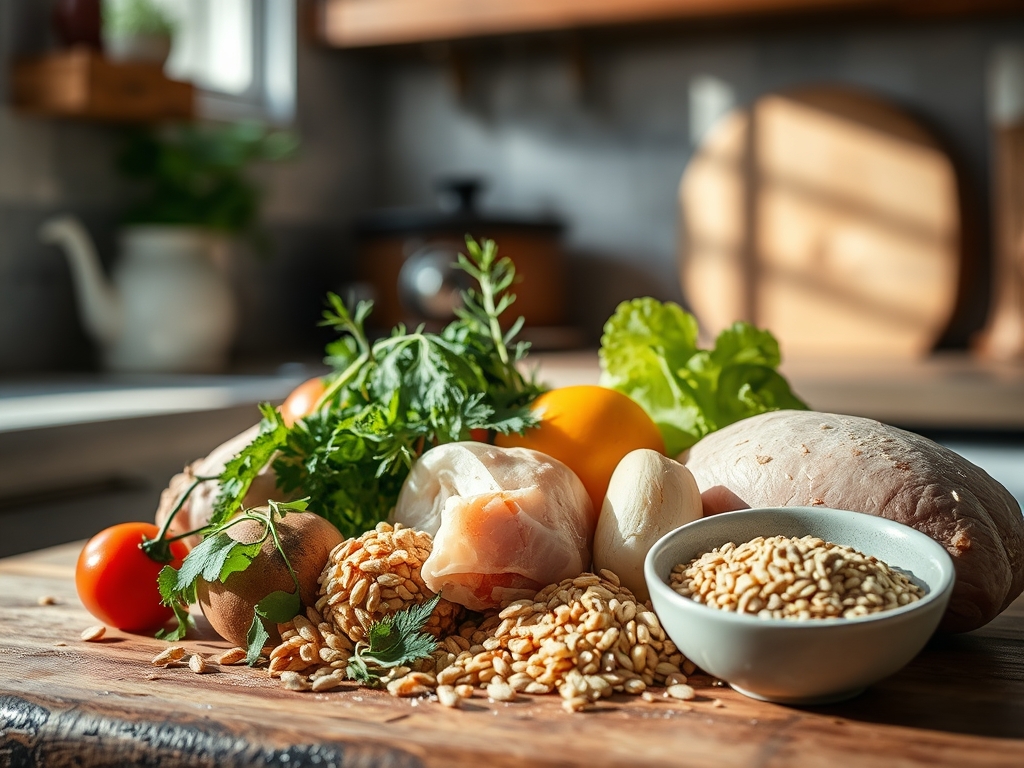
Mise-en-place is more than just organization; it is the tactical arrangement of chemical catalysts. For these light chicken recipes, your station should feature lean breast meat or trimmed thighs, weighed precisely on a digital scale to ensure uniform cooking times. You will need high-smoke-point fats like avocado oil to facilitate the Maillard reaction without scorching.
The aromatics are the soul of the dish. Have your garlic, ginger, and shallots prepped with a bench scraper for easy transport to the pan. Your "Smart Substitutions" are vital here. Swap heavy cream for a viscous slurry of Greek yogurt or a splash of starchy pasta water to create a silky mouthfeel. Instead of sugar-laden glazes, use a microplane to shower the dish in citrus zest and fresh horseradish for a piquant kick that bypasses the calorie count of traditional sauces.
The Clock:
Efficiency in the kitchen is governed by "Chef's Flow," a method of overlapping tasks to minimize downtime. Most of these recipes require a 15-minute prep phase and a 20-minute active cook window. The flow begins with protein stabilization; bringing your chicken to room temperature for ten minutes prevents the fibers from seizing when they hit the heat.
While the protein rests post-cook, use that five-minute window to deglaze your heavy-bottomed skillet. This captures the fond (those caramelized brown bits) and transforms them into a pan sauce. By the time your chicken has reabsorbed its juices, your vegetable accompaniment is steamed and your sauce is reduced. Total elapsed time: 40 minutes from fridge to table.
The Masterclass:

1. The Surface Preparation
Before the chicken touches the pan, it must be bone-dry. Use paper towels to remove every trace of surface moisture. This is essential because water is the enemy of browning; any moisture will create a pocket of steam that prevents the temperature from rising high enough for caramelization.
Pro Tip: This is the science of evaporative cooling. If the surface is wet, the energy from your stove goes into boiling that water at 212 degrees Fahrenheit rather than browning the meat at 300 degrees.
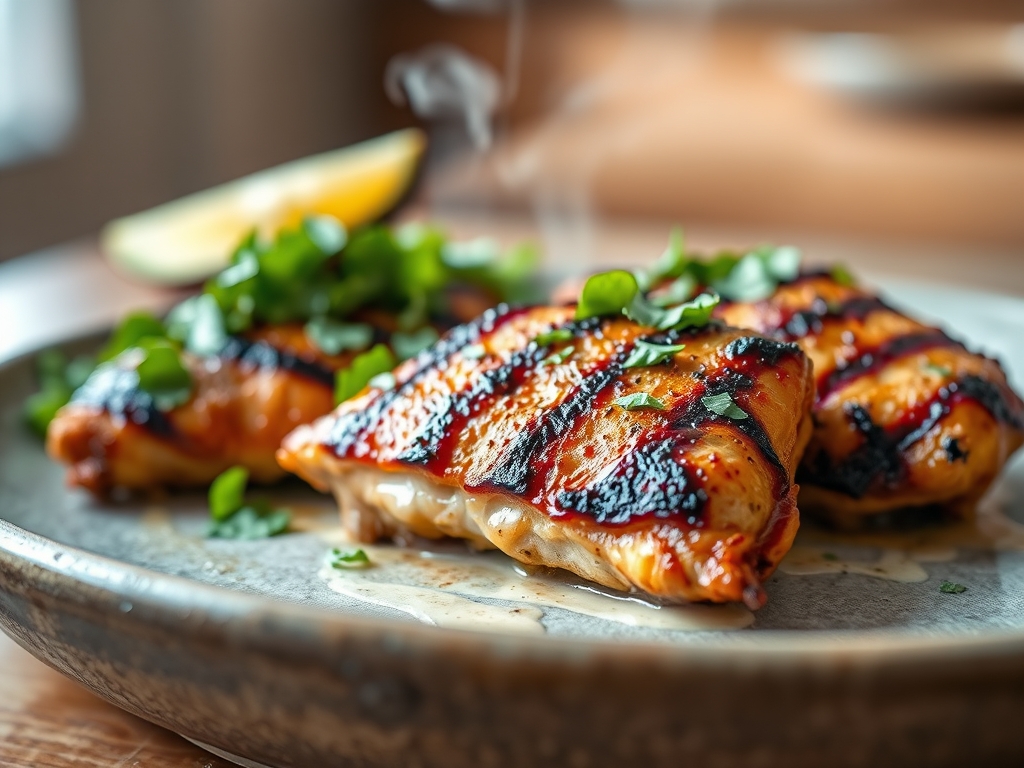
2. The High-Heat Sear
Place your chicken in a preheated heavy-bottomed skillet. Use tongs to press the meat down, ensuring maximum surface contact. Leave it undisturbed for three to four minutes. You are looking for a deep golden hue, which indicates the formation of complex flavor molecules.
Pro Tip: This is the Maillard reaction. It is a chemical reaction between amino acids and reducing sugars that gives browned food its distinctive, savory flavor profile.
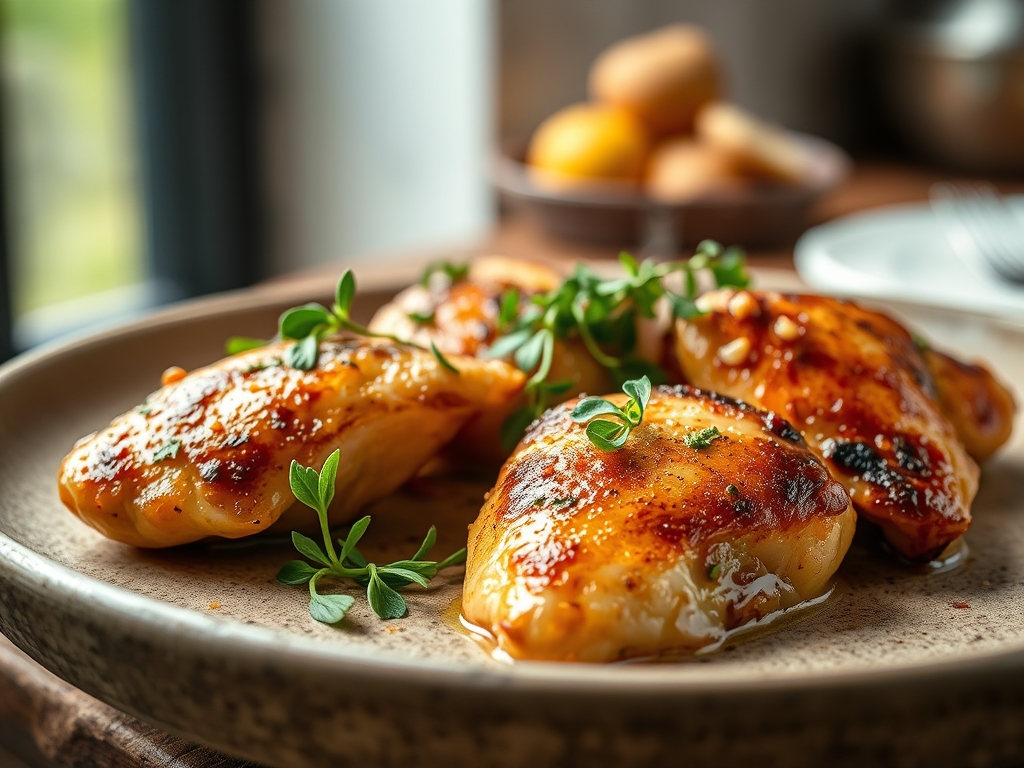
3. The Gentle Finish
Once seared, lower the heat or transfer the pan to the oven. Cooking chicken at a lower terminal temperature ensures the exterior does not become woody while the interior reaches safety. Use an instant-read thermometer to pull the chicken at 160 degrees Fahrenheit.
Pro Tip: Thermal carryover will occur. The internal temperature will continue to rise by about 5 degrees while the meat rests, bringing it to a perfect, juicy 165 degrees without overcooking.
4. The Deglaze and Emulsify
Remove the chicken and add a splash of chicken stock or dry white wine to the hot pan. Use a wooden spoon to scrape up the fond. Whisk in a teaspoon of cold butter or a dollop of mustard to aerate and thicken the liquid into a glossy sauce.
Pro Tip: This creates a temporary emulsion. The proteins in the mustard or the fats in the butter bind the water-based stock and the rendered chicken fats into a cohesive, velvety coating.
The Deep Dive:
When we look at the macro nutrition of these light chicken recipes, we are hitting a high-protein, moderate-fat, and low-carb profile. A standard 6-ounce serving provides roughly 40 grams of protein and only 250 calories. For those following a Keto lifestyle, increase the healthy fats by adding avocado or a drizzle of extra virgin olive oil. Vegan friends can swap the chicken for pressed extra-firm tofu, which undergoes a similar Maillard reaction when seared.
The Fix-It: Common Pitfalls
- The Rubber Texture: This happens when chicken is cooked straight from the fridge. The extreme temperature shock causes muscle fibers to contract violently. The Fix: Temper your meat for 15 minutes before cooking.
- The Gray Meat: If your pan is crowded, the temperature drops and the chicken steams in its own juices. The Fix: Cook in batches to maintain high heat.
- The Flavor Gap: Chicken can be bland if seasoned only at the end. The Fix: Salt your chicken 30 minutes in advance to allow the seasoning to penetrate the protein structure via osmosis.
Meal Prep and Reheating
To maintain "day-one" quality, store your chicken and sauce separately. When reheating, avoid the microwave if possible; it vibrates water molecules so rapidly they tear the protein fibers, resulting in a "rubbery" texture. Instead, use a saucier on low heat with a tablespoon of water to gently steam the meat back to temperature.
The Wrap-Up:
Mastering light chicken recipes is about respecting the ingredients and understanding the physics of the kitchen. By focusing on the sear, the rest, and the strategic use of aromatics, you can create meals that are nutritionally dense and incredibly satisfying. You now have the technical prowess to turn a simple chicken breast into a gourmet experience. Go forth and cook with confidence; your kitchen is waiting for its next masterpiece.
The Kitchen Table:
How do I keep chicken breast from drying out?
Use an instant-read thermometer to pull the meat at 160 degrees Fahrenheit. Allow it to rest for five minutes. This utilizes thermal carryover to reach safety while ensuring the muscle fibers retain their internal moisture and juices.
Can I use chicken thighs for light recipes?
Yes, just trim the excess skin and visible fat. Thighs contain more myoglobin and connective tissue, making them more forgiving under heat. They provide a richer flavor and stay succulent even if slightly overcooked during the rendering process.
What is the best pan for searing chicken?
A heavy-bottomed stainless steel or cast iron skillet is ideal. These materials have high heat retention and distribution properties. They facilitate an even Maillard reaction, ensuring a consistent golden crust across the entire surface of the protein.
How do I get flavor without using heavy sauces?
Focus on deglazing the pan with acidic liquids like lemon juice or vinegar. This lifts the caramelized fond. Incorporate fresh herbs and citrus zest at the very end to provide bright, high-impact flavor without adding significant calories or fats.