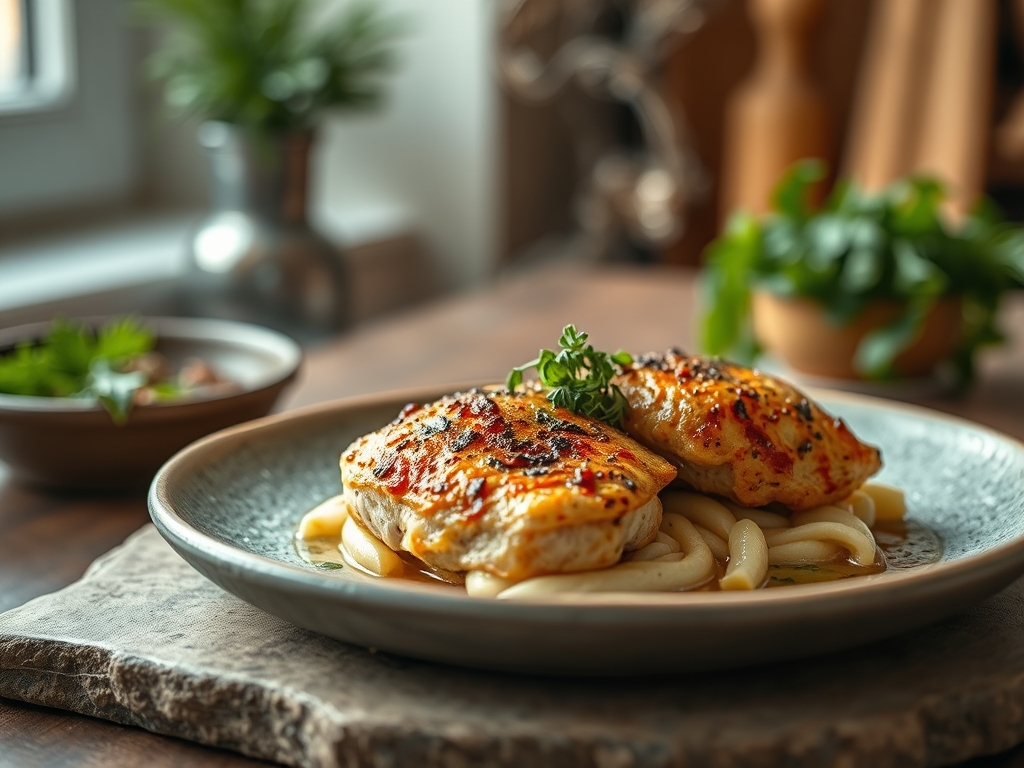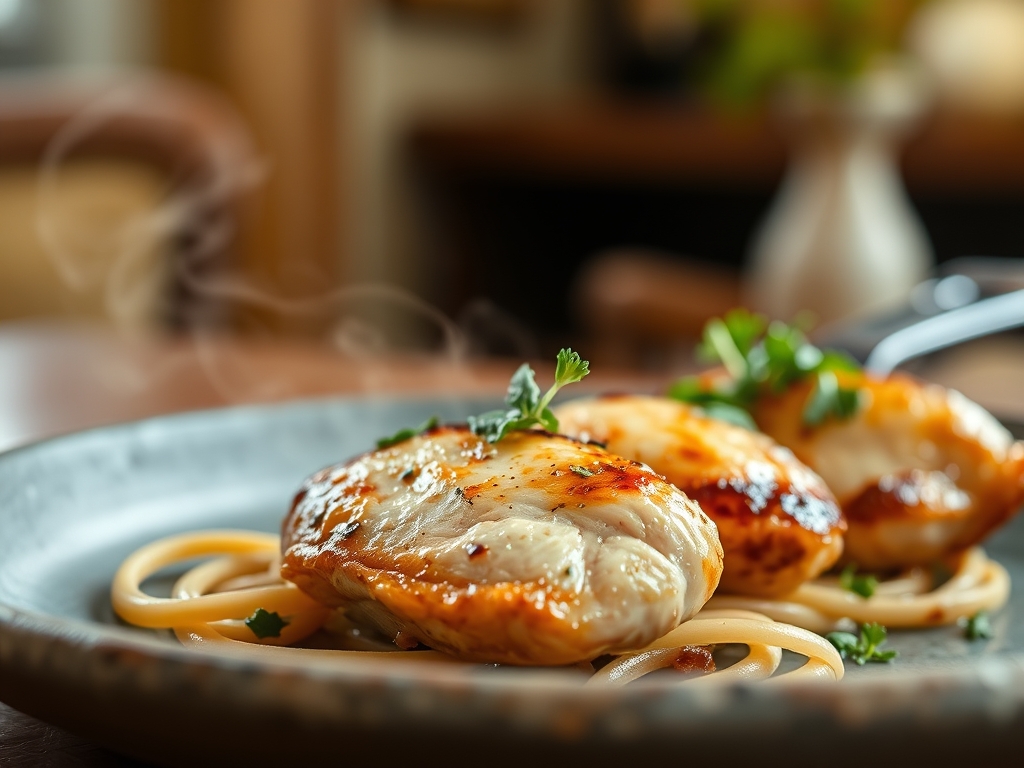
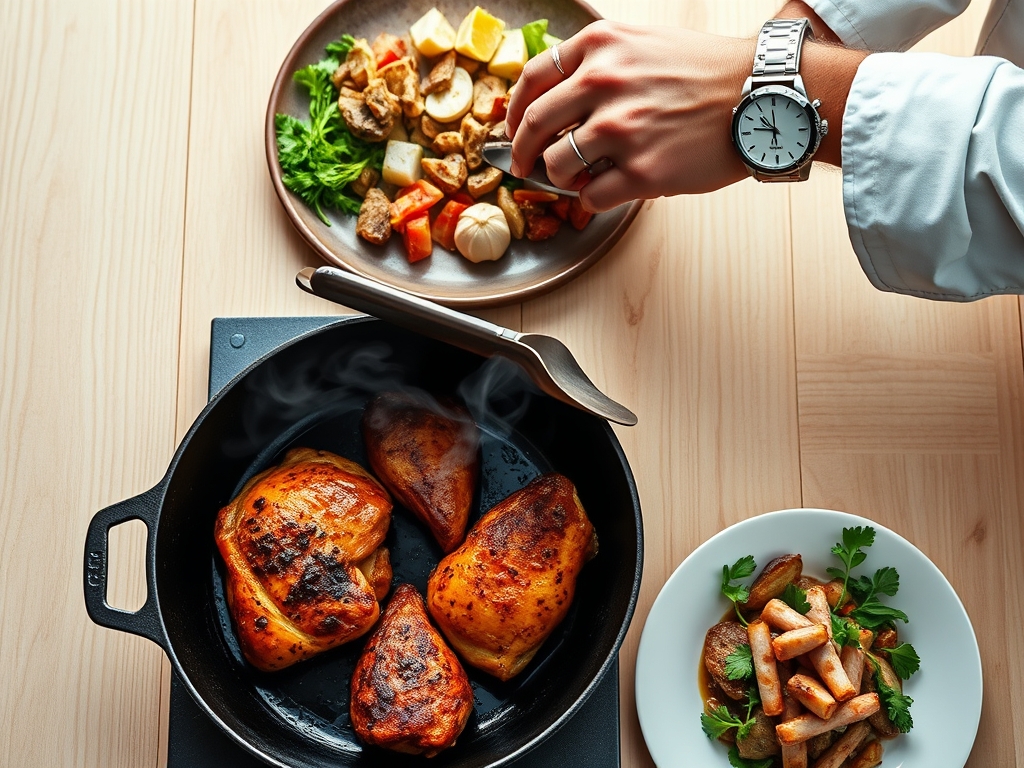
Imagine the sound of a high-frequency sizzle hitting a heavy-bottomed pan. That rhythmic, aggressive crackle is the sound of moisture rapidly evaporating to make way for a golden, glass-like crust. When you master cast iron skillet chicken recipes, you are not just cooking dinner; you are conducting a masterclass in thermodynamics and protein transformation. The heavy iron acts as a heat battery, providing a steady, unforgiving energy that thin aluminum pans simply cannot replicate.
The aroma of rendering fat and aromatic herbs fills the room, signaling the start of the Maillard reaction. This is the chemical marriage of amino acids and reducing sugars that creates hundreds of different flavor compounds. It is the difference between a pale, rubbery breast and a deeply bronzed, savory masterpiece. Whether you are aiming for a weeknight sear or a complex braise, your skillet is your most loyal ally. Let's dive into the molecular mechanics of the perfect sear and turn your kitchen into a high-performance culinary lab.
The Gathers:
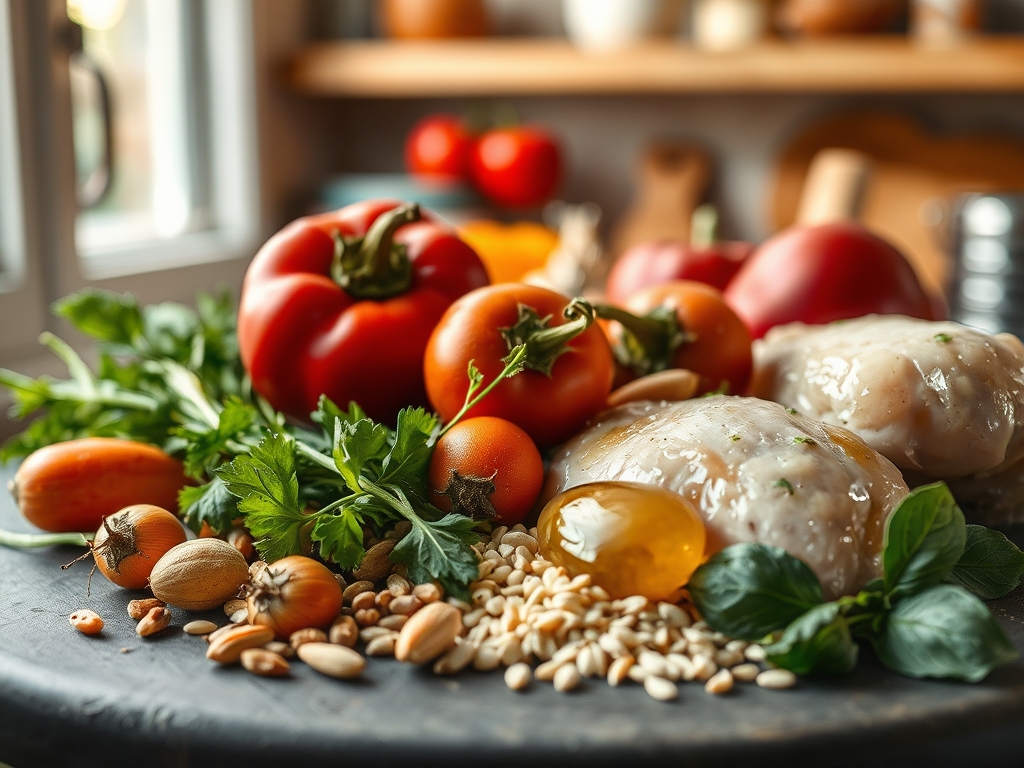
To achieve professional results, your mise-en-place must be precise. Start with high-quality chicken thighs or breasts, ideally air-chilled to minimize excess water weight. You will need a high-smoke-point lipid, such as avocado oil or clarified butter (ghee), to ensure the fat does not break down and turn acrid at high temperatures.
For the aromatics, gather fresh thyme sprigs, crushed garlic cloves, and a piquant element like lemon zest or Dijon mustard. Use a digital scale to measure your kosher salt; 1.5 percent of the meat's weight is the golden ratio for deep seasoning. A microplane is essential for grating aromatics into a fine paste that will infuse the oil without burning.
Smart Substitutions: If you lack ghee, a neutral grapeseed oil works beautifully. For a vegan twist on the technique, use thick slabs of cauliflower or lion's mane mushrooms. They respond to the cast iron's heat in a remarkably similar way, undergoing intense enzymatic browning that mimics the savory depth of poultry.
The Clock:
The "Chef's Flow" is all about managing thermal momentum. Your total active time is roughly 15 minutes, with a 20-minute passive cooking phase.
- Prep (10 mins): Tempering the meat and patting it dry.
- The Sear (8 mins): Establishing the crust.
- The Finish (12-15 mins): Bringing the internal temperature to safety.
- The Rest (5-10 mins): Allowing fibers to relax and reabsorb juices.
Efficiency comes from using the rest time to deglaze the pan and create a viscous pan sauce in a saucier. Never rush the tempering process; cold meat shocks the pan and leads to uneven cooking.
The Masterclass:
1. The Dry Brine Protocol
Season your chicken at least 30 minutes before cooking. Salt draws moisture out via osmosis, dissolves into a brine, and is then reabsorbed into the muscle fibers. This seasons the meat deeply and alters the protein structure to retain more moisture during the cook.
Pro Tip: This process is called denaturation. By breaking down protein strands early, you ensure the meat stays tender even under high heat.
2. Tempering the Protein
Remove your chicken from the refrigerator and let it sit on the counter. Cold meat causes the muscle fibers to contract violently when hitting the pan, squeezing out precious juices.
Pro Tip: Aim for an internal temperature of 60 degrees Fahrenheit before searing. This reduces the thermal shock, ensuring the exterior doesn't burn before the interior is cooked.
3. Surface Dehydration
Use paper towels to bone-dry the skin. Any residual surface moisture will turn to steam, which acts as a thermal barrier and prevents the Maillard reaction.
Pro Tip: Professional chefs often use a bench scraper to clear the board of any liquid before the final pat-down. If it's wet, it's stewing, not searing.
4. The Cold Oil Start
Place your chicken skin-side down in a cold or room-temperature skillet, then turn the heat to medium-high. This allows the fat to render slowly as the pan heats up, resulting in shattering-crisp skin.
Pro Tip: This gradual heat prevents the skin from shrinking too fast, which often causes it to pull away from the meat or curl.
5. Managing the Heat Sink
Once the chicken is in the pan, do not move it. The cast iron needs time to recover the heat lost to the cold meat. Use heavy tongs to check for release; if the meat sticks, the crust hasn't formed yet.
Pro Tip: This is the Leidenfrost effect in reverse. Once the moisture at the interface has evaporated and the crust has formed, the meat will naturally detach from the iron.
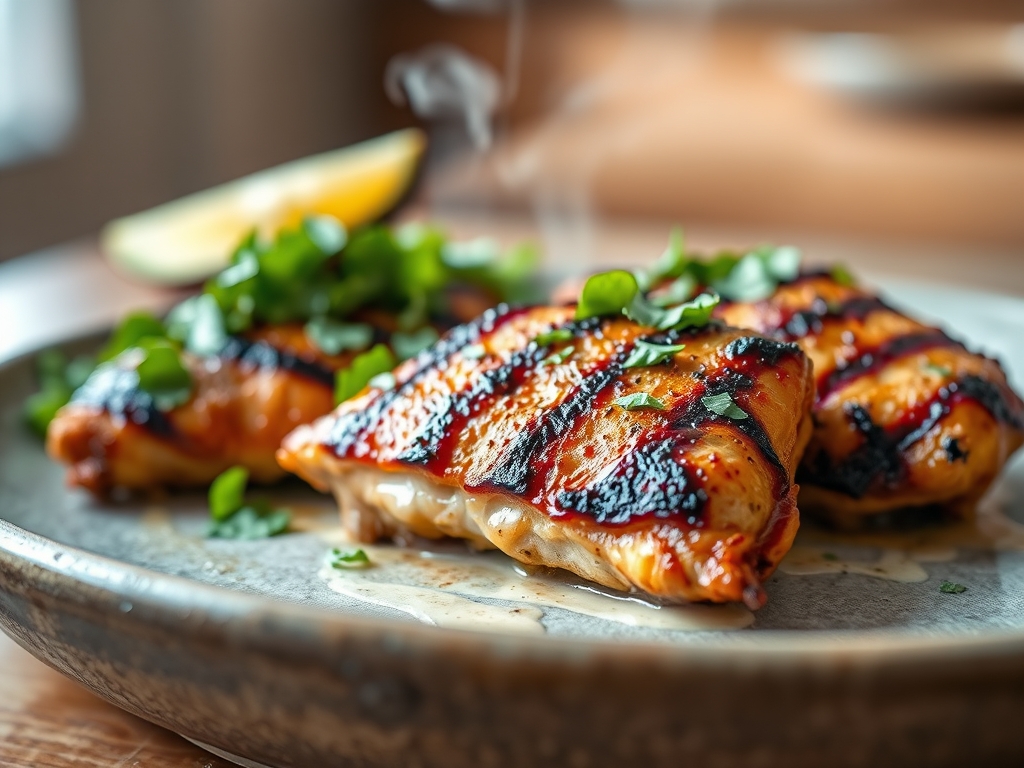
6. The Butter Baste (Arrosage)
In the final minutes, add a knob of butter, garlic, and herbs. Tilt the pan and use a large spoon to continuously bathe the chicken in the foaming fat.
Pro Tip: This adds a layer of nutty complexity through milk solid caramelization. The hot fat also helps cook the top of the meat through convection.
7. Deglazing the Fond
After removing the meat, you will see brown bits stuck to the pan. This is "fond," the concentrated essence of flavor. Pour in a splash of dry white wine or stock to lift these bits.
Pro Tip: Use a whisk to incorporate cold butter into the liquid. This creates an emulsion, resulting in a glossy, velvet-textured sauce.
8. The Carryover Calculation
Pull your chicken off the heat when it hits 160 degrees Fahrenheit. The internal temperature will continue to rise during the rest.
Pro Tip: This is thermal carryover. The residual heat on the surface moves toward the cooler center, bringing the final temperature to a perfect, safe 165 degrees without drying it out.
9. Resting for Redistribution
Place the chicken on a wire rack, not a flat plate. This allows air to circulate, keeping the bottom skin from getting soggy.
Pro Tip: During cooking, proteins tighten and push juice to the center. Resting allows the viscosity of the juices to decrease, letting them migrate back to the edges for a succulent bite.
10. Slicing Against the Grain
Look for the direction of the muscle fibers and cut perpendicular to them. This shortens the fibers, making the meat feel significantly more tender in the mouth.
Pro Tip: Use a sharp carving knife to maintain the integrity of the crust you worked so hard to build.
The Deep Dive:
Macro Nutrition: A standard 6-ounce serving of cast iron chicken provides approximately 42g of protein and 12g of fat. By using cast iron, you can actually increase the iron content of your food slightly, which is a functional bonus for your diet.
Dietary Swaps:
- Keto: Stick to the butter baste and skip the flour-based thickeners in the sauce.
- Paleo: Use coconut aminos instead of soy and ghee instead of butter.
- GF: Ensure your chicken stock is certified gluten-free when deglazing.
The Fix-It:
- Burnt Skin: If the skin is darkening too fast, drop a cold slice of onion under the chicken to act as a heat buffer.
- Rubbery Texture: This usually means the pan wasn't hot enough. Finish the chicken under the broiler for 2 minutes to crisp the surface.
- Dry Meat: You likely missed the carryover window. Slice the meat thin and submerge it in the warm pan sauce to rehydrate the fibers.
Meal Prep: To reheat without losing quality, avoid the microwave. Use a toaster oven at 350 degrees or a splash of water in a covered skillet to aerate the steam and gently warm the meat without overcooking it.
The Wrap-Up:
Mastering cast iron skillet chicken recipes is about respecting the physics of the pan. It is a tactile, sensory experience that rewards patience and precision. Once you understand how to manipulate heat and moisture, you can produce restaurant-quality meals in your own kitchen every single night. Grab your skillet, get that sear, and enjoy the most flavorful chicken of your life!
The Kitchen Table:
Why does my chicken stick to the cast iron?
Chicken sticks when the proteins haven't finished the Maillard reaction. Wait for the meat to naturally release from the pan surface. Ensure your skillet is well-seasoned and your oil is shimmering hot before adding the protein to the iron.
Can I put a cast iron skillet in the oven?
Yes, cast iron is incredibly heat-stable and perfect for oven finishing. This allows for even, omnidirectional heating. Always use a heavy-duty oven mitt, as the handle will retain intense heat for a significant amount of time after cooking.
How do I get extra crispy chicken skin?
The secret is total surface dehydration. Pat the skin dry with paper towels and let the chicken air-dry in the fridge uncovered for two hours. Start in a cold pan to render the fat slowly for a glass-like crunch.
Is it safe to deglaze a cast iron pan with wine?
Yes, a quick deglaze with acidic liquid like wine or lemon juice is perfectly safe. As long as your seasoning is well-established, the brief contact won't strip the polymer. Avoid long, acidic braises which can eventually erode the non-stick surface.