Imagine the sound of a pressurized seal breaking; it is a sharp, metallic pop that releases the concentrated aroma of the North Pacific. We are moving far beyond the sad, watery salads of decades past. Today, we are elevating the pantry staple into culinary gold with sophisticated canned alaskan salmon recipes that respect the integrity of the wild-caught fish while introducing modern, chef-driven techniques. We are talking about deep, golden crusts achieved through precise heat management and creamy, emulsified binders that hold everything together without masking the natural, briny sweetness of the sockeye or pink salmon.
The secret lies in the preservation process itself. When salmon is canned at the source, it is essentially poached in its own natural oils. This creates a rich, viscous liquid that is packed with omega-3 fatty acids and collagen. Instead of draining that liquid gold down the sink, we are going to harness it to infuse our dishes with a deeper oceanic profile. Whether you are craving a crisp, pan-seared patty or a velvety pasta sauce, these techniques will transform your perception of shelf-stable seafood into a high-end dining experience.
The Gathers:
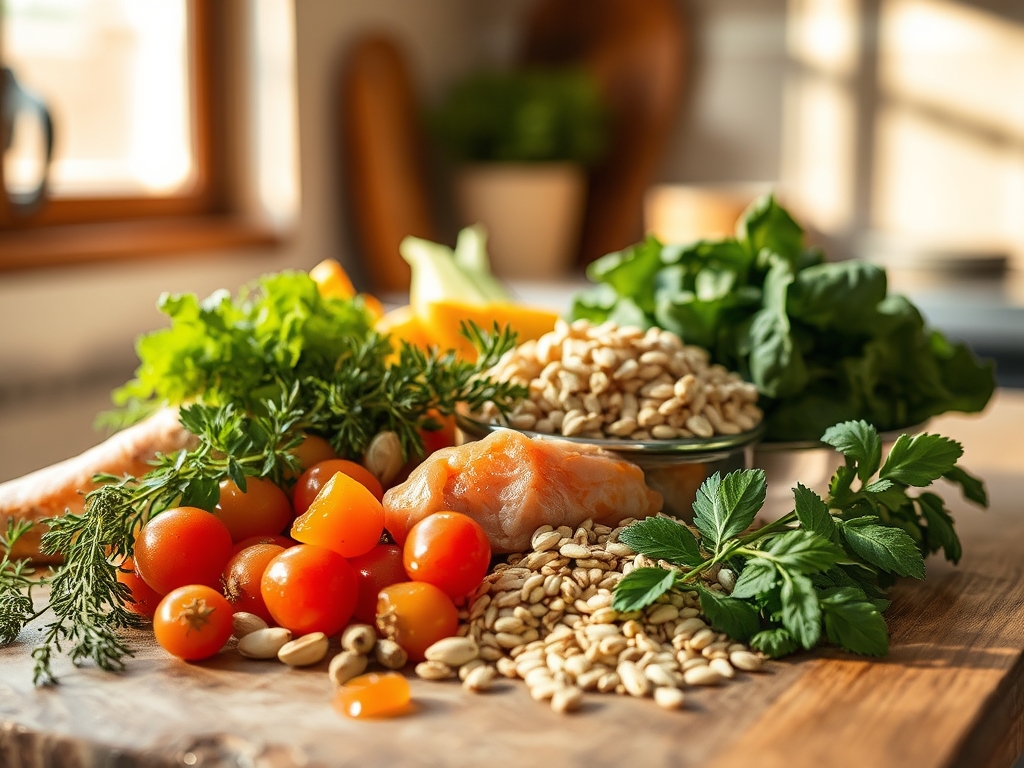
To execute these canned alaskan salmon recipes with precision, your mise-en-place must be impeccable. Start with two 6-ounce cans of wild Alaskan salmon; look for "traditional pack" if you want the added calcium from the softened bones, which disappear into the texture once mashed. You will need a binding agent to provide structural integrity. Use one large egg to provide protein-based coagulation and half a cup of panko breadcrumbs to aerate the mixture.
For the flavor profile, gather piquant capers, finely minced shallots, and fresh dill. The acidity will come from a heavy-handed squeeze of lemon, while a teaspoon of Dijon mustard acts as a natural emulsifier to bridge the gap between the fats and the solids. If you are looking for smart substitutions, you can swap panko for crushed pork rinds to keep things keto-friendly; or use a flax egg if you are navigating an allergy. Always use a digital scale to ensure your patties are uniform in weight, which guarantees a consistent cook time across the board.
The Clock
Efficiency in the kitchen is all about "Chef's Flow." This is the psychological state where your movements are minimized and your output is maximized. For these recipes, the active prep time is exactly 15 minutes. This includes the fine dicing of aromatics and the gentle folding of the salmon mixture. You want to avoid over-working the proteins, as excessive handling can lead to a rubbery texture.
The cooking phase takes 8 to 10 minutes depending on the thickness of your portions. However, the most critical part of the clock is the "chill phase." Resting your formed salmon cakes in the refrigerator for at least 20 minutes before they hit the heavy-bottomed skillet allows the starches in the breadcrumbs to hydrate. This ensures they do not fall apart when you flip them. Total time from pantry to plate is roughly 45 minutes; a small investment for a restaurant-quality result.
The Masterclass
1. The Gentle Breakdown
Drain the salmon but reserve two tablespoons of the liquid. Place the fish in a wide stainless steel bowl and use a fork to flake it into large chunks. Do not pulverize it into a paste; you want to maintain the muscular structure of the fish for a better mouthfeel.
Pro Tip: This stage is about preserving the integrity of the flakes. By keeping the chunks larger, you create "pockets" that can trap steam, resulting in a moister interior after the final sear.
2. The Emulsion Bridge
In a separate small bowl, whisk the egg, Dijon mustard, and the reserved salmon liquid until it becomes a stable, viscous golden hue. Pour this over the salmon and add your aromatics: the shallots, capers, and dill.
Pro Tip: The mustard contains lecithin, a natural emulsifier that prevents the fats from separating during the cooking process. This ensures your salmon cake remains juicy rather than oily.
3. The Hydration Fold
Sprinkle the panko or breadcrumbs over the wet mixture. Use a silicone spatula to fold the ingredients together using a "cut and turn" motion. Stop the moment the dry crumbs are moistened.
Pro Tip: Over-mixing triggers gluten development in the breadcrumbs. By folding gently, you keep the texture light and airy, avoiding a dense, bread-like consistency.
4. The Precision Form
Use a digital scale to portion the mixture into 3-ounce rounds. Use a ring mold or your palms to press them into discs about one inch thick. Place them on a parchment-lined tray and refrigerate.
Pro Tip: Chilling the cakes facilitates starch hydration. As the crumbs soak up the moisture, they swell and create a structural web that holds the delicate fish together without needing extra flour.
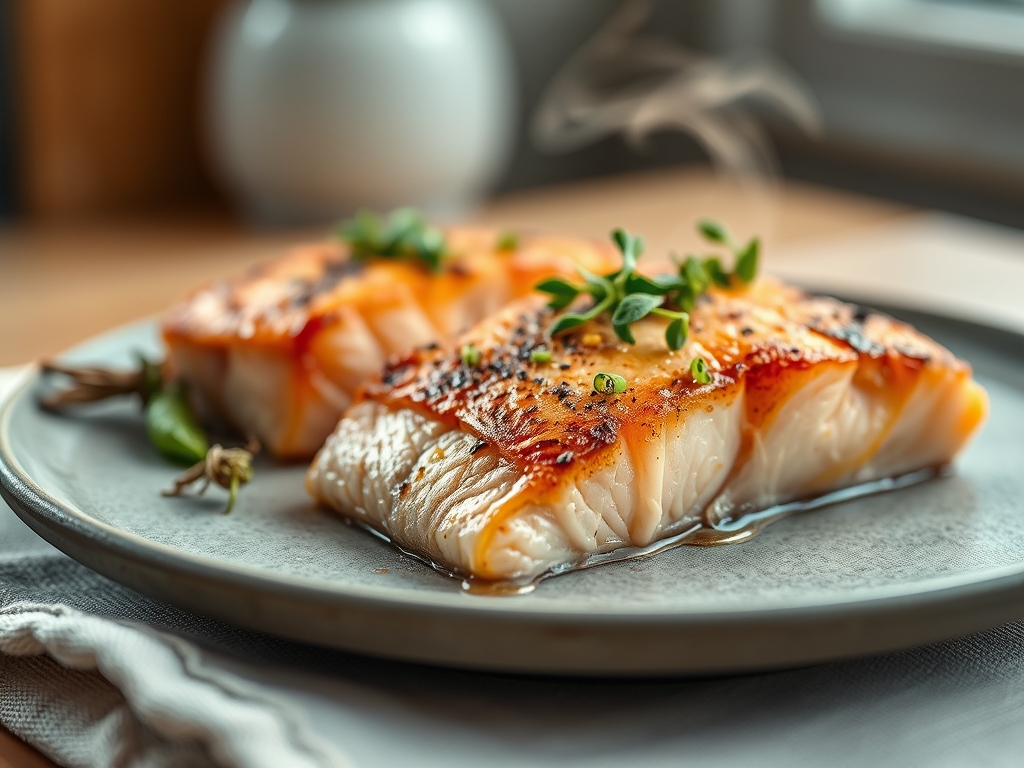
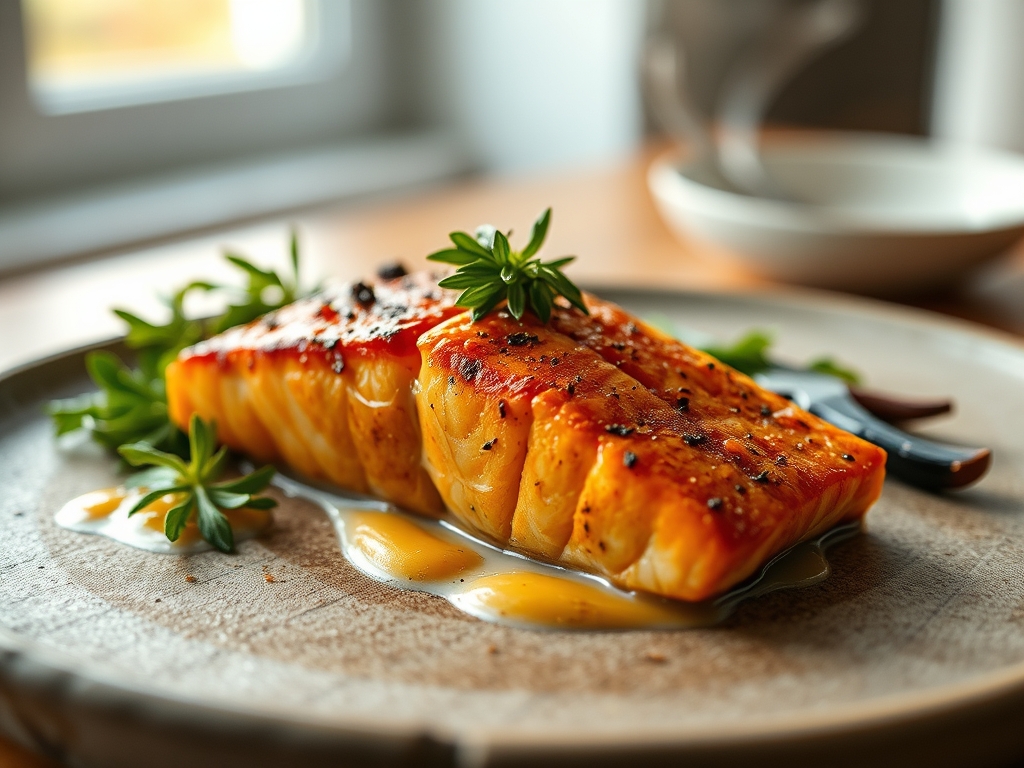
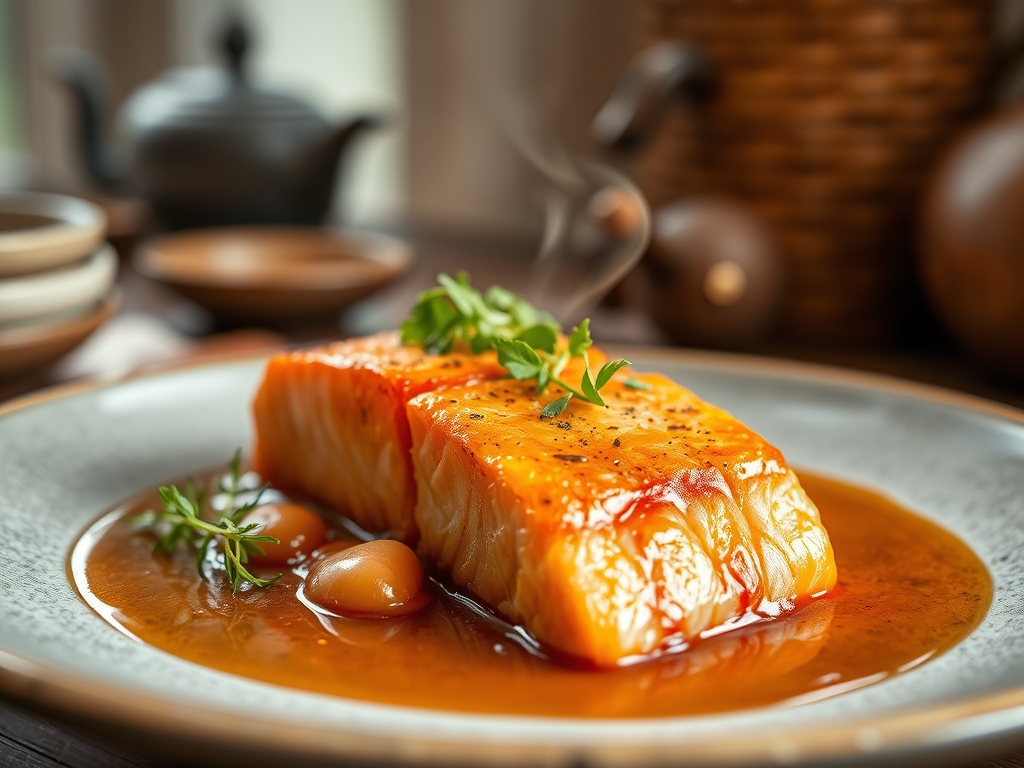
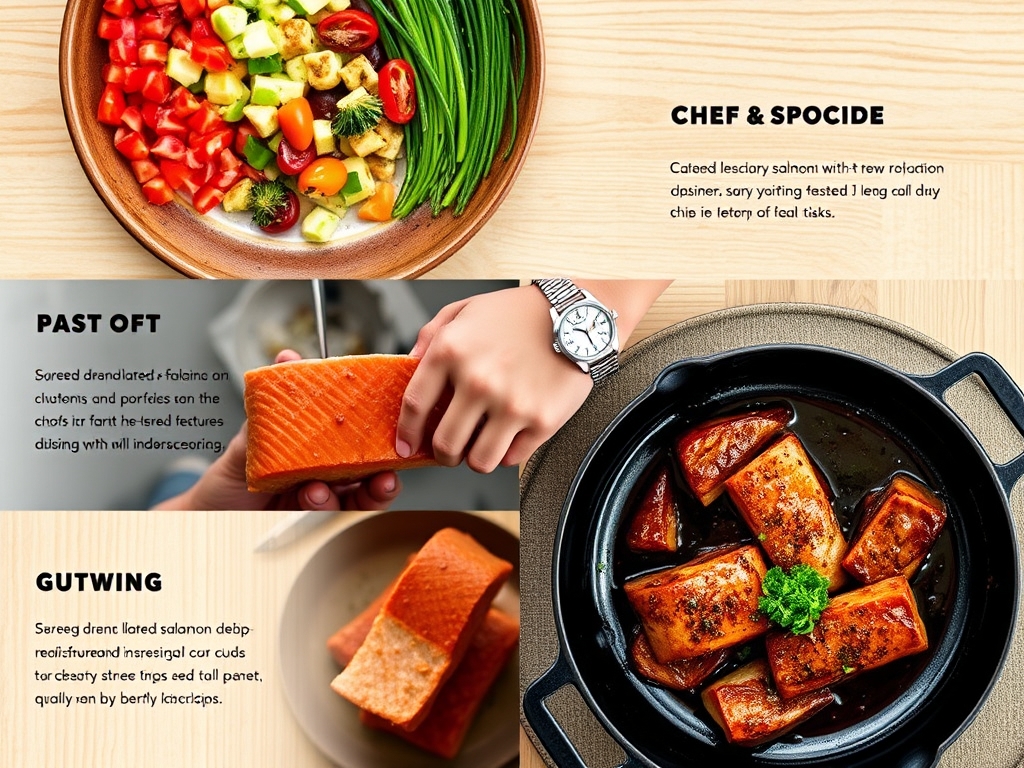
5. The Maillard Sear
Heat a heavy-bottomed skillet (cast iron is ideal) over medium-high heat. Add a high-smoke-point oil like avocado oil. Once the oil shimmers, carefully place the cakes in the pan. Sear for 4 minutes per side until a deep mahogany crust forms.
Pro Tip: This crust is the result of the Maillard reaction, a chemical reaction between amino acids and reducing sugars. It creates hundreds of different flavor compounds that give the salmon its savory, "toasted" depth.
The Deep Dive
From a nutritional standpoint, canned Alaskan salmon is a powerhouse. It is naturally high in Vitamin D and B12, and because the fish is wild-caught, it has a superior ratio of Omega-3 to Omega-6 fatty acids compared to farmed varieties. If you are following a specific dietary path, these recipes are incredibly flexible. For a vegan version, use mashed chickpeas and a "seaweed salt" to mimic the oceanic brine. For gluten-free needs, almond flour or crushed gluten-free crackers work beautifully as binders.
Even the best chefs hit snags. If your salmon cakes are falling apart in the pan, the "Fix-It" is simple: your pan wasn't hot enough or you flipped too early. Wait for the protein to naturally release from the surface. If the mixture feels too wet to form, add a tablespoon of coconut flour; it is highly absorbent and will stabilize the mix instantly. If the flavor feels flat, hit it with a microplane of lemon zest at the very end to brighten the heavy fats.
For meal prep, reheating is a science. Avoid the microwave, which turns the delicate fats rancid and the protein rubbery. Instead, use an air fryer at 350 degrees for 4 minutes. This utilizes convection heat to re-crisp the exterior while gently warming the center, maintaining that "day-one" quality.
The Wrap-Up
Mastering canned alaskan salmon recipes is like having a secret weapon in your culinary arsenal. It is the bridge between convenience and gourmet execution. By understanding the science of binders, the importance of hydration, and the magic of the Maillard reaction, you have elevated a humble pantry item into a centerpiece. Go ahead and pour yourself a glass of crisp Sauvignon Blanc; you have officially conquered the art of the sophisticated salmon sear.
The Kitchen Table
Is canned salmon as healthy as fresh salmon?
Yes; canned Alaskan salmon is usually processed immediately after being caught, locking in Omega-3 fatty acids and Vitamin D. It often contains more calcium than fresh fillets if the softened bones are included and consumed.
Do I need to remove the bones and skin?
It is a personal preference. The bones in traditional canned salmon are pressure-cooked until soft and edible, providing a massive calcium boost. Most chefs mash them directly into the recipe for added texture and nutrition.
Why do my salmon cakes always fall apart?
This usually happens due to a lack of binder or insufficient chilling. Ensure you use an egg and breadcrumbs, and always refrigerate the formed patties for 20 minutes to allow the starches to hydrate and set.
What is the best oil for frying salmon cakes?
Use an oil with a high smoke point like avocado, grapeseed, or refined light olive oil. Avoid extra virgin olive oil or butter for the initial sear, as they can burn and become bitter at high temperatures.