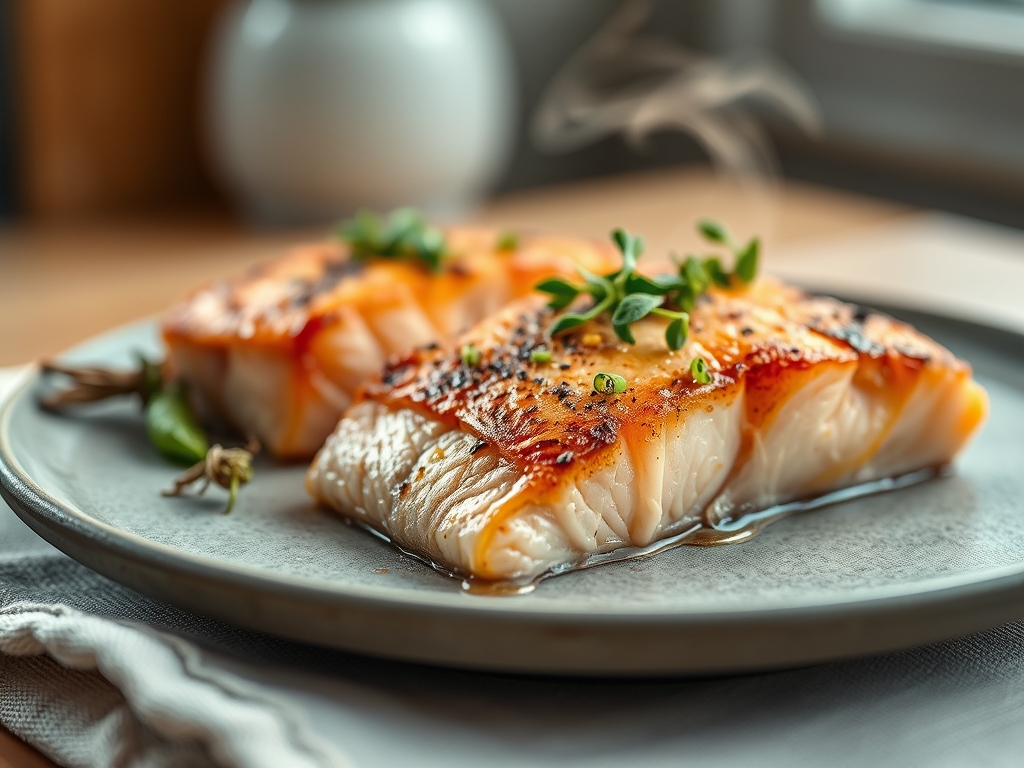
Imagine the sound of a heavy-bottomed skillet meeting a high-flame burner; it is a metallic chime that signals the start of a culinary transformation. You are standing in your kitchen, staring at a humble tin of fish, but we are about to elevate it into something extraordinary. Sautéed canned salmon recipes are the ultimate secret weapon for the modern, high-intensity lifestyle. They bridge the gap between "I have five minutes to eat" and "I deserve a five-star meal." We are moving past the cold, mushy salads of yesteryear and into the realm of high-heat searing, where the Maillard reaction turns pale pink flakes into golden, umami-rich masterpieces. This process involves a chemical dance between amino acids and reducing sugars that creates hundreds of different flavor compounds. When you hit that hot oil, you are not just heating food; you are conducting a symphony of molecular changes. By the time we are done, you will have mastered the art of the crisp, the sear, and the perfect flake, proving that luxury can indeed come from a pull-tab can.
The Gathers:
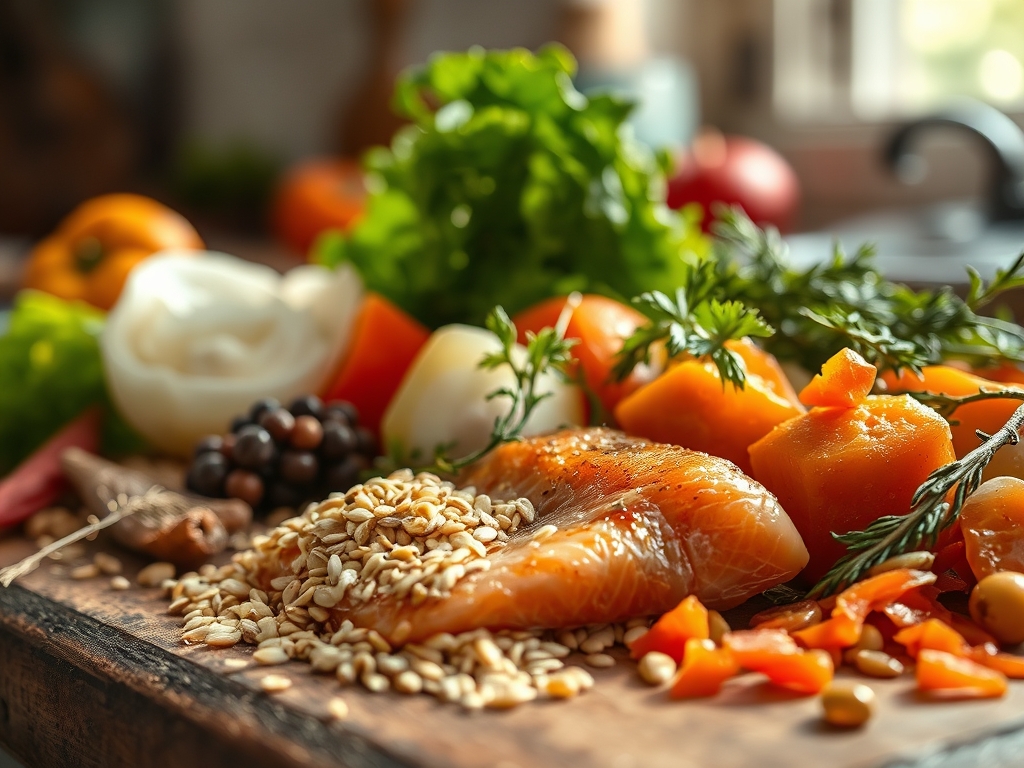
To achieve the perfect texture, your mise-en-place must be precise. Start with high-quality canned wild-caught salmon, preferably bone-in and skin-on for the added calcium and collagen benefits. You will need a viscous fat source; Ghee or avocado oil are ideal because they have high smoke points, meaning they won't break down and become acrid under the heat required for a proper sear.
Gather your aromatics: fresh garlic cloves, a knob of ginger, and shallots. Use a microplane to grate the ginger into a fine paste, ensuring the essential oils are fully released into your base. For acidity, reach for a piquant lemon or a splash of rice vinegar to cut through the fatty acids of the fish.
Smart Substitutions:
If you are out of fresh aromatics, a high-quality garlic confit or a spoonful of chili crisp can provide a complex, pre-developed flavor profile. If you find the salmon too lean, a teaspoon of cold, unsalted butter swirled in at the very end will create a glossy, emulsified sauce that clings to every flake. For those avoiding nightshades, swap paprika for ground sumac to maintain that vibrant red hue and a hit of tartness.
The Clock: 15 Minutes to Glory
The "Chef's Flow" is all about overlapping tasks to minimize downtime.
Prep Time: 5 Minutes. This is your window to drain the salmon and pat it dry with surgical precision. Moisture is the enemy of the sear; if the fish is wet, it will steam rather than sauté. Use this time to mince your aromatics and zest your citrus.
Cook Time: 10 Minutes. The first three minutes are dedicated to rendering the fat and blooming your spices. The next five minutes involve the actual sautéing of the salmon, followed by a final two-minute "rest" in the pan with the heat off to allow for thermal carryover, ensuring the interior stays succulent while the exterior remains crisp.
The Masterclass:
1. The Desiccation Phase
Open the can and drain the liquid thoroughly. Place the salmon on a layer of paper towels and use a second towel to press down firmly. Removing surface moisture is non-negotiable for a crisp finish.
Pro Tip: This is known as surface area optimization. By removing water, you ensure the heat of the pan goes directly into the Maillard reaction rather than being wasted on evaporating surface moisture.
2. Infusing the Fat
Heat your heavy-bottomed skillet over medium-high heat. Add your chosen fat and, once shimmering, toss in your aromatics. Sauté until the shallots become translucent and the garlic is fragrant but not browned.
Pro Tip: This process is called lipid-soluble flavor extraction. Many of the flavor compounds in garlic and ginger are fat-soluble; by infusing the oil first, you ensure the flavor is distributed evenly across the salmon.
3. The Initial Sear
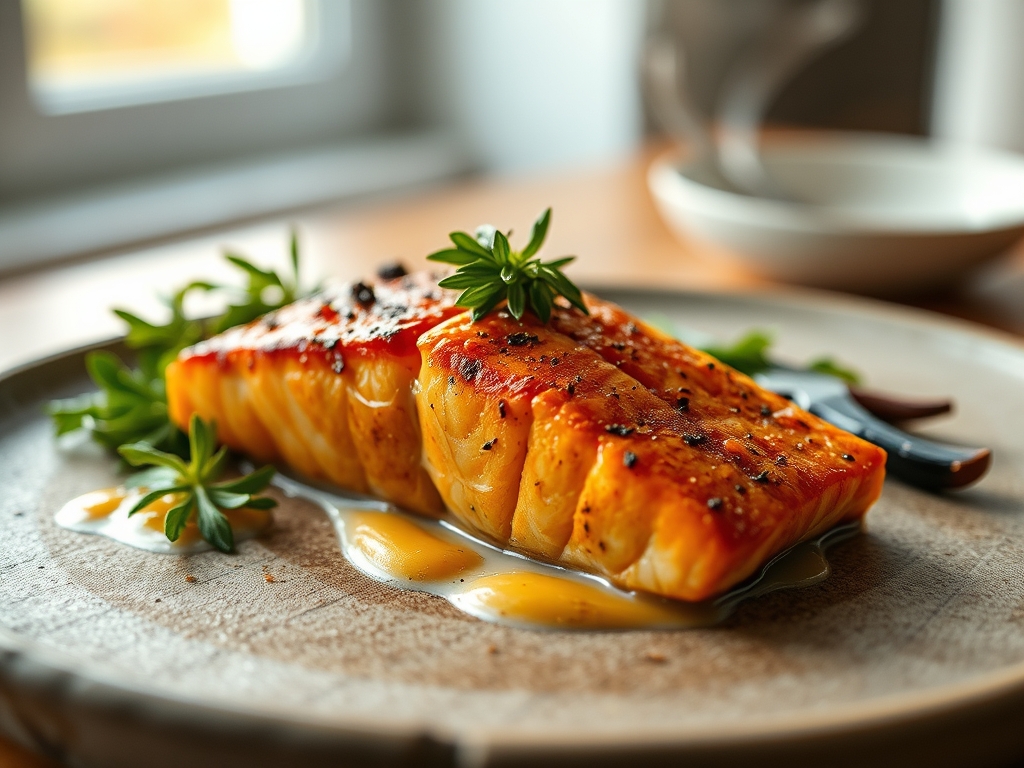
Add the salmon to the pan in large chunks. Resist the urge to stir immediately. Let it sit undisturbed for at least three minutes to develop a structural crust.
Pro Tip: This utilizes the principle of protein denaturation. The heat causes the proteins to uncoil and then rebond, creating a firm texture that prevents the fish from disintegrating into a paste.
4. The Deglaze
Once the salmon has developed a golden crust, use tongs or a bench scraper to flip the pieces. Add a splash of white wine or citrus juice to the pan, scraping up the brown bits (the fond) from the bottom.
Pro Tip: Deglazing captures the concentrated flavors stuck to the pan. This is enzymatic browning at its finest; those bits are packed with concentrated umami that will now coat your fish.
5. The Emulsion Finish
Turn off the heat and add a final pat of cold butter or a dollop of Greek yogurt. Stir gently to incorporate the residual pan juices into a thick, velvety sauce.
Pro Tip: This is a mounting technique (monter au beurre). The cold fat creates a stable emulsion with the acidic deglazing liquid, providing a luxurious mouthfeel without the need for heavy cream.
The Deep Dive:
Macro Nutrition:
Sautéed canned salmon is a powerhouse of Omega-3 fatty acids, specifically EPA and DHA, which are vital for cognitive function. A standard 3.5-ounce serving provides roughly 20 grams of high-bioavailability protein and a significant dose of Vitamin D.
Dietary Swaps:
- Vegan: Swap salmon for mashed chickpeas or hearts of palm seasoned with dulse flakes for that briny, oceanic flavor.
- Keto: Ensure you use animal fats like lard or tallow and serve over a bed of sautéed spinach to keep net carbs near zero.
- GF: Naturally gluten-free, but ensure your spices are not bulked with flour-based anti-caking agents.
The Fix-It:
- Too Salty: Add a splash of heavy cream or a squeeze of honey. The fat or sugar will neutralize the perception of salt on your palate.
- Fish is Dry: You likely skipped the "rest" phase. Next time, pull the pan off the heat when the fish looks 90 percent done; the internal heat will finish the job.
- Salmon is Mushy: This happens if the pan wasn't hot enough. Use a digital scale to ensure you aren't overcrowding the pan, which drops the temperature instantly.
Meal Prep Science:
To reheat, avoid the microwave, which vibrates water molecules and makes the fish rubbery. Instead, use a saucier on low heat with a tablespoon of water or broth. Cover the pan to create a gentle steam environment that rehydrates the proteins without overcooking them.
The Wrap-Up:
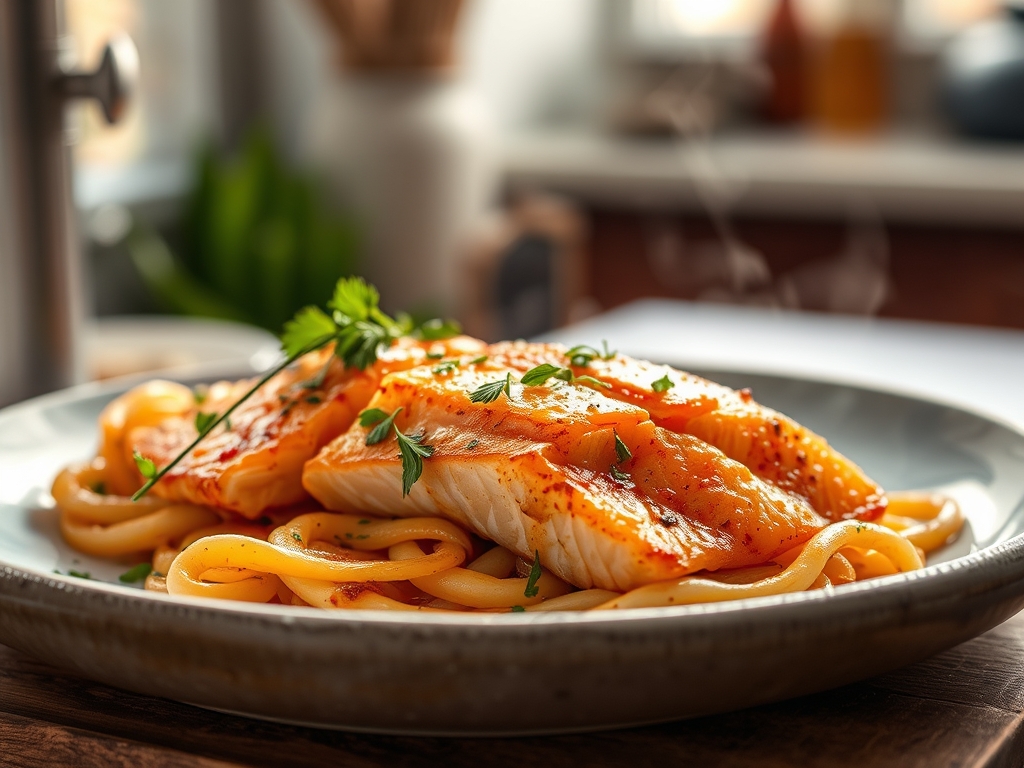
You have just leveled up from a home cook to a kitchen scientist. Sautéed canned salmon recipes are not just about convenience; they are about understanding how heat, fat, and acid interact to turn a pantry staple into a gourmet experience. Whether you are tossing this over pasta, folding it into a taco, or eating it straight from the pan with a piece of crusty bread, you now have the technical prowess to make it shine. Go forth, get that skillet screaming hot, and show that tin of fish who is boss!
The Kitchen Table:
Can I use skinless/boneless canned salmon?
Yes, but you will lose some structural integrity and healthy fats. To compensate, add a teaspoon of collagen powder or a bit more oil to the pan to ensure the fish doesn't become overly dry during the sear.
How do I stop the salmon from sticking?
Ensure your pan is fully preheated before adding fat. When the oil ripples, add the fish. This creates a "Leidenfrost effect" where a thin layer of vapor prevents the protein from bonding directly to the metal surface of the skillet.
What is the best way to add crunch?
Incorporate panko breadcrumbs or crushed walnuts during the final two minutes of sautéing. The residual fat in the pan will toast the crumbs, providing a textural contrast to the tender, flaked fish without requiring a separate frying step.
Is canned salmon as healthy as fresh?
Absolutely. Canned salmon is typically processed immediately after being caught, locking in nutrients. Because it is often wild-caught, it frequently contains higher levels of minerals and Omega-3s than farm-raised fresh alternatives found in standard grocery stores.