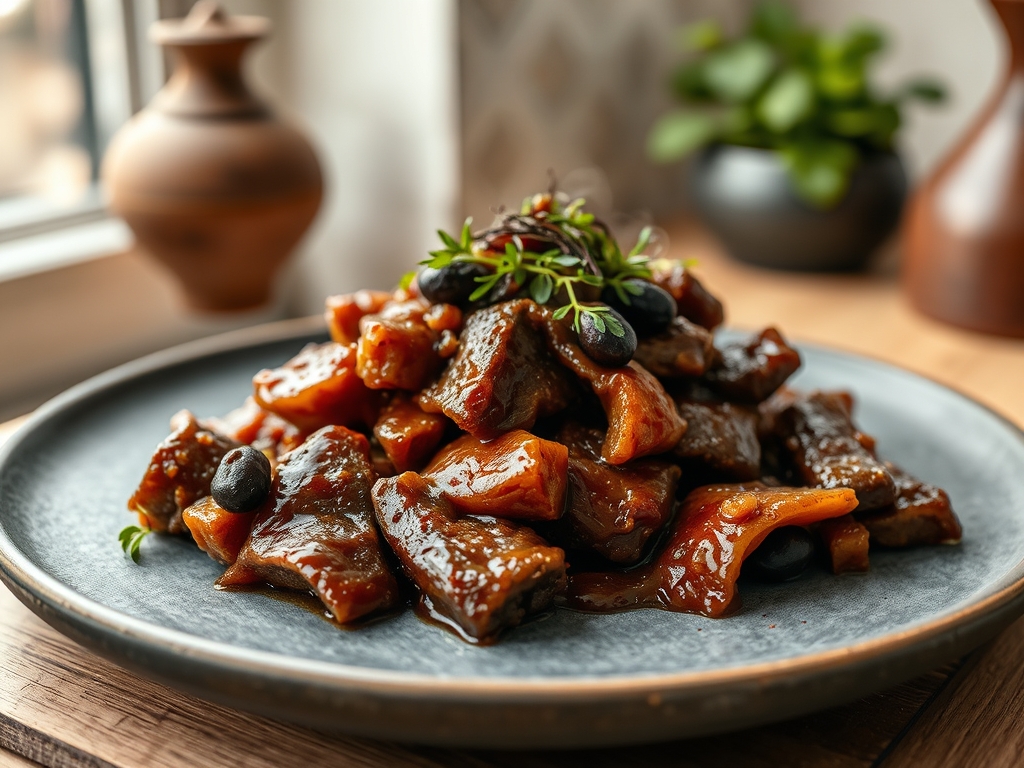
Imagine the sound of a heavy-bottomed skillet meeting a gas flame; the rhythmic scrape of a wooden spoon against stainless steel; and that unmistakable, buttery scent of laminated dough blooming in a hot oven. When you are craving comfort but your schedule is screaming for mercy, finding pillsbury crescent rolls and ground beef recipes easy enough for a Tuesday night is a total game changer. We are talking about the ultimate culinary marriage between savory, protein-rich fillings and that iconic, airy pastry. This is not just about opening a can and browning meat; it is about mastering the art of the quick bake. By understanding how fats interact with flour and how heat transforms simple proteins, we can elevate a humble pantry staple into a gourmet experience. Whether you are folding a rustic braid or layering a deep-dish casserole, these nine variations prove that convenience and high-level flavor are not mutually exclusive. Grab your apron; we are about to turn basic ingredients into a masterpiece of texture and taste.
The Gathers:
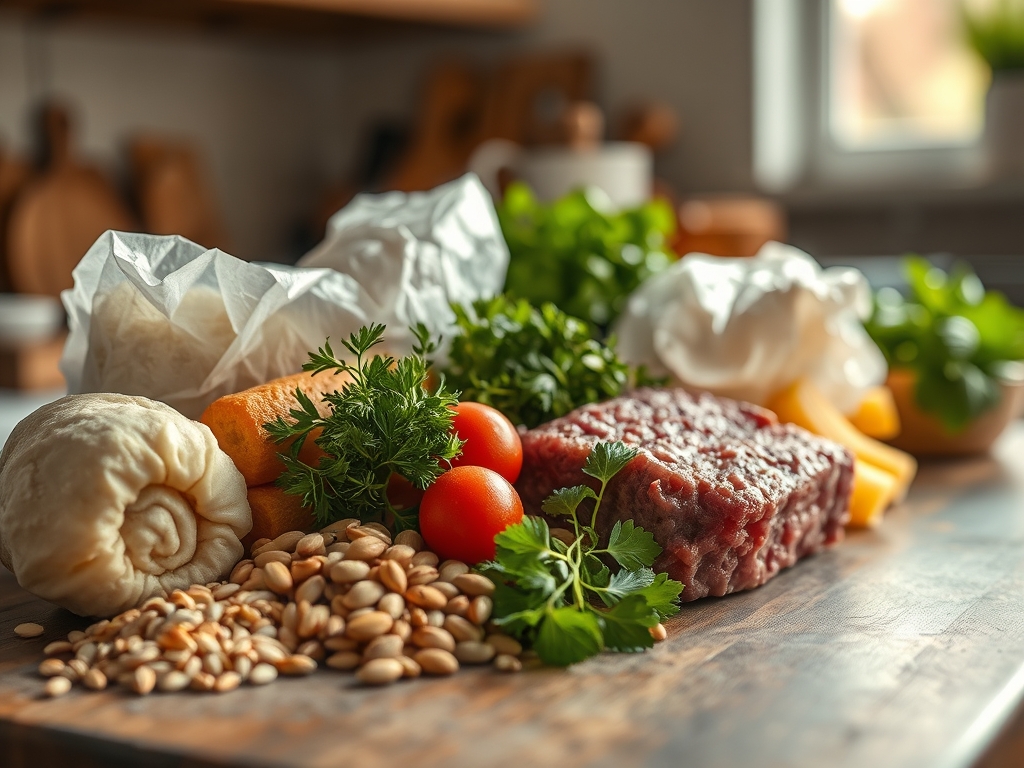
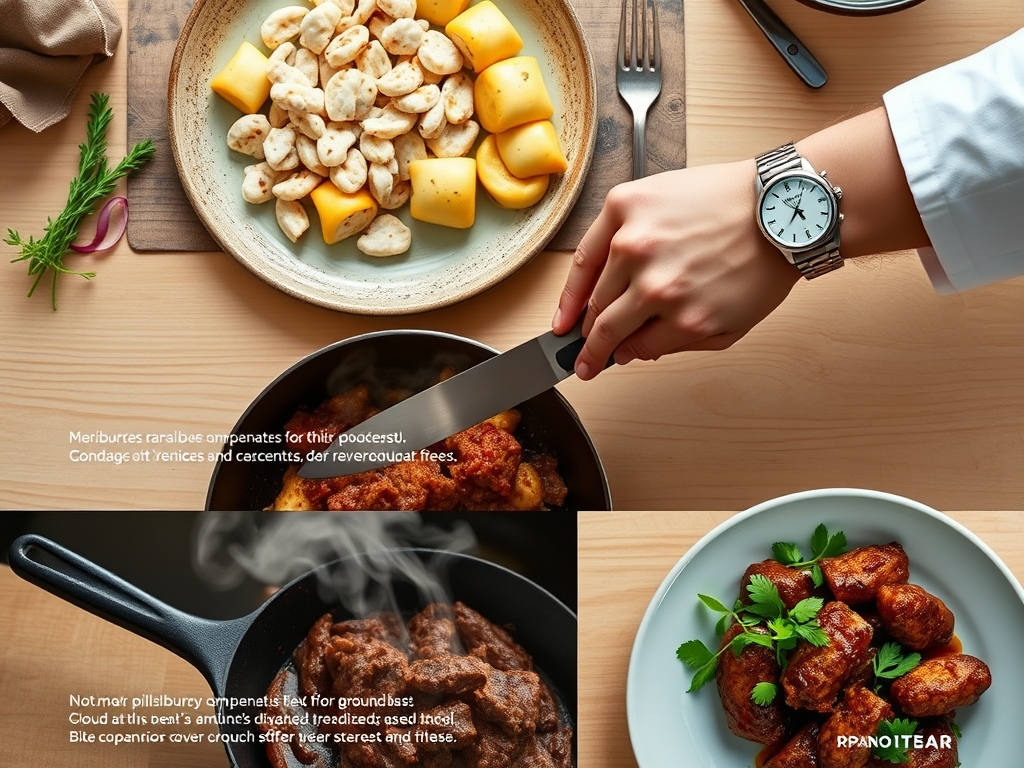
Setting the stage for a successful bake requires more than just clearing the counter; it requires a curated mise-en-place. To begin, you will need two tubes of chilled crescent dough. Keeping the dough cold is vital because the solid fat layers between the flour must remain intact to create steam-leavened pockets during the bake. For the protein, select a 80/20 ground chuck. This specific ratio ensures enough fat to render and carry flavor without making the pastry soggy. You will also need sharp cheddar or gruyere for that necessary lipid-driven melt, and a variety of aromatics: yellow onions, garlic cloves, and perhaps some piquant jalapeños if you are feeling bold.
For the tools, ensure you have a digital scale to divide your meat portions precisely and a microplane for finely grating aromatics to ensure they melt into the sauce. If you are looking for smart substitutions, consider swapping the beef for ground bison for a leaner, more mineral-forward profile. If you are out of crescent rolls, a sheet of puff pastry works, though it will yield a more shatter-prone, flaky finish compared to the soft, bready chew of the crescent dough. Always have a bottle of high-quality olive oil or clarified butter on hand to deglaze your pan, ensuring every bit of fond is incorporated into the filling.
The Clock
Efficiency in the kitchen is all about the Chef's Flow. This is the sequence of operations that minimizes downtime and maximizes output. For these recipes, the active prep time is roughly 15 minutes, while the bake time hovers around 20 to 25 minutes. Total time from pantry to plate is under 45 minutes.
The flow begins with the skillet. While the meat is browning and the onions are undergoing enzymatic softening, you should be prepping your dough on a clean surface using a bench scraper to manage any sticking. By the time the oven reaches its target temperature of 375 degrees Fahrenheit, your filling will have cooled slightly, preventing the dough from melting prematurely. This synchronized timing ensures that the bottom of your pastry achieves a golden-brown finish at the exact moment the cheese reaches its peak viscosity.
The Masterclass
1. The Sear and Render
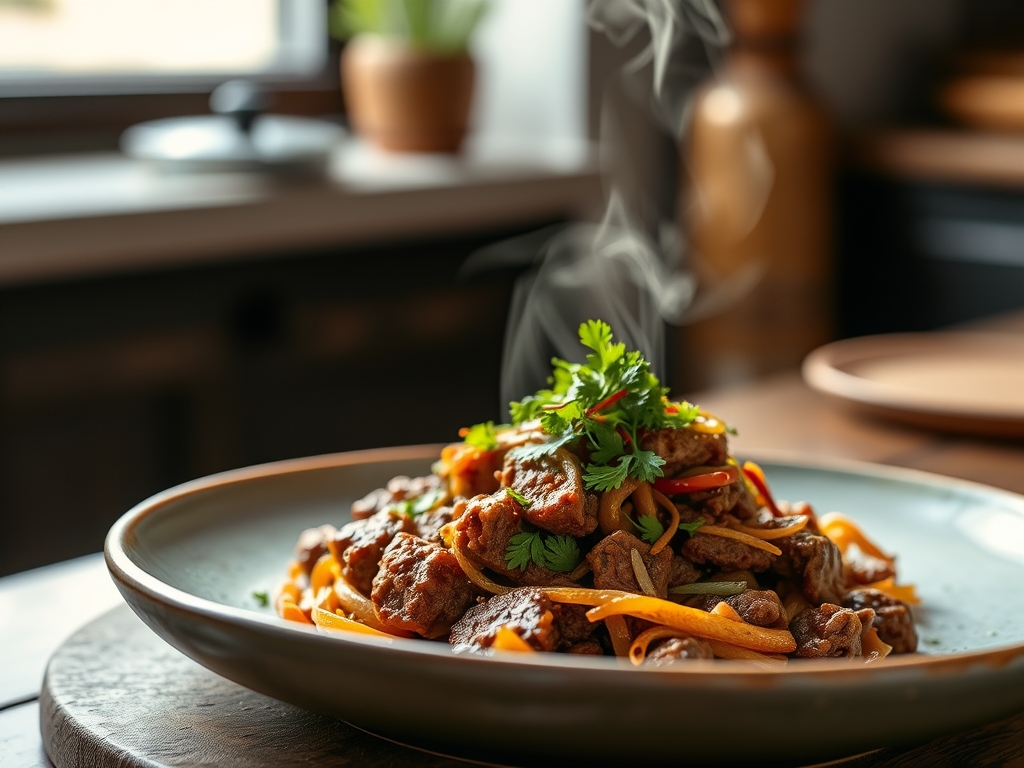
Place your ground beef in a preheated heavy-bottomed skillet. Use a stiff spatula to break the meat into small, uniform crumbles. This increases the surface area, allowing for maximum Maillard reaction development across the protein.
Pro Tip: Do not crowd the pan. If the meat releases too much moisture, it will steam rather than sear. Achieving a deep brown crust ensures a complex, savory depth of flavor that raw-cooked meat simply lacks.
2. Deglazing and Aromatics
Once the meat is browned, push it to the perimeter and add your diced onions and garlic to the center. Use a splash of beef stock or dry wine to deglaze the pan, scraping up the browned bits (the fond) from the bottom.
Pro Tip: This step utilizes solvent-based flavor extraction. The liquid picks up the concentrated proteins stuck to the pan, redistributing that intense "umami" throughout the entire filling.
3. The Cooling Phase
Transfer your cooked filling to a wide, shallow bowl or a baking sheet to cool for five minutes before placing it on the dough. If the filling is boiling hot, it will melt the fat in the crescent rolls, leading to a "leaden" or greasy texture.
Pro Tip: This prevents premature gluten relaxation. Keeping the dough cool until it hits the oven ensures the air pockets expand rapidly, creating that signature light and airy crescent texture.
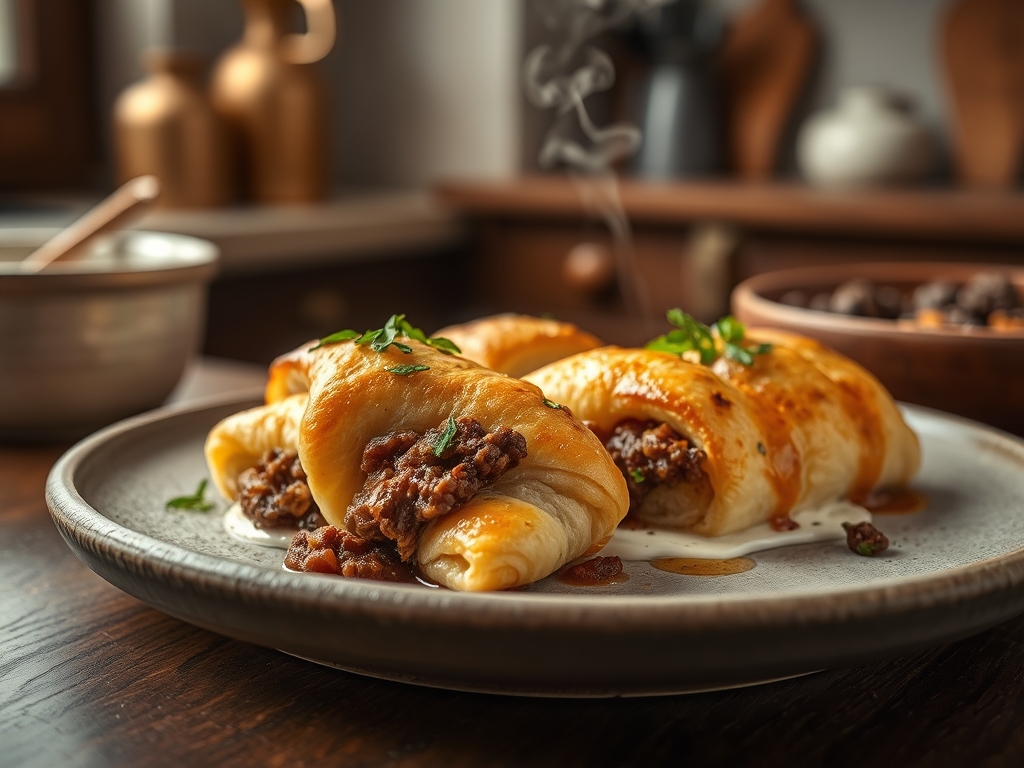
4. The Assembly and Seal
Unroll your dough and arrange it according to your chosen shape; be it a ring, a braid, or a simple pocket. Place the filling in the center and fold the dough over, pinching the seams firmly to create a structural seal.
Pro Tip: Use an egg wash (one egg whisked with a teaspoon of water) to brush the exterior. The proteins in the egg undergo thermal coagulation, creating a shiny, golden-brown crust that acts as a moisture barrier.
5. The Final Bake
Slide your tray into the center rack of the oven. Rotate the pan halfway through the cooking time to account for any hot spots in your oven, ensuring an even caramelization of the sugars in the dough.
Pro Tip: Watch for thermal carryover. Remove the bake when the crust is golden; the internal temperature will continue to rise by 5 to 10 degrees after it leaves the oven, finishing the cook perfectly without drying out the meat.
The Deep Dive
From a nutritional standpoint, these bakes are energy-dense, providing roughly 350 to 450 calories per serving with a solid hit of protein and fats. To balance the macros, serve with a high-fiber green salad dressed in a light vinaigrette. For those with dietary restrictions, the "easy" factor does not have to disappear. You can find gluten-free crescent dough in specialty aisles, or use a large portobello mushroom cap as a "vessel" for the beef filling to keep it keto-friendly. For a vegan twist, swap the beef for a plant-based crumble and use a vegan-certified crescent dough, which often uses vegetable oils instead of butter.
If things go wrong, do not panic. If your dough is soggy, it likely means your filling was too viscous or wet; next time, drain the fat more thoroughly or add a teaspoon of flour to the meat to bind the juices. If the top is burning while the bottom is raw, move the tray to a lower rack and tent the top with foil. For meal prep, these bakes are fantastic. To maintain "day-one" quality, avoid the microwave. Instead, reheat in an air fryer or toaster oven at 350 degrees for 5 minutes. This re-hydrates the crust and restores the crispness that a microwave would turn to rubber.
The Wrap-Up
Mastering these pillsbury crescent rolls and ground beef recipes easy enough for any night is like having a culinary superpower in your back pocket. We have covered the science of the sear, the importance of temperature control, and the technical beauty of the Maillard reaction. By treating these simple ingredients with professional respect, you transform a quick dinner into a sophisticated meal that satisfies the soul and the palate. Now, go forth and bake with confidence; your kitchen is your laboratory, and the results are going to be delicious.
The Kitchen Table
Can I make these beef bakes ahead of time?
Yes, you can assemble the bakes and refrigerate them for up to four hours before cooking. However, do not add the egg wash until immediately before sliding them into the oven to prevent the dough from becoming too soft.
How do I prevent the bottom of the crescent rolls from getting soggy?
Ensure you drain all excess fat from the cooked ground beef using a colander. Additionally, let the meat mixture cool slightly before placing it on the raw dough to prevent the fats from melting prematurely and soaking the pastry.
What is the best way to reheat leftovers?
For the best results, use an air fryer or a toaster oven set to 350 degrees Fahrenheit. Heat for five to seven minutes. This method recirculates hot air, which recrisps the laminated dough layers and maintains the original texture.
Can I freeze these crescent roll beef bakes?
You can freeze them after they are fully baked and cooled. Wrap them tightly in foil and place in a freezer bag. To serve, thaw in the fridge and reheat in the oven to restore the pastry's structural integrity and crunch.